
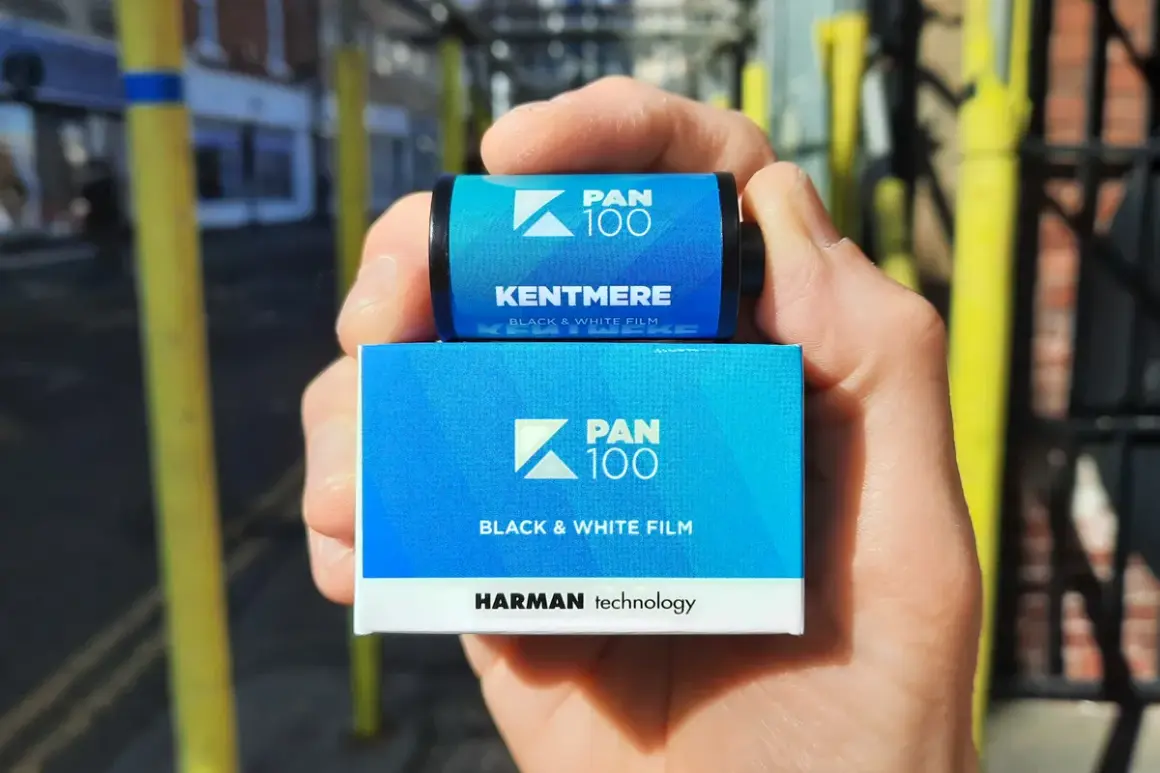
This article breaks down what the film is good at, how it behaves in daylight and controlled light, what I would set for exposure and development, and where it fits against faster or pricier alternatives. If you want a practical read rather than a spec dump, this is the version that matters.
Key things to know before you load a roll
- Kentmere Pan 100 is a medium-speed, panchromatic black-and-white film built for good light, scanning, and darkroom printing.
- It leans toward fine grain and medium contrast, so it feels clean without looking sterile.
- 35mm and 120 are both available, and the official US store pricing sits around US$7.59 for 35mm and US$7.12 for 120.
- It is a sensible choice for daylight street, portraits, landscapes, product work, and controlled studio lighting.
- For long exposures, reciprocity is not an issue up to 1 second, but it does need compensation beyond that.
- I would not choose it as a low-light rescue film; I would choose it for consistency and economy.
What this film gives you in practice
In plain terms, Kentmere 100 is a budget-friendly ISO 100 film with enough polish to be more than a training stock. The emulsion is panchromatic, which means it renders the visible spectrum in a way that feels natural in black and white rather than overly contrasty or oddly filtered. That matters because the film can produce believable skies, clean skin tones, and predictable shadow placement if you meter it properly.I think its real strength is balance. It is not trying to be ultra-low grain at any cost, and it is not trying to be a character film either. It sits in the middle: sharp enough for enlargements and scanning, restrained enough to handle a wide variety of scenes, and inexpensive enough that I do not overthink shooting it.
That price point is part of the appeal in the US market. When a roll stays around the seven-dollar mark, I am much more willing to use film for actual photography instead of rationing frames for special occasions.
The practical takeaway is simple: this is the kind of film I would load for a normal day, not a once-in-a-lifetime project. That leads directly to how it behaves visually, which is where most people really make the decision.
How it renders tone, grain, and contrast
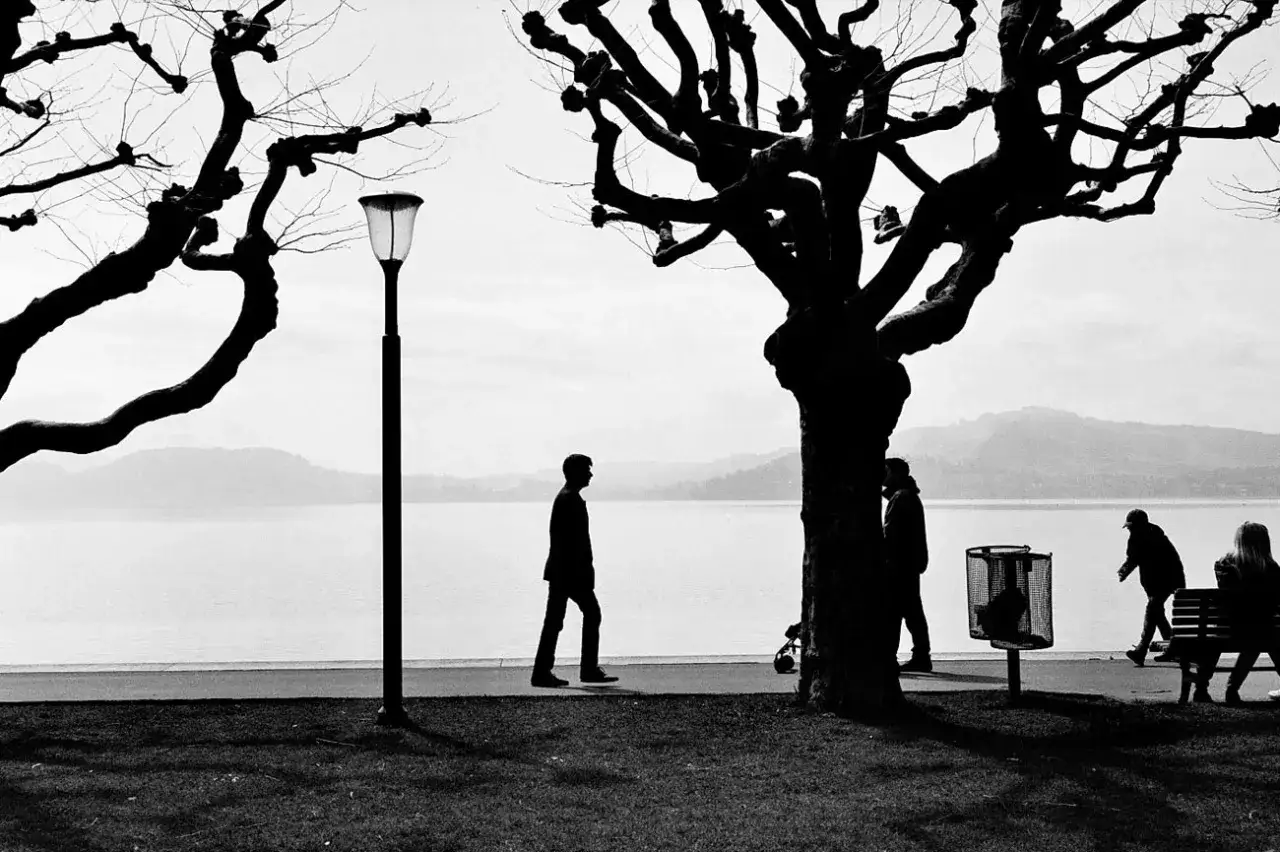
What I notice first is the tone curve. Kentmere 100 gives me a broad tonal range with medium contrast, so the negative usually has enough separation to look alive without becoming harsh. In daylight, that often translates into skies that hold detail, midtones that do real work, and shadows that stay printable instead of collapsing into mud.
The grain is fine and fairly understated. I would not call it invisible, because that is not the point of the film, but it does not get in the way of the subject. On scans, it tends to feel clean and straightforward, which is useful if you want to move quickly through a batch without spending half the evening rescuing exposure.
Here is how I would read the look in real life:
| Scene | What I expect | My read |
|---|---|---|
| Bright daylight street work | Good edge detail, controlled highlights, clean midtones | One of the film’s best uses |
| Portraits in open shade | Smooth skin tones and gentle separation | Very usable if you meter for the face |
| Landscapes with clouds | Balanced skies and readable texture | Strong match for ISO 100 |
| Indoor available light | Needs a fast lens, tripod, or both | Possible, but not effortless |
| Night scenes | Exposure becomes the limiting factor | I would choose a faster stock |
If I had to describe the aesthetic in one sentence, I would call it honest and controlled rather than dramatic. That is not a flaw; it is the reason many photographers keep coming back to it for everyday work. Once you know the look, the next question is how to expose it so it actually delivers that clean negative.
Exposure choices that matter more than brand loyalty
The safest mindset with this film is not complicated: expose it carefully and avoid starving the shadows. The official speed rating is ISO 100 in daylight, and that is exactly where it feels most comfortable. In practice, I prefer to meter the scene honestly and resist the temptation to save highlights by underexposing, because black-and-white negatives usually reward a little generosity more than they punish it.
There are a few technical details worth keeping in your head. Between 1/10,000 second and 1 second, reciprocity failure is not a concern. Once you go longer than a second, you need to add exposure manually. The film’s data uses the rule that adjusted time scales roughly with the metered time raised to 1.26, which is a practical reminder that long night exposures need real compensation, not guesswork.
Filters matter too. Yellow, orange, and red filters can make a huge difference in sky drama, but they also cost exposure. Through-the-lens metering usually handles that automatically, yet some older automatic cameras can undercorrect with deep red or orange filters and leave you underexposed by as much as 1.5 stops. I would not treat that as a warning against filters; I would treat it as a reason to test your camera before trusting it on a critical roll.
When I am deciding how to use it, I break the situations down like this:
- Bright sun - easy territory. Box speed works well, and a slight overexposure is rarely a disaster.
- Overcast daylight - still comfortable, but I meter for the important midtones and keep an eye on contrast.
- Open shade - excellent for portraits if the light is even and you have enough lens speed.
- Mixed indoor light - workable only if you can open up the aperture or slow down your shutter safely.
- Long exposures - fully usable, but only if you account for reciprocity instead of assuming the meter has done the job for you.
How I would develop it without chasing perfection
Kentmere 100 is forgiving enough to process in a wide range of developers, which makes it a practical film for both home darkrooms and labs. The official guidance gives standard starting points at 20°C, and I treat those as exactly that: starting points, not sacred numbers. If your scanner, enlarger, or agitation style pushes contrast one way or another, you should adjust from there rather than assume the datasheet is a universal law.
For a home workflow, I think the most useful thing is to keep the process stable. Intermittent agitation in a spiral tank or deep tank is the baseline. If you are using continuous agitation in a tray or rotary processor, reduce the time slightly, because the film builds density faster in that environment. The manufacturer also notes that a pre-rinse is not recommended for rotary processing because it can lead to uneven results, which is the sort of small detail that saves a lot of frustration later.
A few common developer starting points are worth knowing:
| Developer | Dilution | Starting time at 20°C |
|---|---|---|
| ID-11 / D-76 | Stock | 9:00 |
| ID-11 / D-76 | 1+1 | 11:30 |
| ILFORD DD-X | 1+4 | 10:30 |
| ILFOSOL 3 | 1+9 | 5:00 |
| ILFOTEC HC | 1+31 | 6:30 |
I like this spread because it shows how adaptable the film is. If you want cleaner, slightly more restrained negatives, a classic developer such as ID-11 or D-76 makes sense. If you want speed and convenience, a more concentrated developer can keep the workflow lean. For scanning, I usually prefer negatives that are not pushed into extreme contrast, because they are faster to balance later.
After development, a proper stop bath, reliable fixer, and a clean wash matter more than people sometimes admit. That is not glamorous advice, but it is the difference between a negative that scans well now and one that survives storage years later. With the process under control, the real decision becomes where this film sits compared with the other stocks in your bag.
Where it sits against faster and pricier black-and-white stocks
Compared with Kentmere 400, the trade-off is straightforward: the 100-speed version gives you finer grain and a little more contrast control, while the 400-speed version gives you more flexibility when the light falls. The manufacturer’s own comparison is useful here, and I think it captures the real choice well: slower means cleaner, faster means more forgiving in dimmer conditions.For me, that means Kentmere 100 is the better pick when I know I will have daylight, a tripod, or a decent aperture to work with. Kentmere 400 becomes the safer option when I want to handhold in mixed weather, indoors, or later in the day. The two films are not rivals so much as different tools for different lighting.
Against more expensive ISO 100 black-and-white films, the decision is less about whether this film is good enough and more about what you want to spend to get slightly more refinement. I would not pretend the differences are imaginary, but I also would not overstate them. In real shooting, composition, exposure, and processing discipline usually move the result farther than chasing a premium emulsion just because it costs more.
This is the point where I think a lot of film photographers overcomplicate things. If your goal is a dependable daylight stock that scans cleanly, prints well, and lets you shoot often, the cheaper film is often the smarter film. If your goal is the most elegant negative you can buy for a specific project, then the conversation changes.
To make the choice easier, I would frame it like this:
- Choose Kentmere 100 when you want fine grain, lower cost, and reliable daylight performance.
- Choose Kentmere 400 when light is inconsistent and handholding matters more than grain.
- Choose a premium ISO 100 stock when the project justifies paying more for a slightly different rendering or wider creative margin.
Once you see the film that way, it stops being a generic budget option and starts looking like a sensible part of a working photographer’s kit.
Why I would keep a roll in the bag
If I were building a lean black-and-white kit in 2026, I would keep this film around for the exact situations where I want certainty: daylight street shooting, controlled portraits, landscape work, camera testing, and any assignment where I want a clean negative without spending premium money. It is practical, not flashy, and that is precisely why it earns a place.
My honest read is that the film is at its best when you give it enough light, enough exposure, and a process you trust. It does not need dramatic handling to look good. It needs competent handling, which is a very different thing. That makes it a strong everyday choice for photographers who want to keep shooting, learning, and printing without turning every roll into a financial decision.
As a rule of thumb, I would pair it with a faster black-and-white film instead of trying to force it into every situation. Use this one when the light is on your side, and you get a clean, affordable negative that still has real room for interpretation in the scan or darkroom.
