
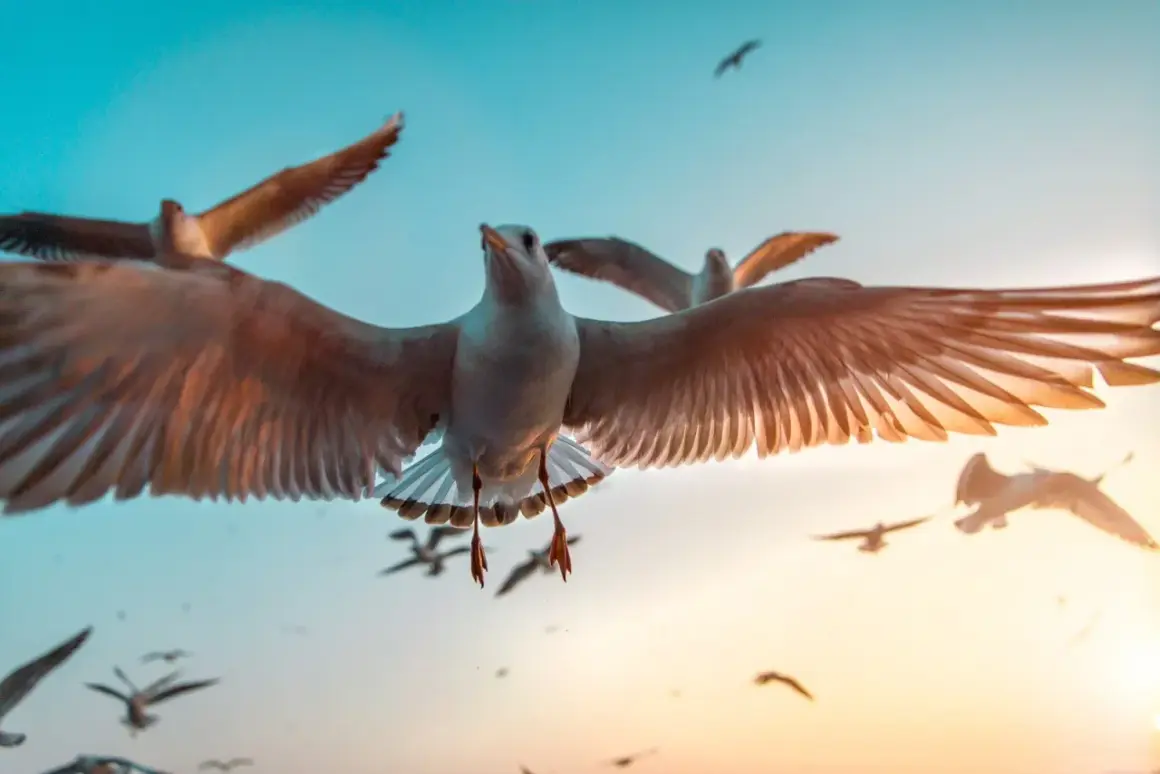
Photographing birds in the wild rewards patience more than luck. The best frames usually come from understanding behavior, choosing the right lens, setting exposure for motion, and keeping enough distance to let the subject act naturally. In this guide, I focus on the field habits, gear choices, settings, and compositional decisions that matter most when the subject will not wait for you.
The practical decisions that matter most in the field
- Start with behavior, not settings: know where the bird feeds, perches, and launches.
- A telephoto zoom in the 100-400mm to 150-600mm range solves most real-world situations for U.S. hobbyists.
- Use continuous autofocus, a fast shutter speed, and auto ISO when the light changes quickly.
- Keep your distance, avoid playback near sensitive birds, and move away if the subject changes behavior.
- Look for clean backgrounds, low angles, and moments that show the bird inside its habitat instead of floating in isolation.
Why bird photography demands patience, distance, and discipline
The challenge is not just that birds move. They move unpredictably, they move quickly, and they often choose terrible backgrounds. A branch crossing the eye line, a bright patch of sky behind the head, or a little too much distance between subject and frame can turn a promising scene into a throwaway image.
That is why I think fieldcraft matters more here than in many other styles of wildlife work. I want to know where a bird is likely to land, how it uses the habitat, and what it does before it takes off. Feed routes, water edges, fence lines, dead snags, and sheltered edges of marshes are often more useful than simply walking around and hoping for luck.
Once I started reading the scene this way, the work became less random. I was not just photographing a bird; I was photographing a set of habits in a place that shaped those habits. That shift also leads directly to the first practical question most people ask: what gear actually helps, instead of just making the bag heavier?
The gear that helps without getting in the way
I do not think the best setup is the most expensive one. I think it is the one that lets you find, track, and frame a subject quickly enough to use the moment you have. For most people, that means a capable body, a telephoto lens with enough reach, and some way to stabilize the camera when you are waiting for action.
| Lens option | Best for | Trade-off | Typical U.S. budget |
|---|---|---|---|
| 70-300mm zoom | Larger birds, approachable shorebirds, backyard subjects | Often not enough reach for small songbirds | $300-$800 |
| 100-400mm zoom | Most serious hobby work and mixed field use | More expensive, heavier than standard zooms | $900-$2,500 |
| 150-600mm zoom | Distant birds, raptors, and small subjects that stay wary | Bulky, slower at the long end, less nimble in tight spaces | $1,000-$2,000 |
| 400mm prime or longer | Professional-level reach, clean backgrounds, low-light control | Expensive and less flexible for framing | $3,000-$14,000+ |
Used gear can reduce those figures by a meaningful amount, and in the U.S. market I often see buyers trim 20% to 40% by shopping carefully. For most beginners, a workable starter kit usually lands somewhere around $700-$1,800, while a more serious setup can move past $3,000 quickly once the body and lens both improve.
I care more about autofocus behavior and handling than I do about raw megapixel counts. A high-resolution sensor helps if you crop often, but it cannot rescue missed focus or shaky technique. A tripod makes sense for feeders, shorelines, and long waits; a monopod is a better compromise when I need to move through brush or along a trail.
With the right tools in hand, the next step is to set the camera so it can actually keep up with what birds do.
Camera settings that give you a real chance of a sharp frame
I start with shutter speed because motion is the core problem. For perched birds, 1/500 to 1/1000 sec is a practical starting point. For birds in motion, I usually move to 1/1600 to 1/3200 sec. If I am trying to freeze tiny wings, fast dives, or erratic flight, I push higher when the light allows it.
| Situation | Starting shutter speed | Aperture approach | Focus and exposure notes |
|---|---|---|---|
| Perched bird | 1/500 to 1/1000 sec | Wide open or one stop down | Continuous AF, single point or eye detection if it locks well |
| Walking or swimming bird | 1/1000 to 1/1600 sec | Usually f/5.6 to f/8 | High-speed burst helps catch a clean step or head angle |
| Bird in flight | 1/1600 to 1/3200 sec | Wide open if light is limited | Track the head, not just the body, and keep the background simple |
| Tiny fast subject or wing action | 1/2500 sec and up | As bright as the scene allows | Auto ISO with a sensible ceiling usually works best |
One more adjustment helps more than people think: I separate focus from the shutter when I can. Back-button focus lets me lock and track with my thumb while my index finger handles the shot, which is useful when reeds, branches, or moving foreground clutter might confuse the camera.
Settings matter, but they only work if you are close enough to the right habitat and patient enough to wait for the bird to behave naturally.
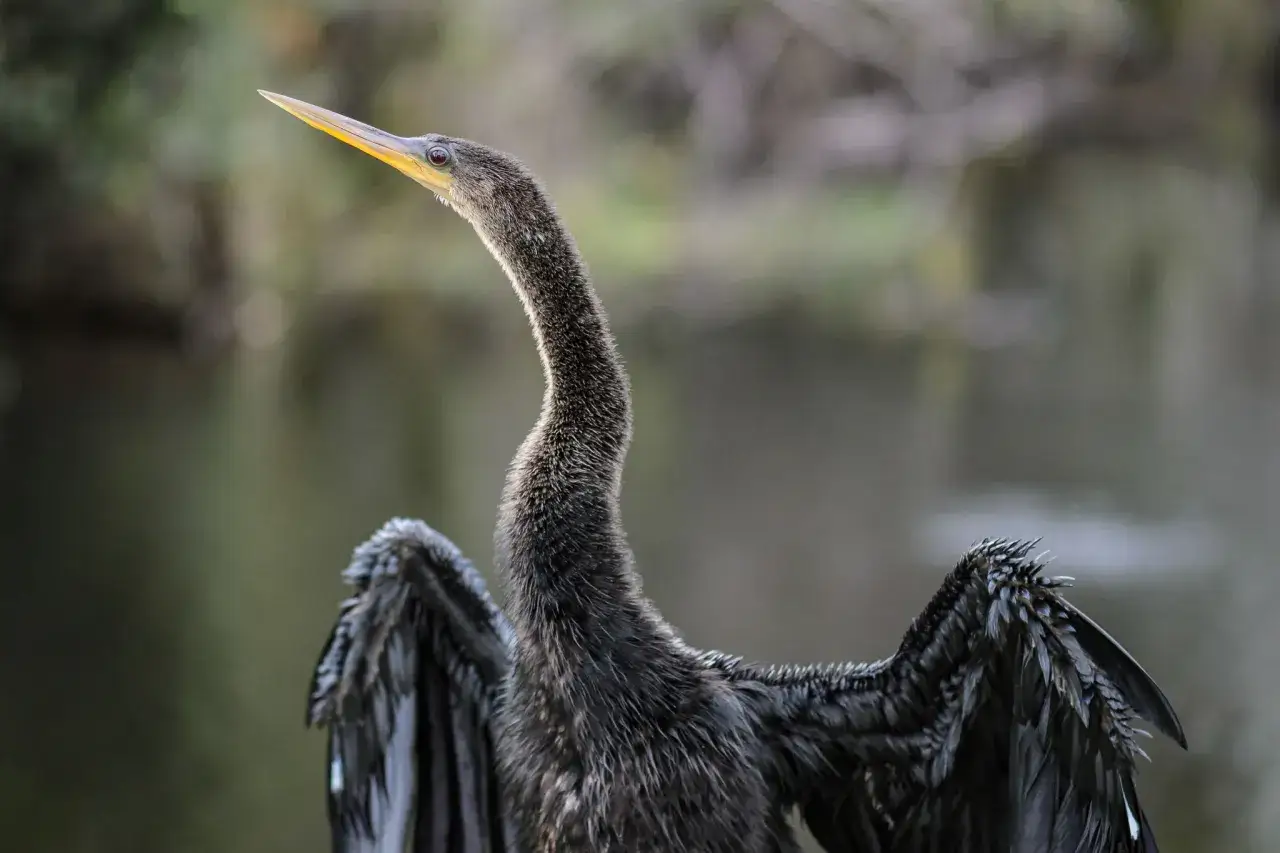
Finding birds in their habitat without changing their behavior
I try to approach birds the way I approach any subject with a short fuse: slowly, quietly, and with a plan. Wind direction matters because birds hear and smell movement indirectly through the habitat. Light direction matters because a subject facing into open light usually looks better than one lit from the wrong side. Terrain matters because a low bank, a patch of reeds, or a line of shrubs can hide movement without forcing a risky close approach.
My rule is simple. If the bird changes posture because of me, I am too close. If it starts watching me more than it is feeding, preening, or resting, I move back or leave. That discipline is not just ethical; it usually improves the image too, because relaxed birds look more natural and backgrounds are easier to control.
I also avoid playback in sensitive situations. Playback is the use of recorded calls or songs to lure a bird into view. It can be useful in narrow research settings, but for field work I treat it as something to avoid unless I have a clear, legitimate reason and I know the local rules. In the U.S., parks, refuges, and shoreline areas can have their own restrictions, so I check signs and regulations before I settle in.
When I am looking for the best angle, I keep my body low and my movement small. A lower position usually separates the bird from the background and makes the frame feel less like a snapshot. That habit also sets up the next question: what kinds of images are actually worth chasing?
The subjects and scenes that make the strongest images
Not every bird image should try to do the same job. Some frames are about detail. Some are about motion. Some are about the place itself. The strongest work usually comes when I decide which of those jobs matters before I start shooting.
Perched portraits
These are the cleanest way to show feather detail, eye shape, bill structure, and species character. I like them when the bird gives me a strong pose or a clean line of sight. The risk is that the image can become flat if the background is busy or if I shoot from too high an angle, so I always look for a lower viewpoint and a simple backdrop.
Birds in flight
Flight frames are harder, but they carry energy that stationary portraits cannot. I look for a wing position that tells me something about the bird’s action, not just that it was airborne. If the wings are overlapping the head or the bird is banked awkwardly into clutter, I keep shooting until the movement opens up.
Behavior moments
Feeding, courtship, preening, head scratching, territorial displays, and chick care all add meaning. These are often the frames that feel less staged because they show the bird doing something, not just standing there. Behavior shots can also save a day when the light is bad or the subject will not cooperate with a clean portrait.
Read Also: Urbex Photography - Capture Decay with Impact & Safety
Birds in the landscape
This is the style I reach for when the habitat is part of the story. A heron in a marsh, a gull against a shoreline, a raptor riding air over open country, or a warbler lost in layered branches all say more about place than about the bird alone. I use this approach when I want the image to feel like a scene instead of a specimen.
Once I know which subject style I am after, I can judge my own work more honestly. That usually exposes the next problem immediately: avoidable mistakes that cost sharpness, context, or both.
The mistakes I see most often in the field
I have made every one of these mistakes myself, which is exactly why I trust them as warning signs. They are not glamorous problems, but they are the ones that quietly drain good opportunities.
| Mistake | Why it hurts | What I do instead |
|---|---|---|
| Chasing the bird instead of waiting for a usable angle | The frame gets rushed and the background usually gets worse | I stop moving, watch the bird’s pattern, and let the bird come to me |
| Cropping too tightly in camera | There is no room for wings, head turns, or breathing space around the subject | I leave extra frame room and crop later only if needed |
| Shooting from standing height all the time | The bird sits too low in the scene and looks disconnected from the environment | I kneel, crouch, or lie lower whenever it is safe and practical |
| Ignoring the background | Branches, bright patches, and clutter steal attention from the subject | I shift a few steps, change angle, or wait for a cleaner perch |
| Forcing a close approach | It stresses the bird and usually produces worse behavior and worse images | I back off, use the longer lens, and respect the bird’s space |
The pattern is easy to miss when you are excited. A rare sighting can make me forget that a slightly wider angle, a calmer approach, or a shorter session often produces the stronger file. The discipline to stop before the moment breaks is one of the most useful skills in the whole craft.
That leads directly to the final habit I think every bird photographer should build: a simple routine that makes each outing more useful than the last.
A field routine that turns one good sighting into better work next time
I like a routine that is boring in the best possible way. Before I head out, I scout likely habitat, check recent sightings, and decide what kind of image I want that day: portrait, flight, behavior, or landscape context. Once I arrive, I set exposure and autofocus before the bird appears so I am not buried in menus when the subject finally shows up.
- Arrive early enough to work in soft light.
- Watch the habitat first, then raise the camera.
- Make one clean frame, then refine slowly.
- Pause when the bird calms down instead of firing nonstop.
- Record the time, light, lens, and behavior in a note after the session.
That last habit sounds small, but it pays off. When I write down what the bird was doing, where it landed, and what the light looked like, I build a better mental map for the next outing. The result is not just better files; it is better judgment, which is what separates a lucky shot from a repeatable practice.
