

Ilford's Pan F Plus is a black-and-white film I reach for when I care more about detail than speed. Its ISO 50 rating, very fine grain, and strong edge definition make it a deliberate, not casual, choice, especially for bright daylight, studio setups, and prints that need to hold together at larger sizes. This article breaks down what the film actually gives you, when it shines, how to expose it correctly, and how to develop it without flattening the look.
Key things to know before you load a roll
- ISO 50 makes this film happiest in strong daylight, studio light, or on a tripod.
- Its look is defined by extremely fine grain, sharp edges, and strong tonal separation.
- Ilford rates the film at EI 50, with EI 25 also producing good image quality.
- For exposures longer than 1/2 second, reciprocity compensation is required.
- DD-X, ID-11, MICROPHEN, and PERCEPTOL all have a place, but they do not give the same result.
- Once exposed, it is best to process the film within 3 months.
What this slow film actually gives you
I think of this emulsion as a precision tool. It is extremely fine-grained, has outstanding resolution, sharpness, and edge contrast, and it is rated at ISO 50/18° to daylight. In practice, that means the negative rewards careful metering and controlled light, and it punishes underexposure faster than a medium-speed stock.
It is available in 35mm, 120 roll film, and sheet-film formats, so it works across everything from a rangefinder to large format. The important distinction is not the format but the working style: this is a film for subjects you can slow down for. When I want a more forgiving all-rounder, I move up to a medium-speed stock; when I want the cleanest possible negative, this is the one that gets my attention.
| Trait | What it means in practice |
|---|---|
| ISO 50 speed | Needs good light, a tripod, or wide apertures in controlled settings |
| Very fine grain | Negatives stay smooth, so large enlargements look cleaner |
| Strong contrast | Edges and texture pop, but harsh scenes need careful exposure |
| High sharpness | Detail rendering is one of the main reasons people choose it |
That look is useful only if the subject and light suit it, which is where the next decision comes in.
Where it earns its keep in real shooting
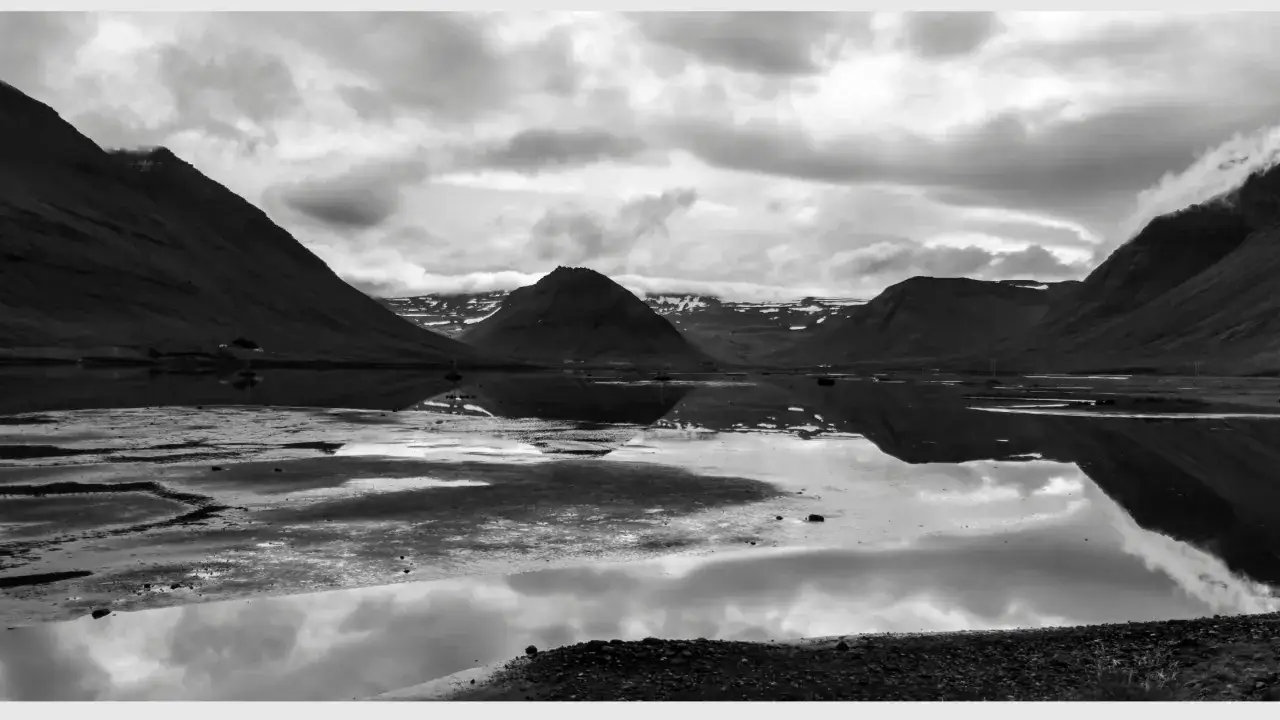
This film is happiest in bright natural light or controlled studio light. I use it when I want structure to matter: the edge of a building, the weave of fabric, a face lit by a window, or a still life where every surface has to read cleanly. It is also a strong choice for snow, pale stone, and bright urban scenes because the smooth grain lets highlight detail survive without the image turning rough.
The film rewards deliberate composition more than spontaneous snapshots. If the subject is moving quickly, the light is fading, or the scene depends on handheld shutter speed, I usually choose a faster stock. Here, the payoff comes from patience.
| Scene | Why it works | What to watch |
|---|---|---|
| Architecture | Clean lines and repeated textures stay crisp | Watch flare, perspective, and blown highlights on white walls |
| Portraits in open shade or studio light | Skin tones can look smooth and controlled | Do not let shadows go too thin; the film will not hide weak exposure |
| Still life and product work | Edges, labels, and surface detail stay readable | Lighting has to be intentional or the image can feel too hard |
| Bright landscapes and snow scenes | Fine grain holds subtle tones in wide, bright frames | Meter carefully and use filters with discipline |
Once you know when the film fits, exposure discipline becomes the real difference between a clean negative and a disappointing one.
How to expose it without wasting frames
I start by rating the film at EI 50. That matches the manufacturer’s recommendation and gives the safest baseline for shadow detail. If the light is generous and the scene has plenty of contrast, I am comfortable giving it a little extra exposure and working at EI 25, but I treat that as a deliberate choice, not a default habit.
Meter for the shadows first
With negative film, I prefer to protect shadow texture and let development handle the rest. If a handheld meter says 1/125 at f/8, I usually trust that starting point before I get clever. The mistake I see most often is photographers treating ISO 50 like a license to expose less. It is the opposite: this film rewards generous, careful exposure.
Use EI 25 when the scene deserves it
EI 25 makes sense when you want richer shadow separation, when the scene is contrasty, or when you know the light is stable and you can afford the slower shutter. I would not use it to fix sloppy metering. I would use it when I want the negative to breathe a little more, especially in portraits or high-contrast daylight.
Treat filters as part of the exposure
Yellow, orange, red, polarizing, and neutral density filters all work normally, but they are not free. Through-the-lens metering usually handles the compensation, yet some automatic cameras can still underexpose by as much as 1.5 stops with deep red or orange filters. That matters here because the film has less speed in reserve than a medium-speed stock.
Read Also: Best Film for Olympus Stylus - Maximize Your Shots!
Plan for long exposures
For exposures between 1/2 second and 1/10,000 second, no reciprocity correction is needed. Beyond 1/2 second, the film needs extra exposure. A practical way to think about it is to round up rather than down, because a thin negative is harder to rescue than a slightly dense one.
| Metered time | Corrected time | Note |
|---|---|---|
| 0.5 sec | 0.5 sec | No correction needed |
| 1 sec | 1 sec | Still effectively unchanged |
| 2 sec | 2.5 sec | Round up to the nearest practical shutter speed |
| 4 sec | 6.3 sec | Enough extra time to matter in landscape or night work |
| 8 sec | 15.9 sec | Use a cable release or timer and keep notes |
The way you process the negative either preserves that precision or softens it, so development matters more here than on many forgiving films.
Development and scanning that preserve the look
When I develop this film, I choose the developer based on the result I want, not just on convenience. For best overall image quality, DD-X and ID-11 stock are strong choices. If I want the finest grain, PERCEPTOL is the obvious option, though it costs speed. If I want maximum sharpness, I look at DD-X or ID-11 1+3. That mix is exactly why this film is interesting: the base emulsion is so clean that developer choice changes the final personality in a visible way.
Microphen has its place when speed recovery matters, but I would not pick it first for a film whose whole appeal is delicacy and detail. The negative is already doing one thing very well; I usually want the developer to support that, not push the film toward a different job.
For scanning, I keep sharpening light and avoid crushing the midtones. The negatives can look deceptively simple on a light table, but they scan well if you do not overprocess them. In the darkroom, the same rule applies: start with a normal grade, then move contrast only if the negative really asks for it. Overdevelopment or aggressive digital sharpening can make the image brittle, which defeats the point of choosing such a refined stock in the first place.
I also process the film promptly. The manufacturer recommends doing it as soon as practical and ideally within 3 months of exposure, and that is a sensible habit for any slow, high-quality film you do not want to risk aging unevenly.
If you're still deciding whether the trade-offs are worth it, a side-by-side comparison makes the choice much easier.
How it compares with the rest of Ilford’s black-and-white lineup
This film is specialized. That is not a flaw; it is the reason people like it. The useful question is not whether it is “better” than every other black-and-white film, but whether its speed and rendering match the job you are trying to do.
| Film | Speed | Look | Best use | Main trade-off |
|---|---|---|---|---|
| Ilford's ISO 50 stock | 50 | Extremely fine grain, strong contrast, crisp edges | Bright daylight, studio work, architecture, big enlargements | Little speed margin and less forgiveness in low light |
| FP4 Plus | 125 | Fine grain, medium contrast, very balanced | General-purpose shooting in good light | Less surgical detail than the slowest film |
| Delta 100 Professional | 100 | Exceptionally fine grain, maximum detail | Controlled light, landscapes, large prints | Still slower than you may want for casual handheld work |
| HP5 Plus | 400 | Fine grain for its speed, medium contrast | Indoor light, documentary work, travel, action | More grain and less refinement at very large sizes |
If I want one film that handles almost anything, I reach for FP4 Plus or HP5 Plus depending on the light. If I want the cleanest possible negative and I can control the scene, the ISO 50 stock wins. That is the real decision point, and once you see it clearly, the film becomes much easier to use well.
What I would do on a first roll with this film
- Rate it at EI 50 and leave the camera there for the whole first roll.
- Use the roll on bright daylight, window light, still life, or tripod-supported work.
- Choose a yellow filter first if you want a little more sky separation without overcorrecting.
- Develop in DD-X or ID-11 stock for a dependable baseline before experimenting.
- Process the negatives quickly so you are evaluating the film, not storage time.
That approach keeps the negatives readable and lets you learn the film's rhythm quickly. After one or two rolls, you stop thinking of it as a specialty curiosity and start using it as a deliberate tool: slow, precise, and very good at showing texture without noisy grain getting in the way.
