
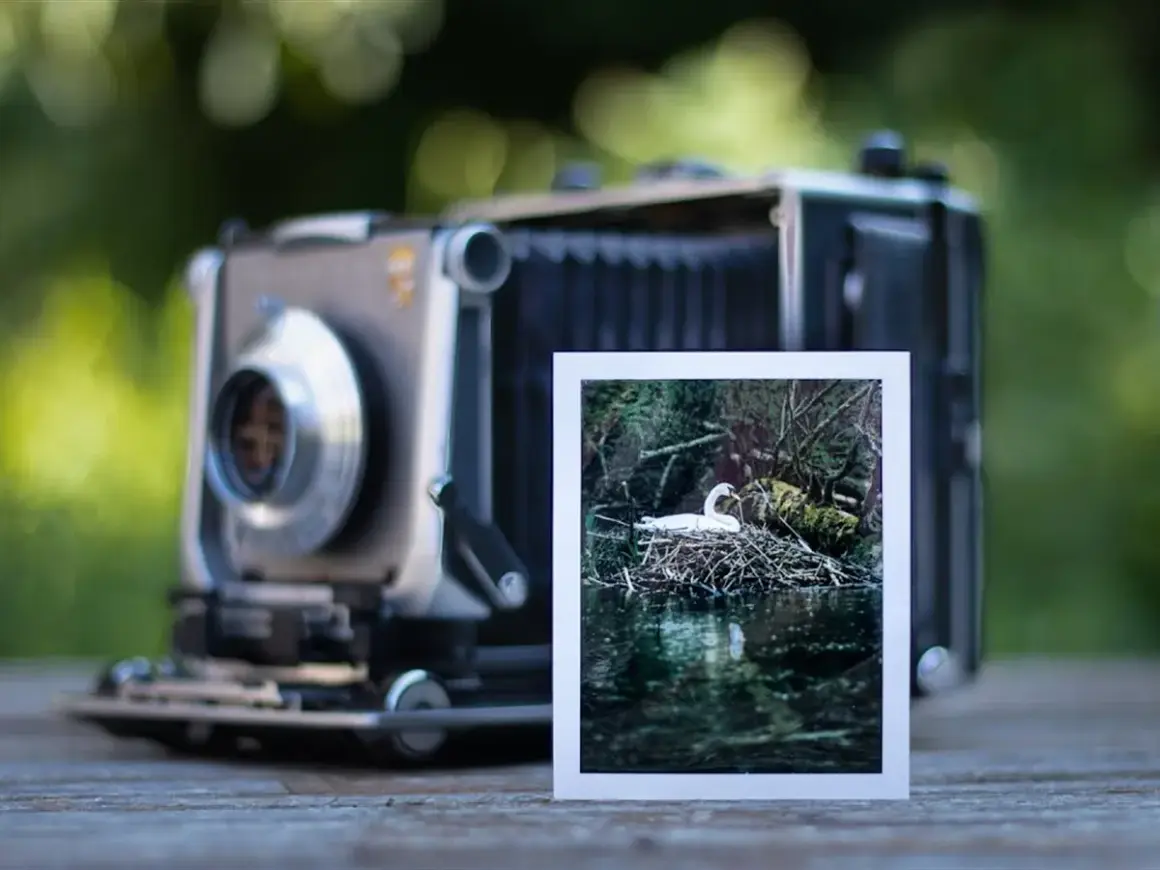
4x5 is the classic 4-by-5-inch sheet-film format used in large-format cameras, and the practical answer to what is 4x5 in film photography is simple: a bigger negative, a slower workflow, and far more control over focus and perspective. I think of it as the format you choose when the final image matters more than speed. In 2026 it is still a living niche, not a museum piece, and that makes it worth understanding on its own terms.
The essentials of 4x5 at a glance
- 4x5 refers to a sheet-film format, not a roll-film format.
- Each exposure is one sheet, so the process is deliberate and far less forgiving than 35mm or 120.
- The format is valued for detail, tonal separation, and the camera movements that let you shape perspective.
- It still has real support in 2026, with sheet-film options remaining available from major film makers.
- It works best for photographers who print large, scan carefully, or want a slower and more controlled workflow.
What 4x5 actually means in film photography
In large-format photography, 4x5 means a film sheet that is nominally 4 inches by 5 inches. The image area is enormous compared with 35mm, and that matters because every millimeter of extra negative size gives you more detail, smoother tonal transitions, and more room to crop later. On a pure area basis, a 4x5 sheet gives you roughly 15 times the surface area of a 35mm frame, which is why the format has such a different look.
It is also important to separate the film size from the camera design. A 4x5 camera usually uses bellows, a ground glass for focusing, and removable film holders instead of a built-in film roll. In practice, that means the format is not just “bigger film”; it is an entire working method built around single-sheet exposures. That difference is what shapes everything else, from composition to timing, and it leads straight into the hands-on part of the process.
How a 4x5 camera works in practice
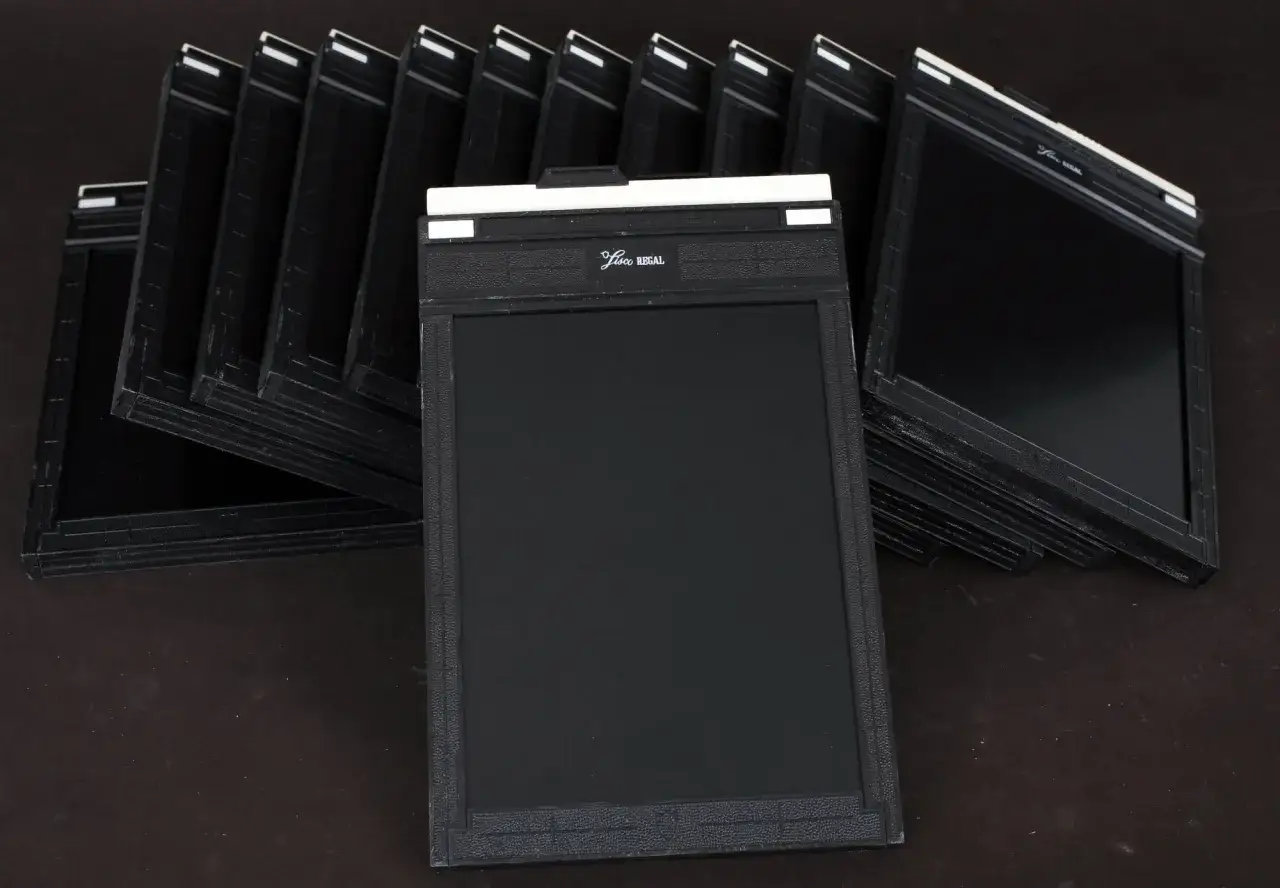
Loading and shooting 4x5 is done one sheet at a time, usually in a darkroom, changing bag, or film tent. A standard holder takes two sheets, so even a small session starts with fewer frames than most photographers are used to. That scarcity is not a gimmick; it forces discipline.
- Load the film holder in darkness, paying attention to the notch code and emulsion direction.
- Insert the holder into the camera, then compose and focus on the ground glass.
- Set your movements, shutter speed, and aperture.
- Pull the darkslide, make the exposure, and return the slide before removing the holder.
- Mark the holder so you know which sheets are exposed and which are still fresh.
I always label holders immediately. It sounds basic, but in large format the most expensive mistakes are usually the simplest ones: the wrong side up, the wrong holder, or the wrong exposure note. Once that routine is locked in, the process stops feeling ceremonial and starts feeling practical, which is exactly why the format still has such loyal users.
Why photographers still choose 4x5
The appeal is not nostalgia alone. Four-by-five gives you a combination of detail and control that smaller formats cannot match without serious compromise. The negative holds enough information for very large prints, careful scans, and archival work, while the camera itself gives you movement control that is hard to replicate elsewhere.
I see the format earn its keep most often in four types of work:
- Landscape when the final print needs fine detail and a wide tonal range.
- Architecture when rise, fall, shift, and tilt help keep lines clean and perspective believable.
- Portraiture when the slower pace helps with posing and expression.
- Still life and product when every edge, plane, and highlight needs to be placed with intent.
Availability is also better than many people expect. Kodak lists EKTAR 100 in 4x5, and Ilford sells HP5 PLUS sheet film, which is enough to show that the format still has active support rather than just a collector’s afterlife. That said, the fact that film still exists does not make the format easy, and that is where the tradeoffs start to matter.
What the tradeoffs really are
4x5 is rewarding, but it is not efficient. Every sheet costs more than a frame of roll film, every setup takes longer, and every mistake has a bigger consequence because you only have so many sheets in the holder. If I am shooting something fast, unpredictable, or high-volume, I do not reach for 4x5.
- Speed is the biggest loss. You will work slower, and you should expect to.
- Mobility takes a hit because the camera, holders, tripod, and lens accessories add up quickly.
- Exposure discipline matters more because you cannot rely on a burst of frames to rescue a weak setup.
- Learning curve is real. Focusing, movements, holder handling, and exposure notes all have to become routine.
- Cost per image is higher, so casual experimentation is more expensive than with 120 or 35mm.
The upside is that those constraints usually improve the way I work. They make me slow down, think through the frame, and commit to decisions instead of improvising endlessly. Once you accept that tradeoff, the next question is how 4x5 stacks up against the formats people use most often.
How 4x5 compares with 35mm and 120
There is no fair comparison where 4x5 is supposed to be fast. The real comparison is about image quality, handling, and how much control you want over the final frame. Here is the practical difference I would give to a photographer choosing between formats:
| Format | What it gives you | What it costs you | Best fit |
|---|---|---|---|
| 4x5 sheet film | Maximum detail, easy large prints, and strong camera movements | Slow setup, fewer frames, heavier kit, higher per-shot cost | Architecture, landscape, portrait, still life, archival work |
| 120 medium format | Excellent image quality with a more manageable workflow | Less movement control and less negative area than 4x5 | General-purpose film work, travel, portrait, editorial |
| 35mm | Speed, portability, and the most frames per roll | Smallest negative and the least room for enlargement | Street, events, travel, quick documentary work |
If I reduce it to one sentence, 4x5 is the choice for control and scale, 120 is the compromise format, and 35mm is the format for speed and volume. That logic should guide what you buy next, because the wrong starter kit can make 4x5 feel harder than it really is.
What I would buy first if I were starting now
The best way to enter 4x5 is not to collect a pile of accessories. I would start with a usable camera, a handful of holders, one sensible lens, and the tools needed to focus and meter accurately. A clean, modest kit beats a fancy but incomplete one every time.
| Item | Why it matters | My practical take |
|---|---|---|
| Field camera or view camera | It provides the bellows and movements that define the format | Start with something reliable and mechanically simple |
| Film holders | They carry the film in the dark and protect the exposure until release | Get at least 2 to 4 holders so you are not forced to reload constantly |
| Lens around normal focal length | Gives you a balanced starting point for composition | A 150mm lens is a common baseline, but subject matter matters more than gear lore |
| Light meter | Accurate exposure is more important when each sheet counts | Incident metering is often the simplest place to begin |
| Sturdy tripod and cable release | They keep the camera stable during setup and exposure | I would not treat these as optional |
| Loupe and dark cloth | They help with precise focusing on the ground glass | Small accessories, big improvement in accuracy |
I also recommend starting with film you can expose confidently rather than chasing a “perfect” emulsion. Once the system feels natural, you can decide whether you want the classic black-and-white look, a color negative workflow, or transparency film. That confidence matters, because the most common problems come from avoidable habits, not from the format itself.
Common mistakes that waste film
Most beginner problems with 4x5 are workflow problems. The camera is not trying to punish you; it is just less forgiving when your routine is sloppy. These are the mistakes I see most often:
- Loading the holder incorrectly and not checking the notch orientation before shooting.
- Forgetting the darkslide or pulling it at the wrong time.
- Not labeling exposed holders, which turns later development into guesswork.
- Skipping a tripod and then blaming the format for blur that came from camera movement.
- Overstopping the lens just to force depth of field, which can cost sharpness without giving much in return.
- Under-noting the setup, so you cannot remember filters, movements, or exposure adjustments later.
The fix is boring but effective: build a repeatable sequence and use it every time. Once you stop improvising the mechanics, you can focus on the image, which is the whole reason to use 4x5 in the first place. That brings me to the part that matters most for decision-making: when this format is actually worth the slowdown.
When the format earns its place
I reach for 4x5 when I know the image has a real destination: a large print, a client deliverable that needs perspective control, or an archive-quality negative that should hold up for years. It is also the format I would choose when I want the act of photographing to slow me down enough to see better. That is not romantic talk; it is a practical advantage when precision matters.
- Use it when you need maximum detail and the subject will reward careful setup.
- Use it when the camera movements will materially improve the composition.
- Use it when the pace of working slowly will help the final image, not hurt it.
Do not choose it if you need speed, spontaneity, or a high frame count. In that case, 120 is usually the smarter compromise and 35mm is the better tool for volume. The practical answer is that 4x5 is not about convenience; it is about control, scale, and the kind of attention that only a large-format workflow really asks for.
