
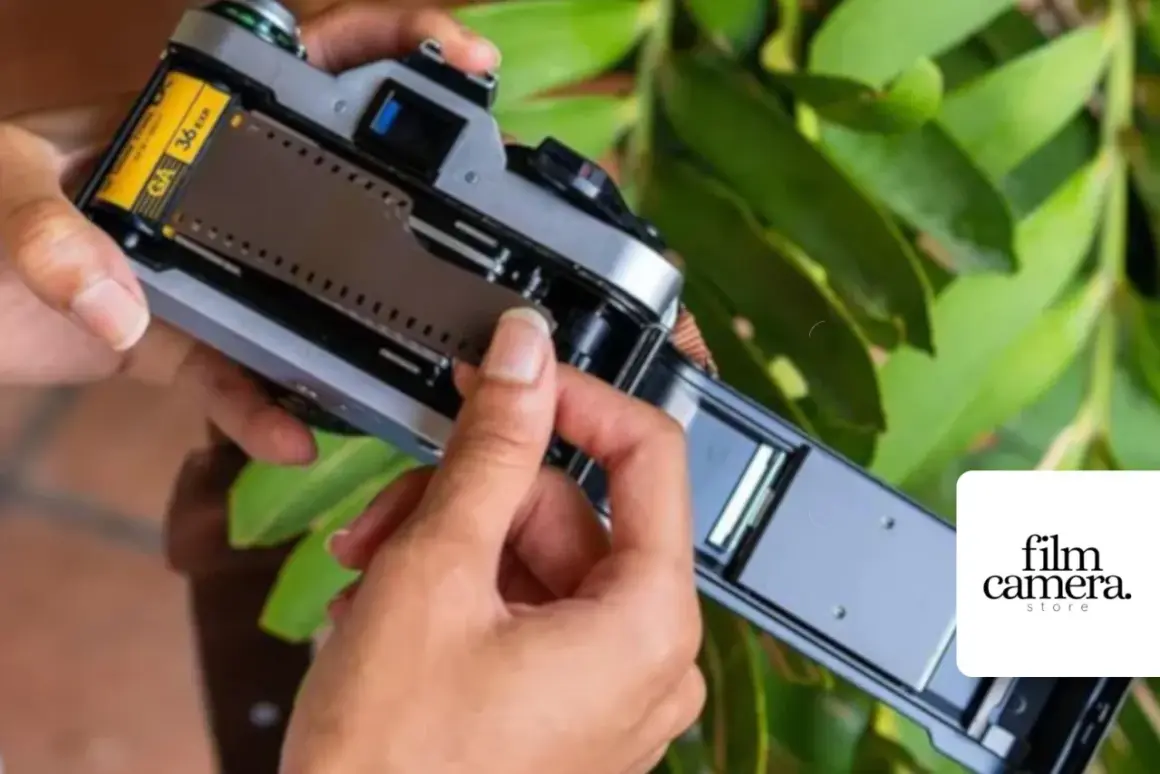
Film inside a camera is a light-sensitive recording surface, and that simple fact changes the whole shooting process. You cannot review each frame immediately, so exposure, film speed, and the way you load the roll matter more than they do in digital work. This guide breaks down how the material works, which formats and stocks make sense first, how to shoot without wasting frames, and what to do after the roll is finished.
What matters most before you load a roll
- Film speed is built into the roll, so ISO is chosen before you shoot, not corrected later.
- 35mm is the easiest format to learn on because it is common, forgiving, and usually gives 24 or 36 exposures.
- Color negative film is the safest starting point if you want room for exposure mistakes.
- Black-and-white film teaches exposure discipline quickly and is often easier to process at home.
- Slide film looks excellent, but it gives you less exposure latitude and punishes sloppy metering.
- The first roll is won or lost in loading, metering, and note-taking, not in exotic gear.
What the film inside a camera actually does
I think of film as a chemical memory. When light passes through the lens and hits the emulsion, it creates a latent image, which is invisible until development turns it into a visible negative or positive. The camera’s job is to control how much light reaches that surface; the film’s job is to preserve the result.
That is why film photography feels more deliberate than digital. The shutter opens for a specific time, the aperture sets how much light comes through, and the film’s ISO tells you how sensitive the loaded roll is. The sensitivity is not a setting you invent later. It is part of the material in the camera, which is why choosing the right roll matters so much.
There is also a mechanical rhythm to it. After each exposure, the camera advances the film to a fresh frame, and most 35mm cameras expose a 24 x 36 mm image area. Once that frame is gone, it is gone, so every click has a cost in both money and attention. Once that mechanics piece is clear, the next decision is the format you want to live with.
Which formats are worth learning first
For most people, the easiest place to begin is still 35mm. It is widely supported by cameras, labs, and accessories, and it gives you enough frames to practice without making every shot feel precious. If you want more deliberate pacing, medium format is a different experience altogether, but I would not start there unless you already know why you want it.
| Format | What you get | Why it matters | Best for |
|---|---|---|---|
| 35mm / 135 | 24 x 36 mm frames, usually 24 or 36 exposures | The most familiar starting point and the easiest to finish a full roll on | Beginners, street, travel, everyday shooting |
| Half-frame 35mm | Double the number of photos on the same 35mm roll | Lower cost per frame, but smaller negatives and a looser, more casual feel | Practice, travel, budget-conscious shooting |
| 120 medium format | A larger negative with fewer frames per roll | More detail and a slower pace, but less room for spraying and praying | Portraits, landscapes, thoughtful shooting |
If I were choosing only one format to learn on, I would start with 35mm and stay there long enough to understand exposure before chasing larger negatives. Half-frame is a smart budget option if you want more practice per roll, but it also pushes you toward a more snapshot-style rhythm. Once you pick the format, the stock itself becomes the next real decision.
How to pick the right stock for the light you actually shoot in
Film stock changes the look, the latitude, and the amount of forgiveness you get. Exposure latitude is simply how much a film can tolerate over- or underexposure before the image falls apart. That matters more than brand loyalty in the beginning, because a forgiving roll will teach you faster than a glamorous one.
| Film type | Typical ISO | What it gives you | Trade-off | Good starting examples |
|---|---|---|---|---|
| Color negative | 200 or 400 | Natural color, broad latitude, easier scanning | Less immediate contrast than slide film | Kodak Gold 200, Kodak Ultramax 400 |
| Black-and-white negative | 400 | Classic grain, strong tonal separation, flexible look | Monochrome only, and development choices affect the result | Ilford HP5 Plus, Kodak TRI-X 400 |
| Slide / reversal | 100 | Direct positive image, vivid color, precise rendering | Less forgiving exposure window and less room for mistakes | Kodak EKTACHROME E100 |
For a first or second roll, I usually steer people toward color negative or ISO 400 black-and-white. Kodak Gold 200 is a forgiving daylight stock, while Ultramax 400 gives you more flexibility in mixed light and helps reduce the pain of camera shake. On the monochrome side, HP5 Plus and TRI-X 400 are popular for a reason: they give you a classic look without making every exposure feel fragile.
Slide film is beautiful, but it rewards discipline more than experimentation. I would use it only after you are comfortable reading light and accepting that the margin for error is narrower. That choice matters even more once you start loading the roll, because a good stock cannot rescue a bad setup.
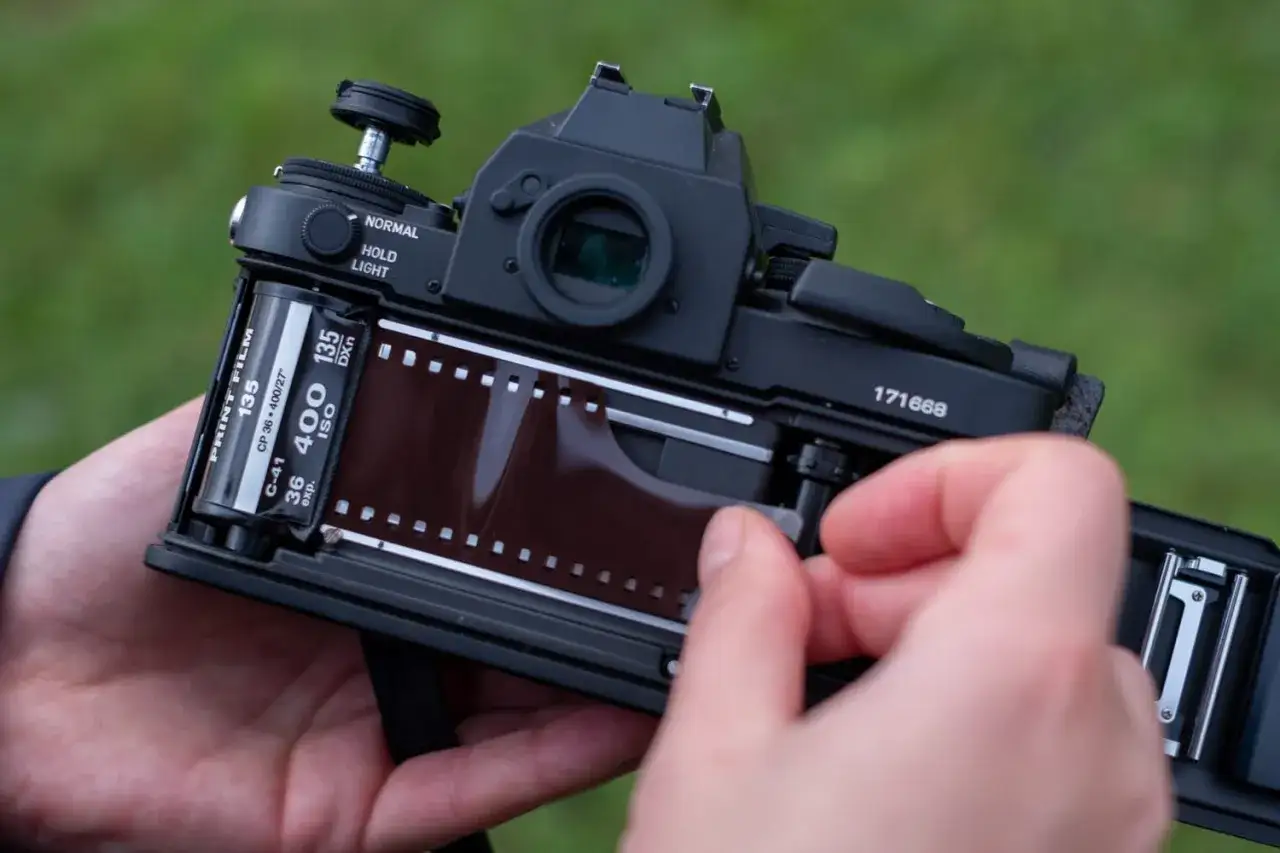
How to load and shoot a roll without wasting frames
The first roll goes wrong in predictable ways, and most of them are mechanical rather than creative. I always slow down here, because a few extra seconds in loading is cheaper than losing the entire roll to a misfeed.
- Match the camera’s ISO setting to the roll before you shoot. If the meter is set wrong, every frame will be judged against the wrong sensitivity.
- Load the film in subdued light, thread the leader cleanly, and make sure the sprocket teeth catch properly.
- Advance until the frame counter reaches the start position and confirm that the rewind knob turns when you wind on.
- Close the back, then take a test frame only if the camera truly needs one. Otherwise, save the roll for actual pictures.
- Meter for the light you have, not the scene you wish you had. With negative film, a little extra exposure is usually safer than starving the frame.
- Keep notes on lens, aperture, shutter speed, and lighting. A small note in your phone can teach you more than a dozen “mystery” frames.
Two habits save the most film: checking the ISO and never forcing the advance. If the lever feels wrong, stop and inspect it. I would rather lose one frame to caution than lose twelve to a jam. Once the roll is finished, the next step is not seeing the photos, but getting the image out of the latent stage.
What happens after the last frame
After exposure, the image still exists only as a latent record in the emulsion. Development turns that invisible information into a visible negative or positive, and then scanning or printing makes it usable. In practical terms, that means your workflow is not complete when the shutter closes; it is complete when the film has been processed and you can actually work with the result.For beginners, a lab is usually the least frustrating route. It removes chemistry variables and gets you to scans quickly, which is useful when you are still learning how your camera behaves. Home development is a great next step, especially for black-and-white, but it adds more moving parts than most first-time shooters need.
I also pay attention to storage. Unshot rolls should live in a cool, dry place, and exposed rolls should be processed promptly enough that the latent image does not sit around longer than necessary. That is not about being precious; it is about protecting the work you already paid for. Knowing what happens after the shoot also makes the common mistakes easier to spot before they ruin a roll.
The mistakes I’d avoid on a first few rolls
I see the same problems repeated again and again, and none of them are glamorous. They are all small errors that snowball into flat negatives, blank frames, or missed chances.
- Setting the camera to the wrong ISO and then trusting the meter blindly.
- Assuming every film stock behaves the same in low light.
- Opening the camera back before the roll is fully rewound.
- Using slide film before you have a solid handle on exposure.
- Expecting a lab scan to rescue an underexposed frame with no detail to work with.
- Leaving film in heat, humidity, or a car glovebox for too long.
The most expensive mistake is usually not artistic failure, but an avoidable mechanical one. If I had to name the biggest beginner trap, it would be rushing the loading process and then doubting the camera instead of the setup. The better habit is simple: check the roll, check the meter, make a note, and stay consistent. From there, choosing a first-roll setup becomes straightforward.
A practical first-roll setup that keeps the learning curve sane
If I were setting up a first roll for someone in the U.S., I would keep it simple: a working 35mm camera, an ISO 200 or 400 color negative roll, and a lab that returns scans. That combination gives you enough forgiveness to learn without making the process feel vague or expensive. If you want black-and-white instead, HP5 Plus or TRI-X 400 is the cleanest way to learn exposure with a classic look.
- Use 35mm first unless you already know you want larger negatives.
- Choose ISO 200 for bright daylight or ISO 400 for mixed light and indoor flexibility.
- Pick 24 exposures if you want a cheaper practice run, or 36 if you want more chances per reload.
- Keep one shooting note for each roll so you can compare results later.
- Consider half-frame only if cost per shot matters more to you than negative size.
Once you understand film in a camera, the rest is mostly about matching the roll to the scene and accepting that the surprise is part of the process. I find that this is where film becomes rewarding rather than complicated: you stop chasing perfect control and start making better decisions before the shutter ever opens.
