
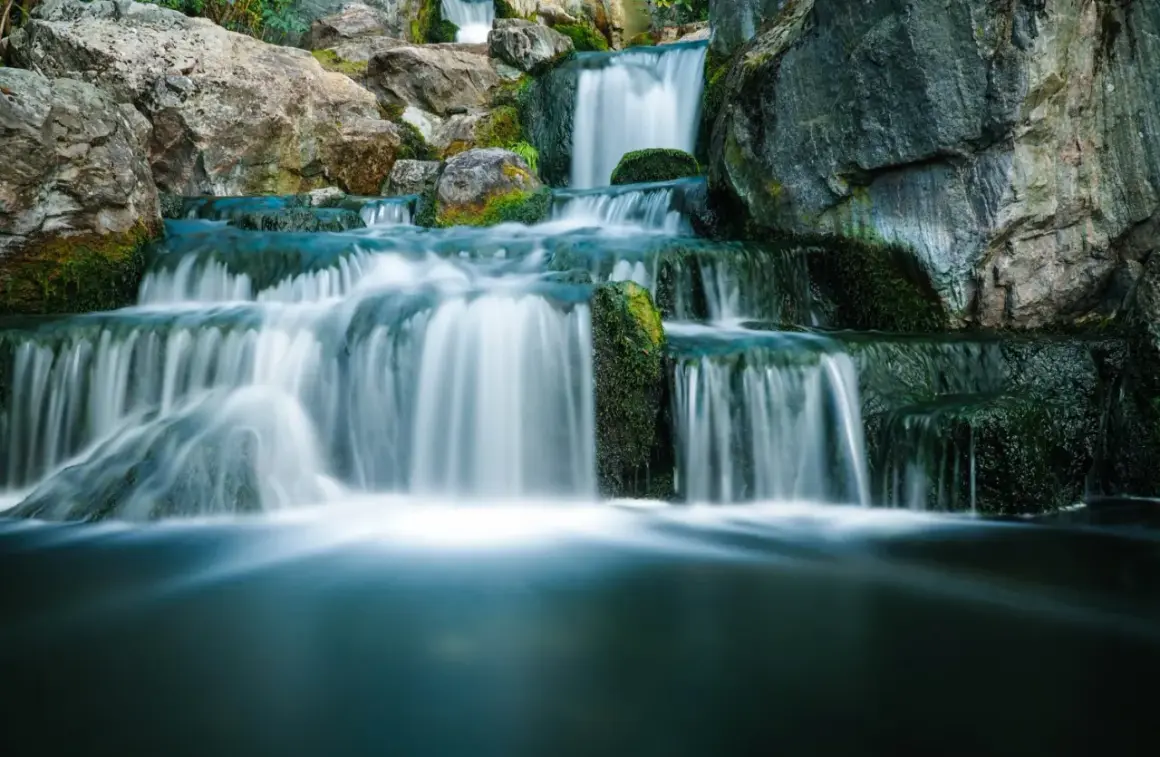
Waterfall photography is really about deciding how much motion you want to keep. I like the subject because it sits halfway between landscape and motion study: the rocks, moss, and trees should stay steady while the water either shimmers with texture or melts into a soft ribbon. In this guide I break down the choices that matter most in the field, from shutter speed and composition to light, gear, and editing.
The main decisions that make a waterfall frame work
- Pick the motion look first: textured flow, silky water, or a mistier, more abstract effect.
- Use a tripod, low ISO, and a remote release or self-timer to keep the file clean.
- Compose for the whole scene, not just the drop, so the image has depth and scale.
- Bring ND filters when daylight is too bright for the shutter speed you want.
- Edit with restraint so the water still feels believable, not plastic.
Choose the motion look before you touch the settings
The first decision I make is simple: do I want to show the water’s structure or blur it into motion? A faster shutter keeps droplets, foam, and texture visible. A slower shutter turns the flow into streaks and gives the frame a calmer, more deliberate mood. Neither is automatically better. The right choice depends on the force of the water, the mood of the scene, and how much attention I want the cascade to command.
| Shutter speed | What it does | When I use it |
|---|---|---|
| 1/60 to 1/15 s | Preserves texture and shape | Fast water, small falls, windy conditions, or when I want a more energetic look |
| 1/8 to 1 s | Softens motion without erasing detail | My default range for many scenes, especially in shade or light overcast |
| 2 to 15 s | Turns the flow into ribbons or mist | Bright daylight with ND filtration, or when I want a more minimalist result |
If I need exposures longer than 30 seconds, I switch to bulb mode and use a remote. The point is not to chase the longest exposure possible; it is to choose a duration that still lets the water look intentional. Once I know the motion I want, I move to composition, because the frame matters as much as the blur.
Compose for the landscape around the falls
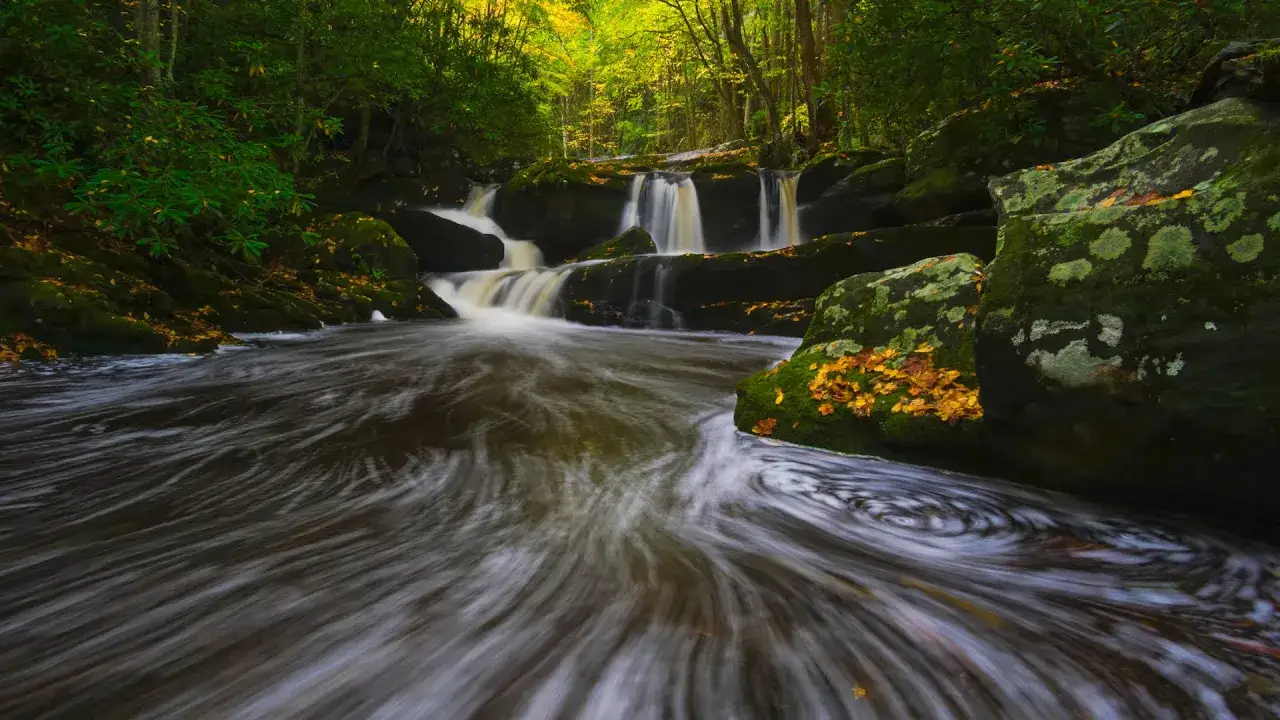
The strongest waterfall frames usually have more going on than the water itself. I look for leading lines in the stream, a clean edge in the rock face, or a foreground element that gives the viewer a way into the scene. A low viewpoint often helps because it makes the fall feel taller and lets the river or rocks anchor the frame. If the only thing in view is a bright sheet of water, the image can feel flat very quickly.
I also pay attention to how the water sits inside the scene. A vertical frame often suits a tall cascade, while a horizontal frame can work better when the environment is as interesting as the fall. Wide-angle lenses are useful when I want context and foreground texture; a longer lens can isolate one section of the flow, a pool, or a rock shelf that would be lost in a wider view. If I have a close foreground and the waterfall both needing sharpness, I sometimes focus-stack two frames instead of stopping down so far that diffraction starts stealing detail.
Background control matters more than many people expect. Branches, bright sky patches, and cluttered shoreline edges can undo an otherwise strong composition. I would rather move two feet left or right than try to fix a weak frame later. Once the scene is arranged, the next job is to hold the camera steady enough to match that composition.
Lock the camera down and build a clean exposure
For this kind of work, I treat a tripod as non-negotiable. Waterfall scenes reward stability, and even a small amount of camera movement can ruin the edge detail in rocks and foliage. I also use a remote release or self-timer so I am not touching the camera when the exposure starts. If the body or lens has stabilization, I usually turn it off once the camera is locked down, unless the manufacturer specifically recommends otherwise.
My practical starting point is low ISO, usually ISO 64 to 100, and an aperture around f/8 to f/11. I only close down farther when I need more depth of field or a slower shutter, and I do not assume that smaller is always better. On many cameras, pushing much past f/11 or f/13 can start to soften fine detail. Manual exposure is the cleanest way to work when the light is changing, but aperture priority can be perfectly workable if I watch the histogram and use exposure compensation carefully.
Neutral density filters are what make daylight waterfall work easier. A 3-stop filter is good when I want a subtle amount of blur in softer light. A 6-stop filter is a strong middle ground for daytime scenes. A 10-stop filter is the one I reach for when the sun is high and I want longer exposures without blowing the highlights. A polarizer is also useful because it cuts glare on wet rock and leaves, but I use it carefully on wide lenses because uneven darkening can become obvious. The goal is not to collect accessories; it is to keep the exposure under control so the camera can render the scene the way I saw it. Light conditions shape the result just as much as the gear does, which is why I always read the weather before I choose a shutter speed.
Read light, weather, and water level like part of the subject
Overcast light is my favorite for a classic waterfall look because it softens contrast and makes it easier to hold detail in the white water. Early morning and late afternoon can be beautiful too, especially when side light gives the rocks and moss more texture. Direct midday sun is harder to work with, but it is not useless. With the right ND filter, I can still get long exposures, and a strong beam hitting the spray can produce a rainbow or a brighter, more graphic frame.
The volume of water changes the entire picture. After rain or during snowmelt, the flow can become powerful and dramatic, but the scene may also get messier and harder to read. In drier periods, the fall may split into thinner streams, which often looks better with tighter framing and a slower shutter. I do not treat seasonal runoff as a problem to fix; I treat it as part of the subject. The image should match the water that was actually there, not some idealized version in my head.
Weather also affects safety and practicality. Spray can coat the front element faster than you expect, and wet rocks can turn a simple angle into a risky one. I keep a microfiber cloth handy, watch my footing, and avoid standing where one bad step would take me into the current. That discipline protects both the camera and the shoot, and it leads naturally into editing, because a careful capture is much easier to finish well.
Edit for clarity, not for a plastic look
Post-processing is where many waterfall images either come together or go too far. I usually start by correcting white balance, because cool shade and reflected greenery can make the file look dull or oddly tinted. Then I recover highlights in the water, especially if the cascade is bright enough to clip in the raw file. A little contrast helps separate the rocks from the foam, but I keep it modest. If the water starts to look airbrushed, the edit has gone past the point of credibility.
Local adjustments are more useful than heavy global sliders. I often darken distracting edges, lift shadow detail in the foreground, and add a small amount of texture to wet rock so the scene feels grounded. Clarity and dehaze can help, but both are easy to overuse. I prefer to use them in small doses rather than letting them define the whole image. Noise reduction is worth applying if I had to raise the ISO, but I do not want to smear out the fine spray or the rock grain in the process.
I also check the crop and straighten the frame before I call the file done. A slight tilt is especially noticeable in scenes with vertical water or straight rock layers. If a branch, bright patch, or stray rock pulls the eye away from the fall, I fix that before I start pushing creative sliders. The finished image should feel calm and clear, not processed for the sake of being processed. Knowing the common mistakes makes that restraint much easier in the field.
Watch the mistakes that quietly flatten the image
Most weak waterfall frames fail for one of a handful of reasons, and almost all of them are preventable:
- Using too much blur, which removes the texture that makes the water feel real.
- Shooting from standing height when a lower angle would have created better depth.
- Ignoring the background and letting bright clutter compete with the cascade.
- Skipping the tripod and hoping handholding will be good enough.
- Leaving spray on the front element and discovering the softness only later.
- Chasing a long exposure even when the fast, energetic look would suit the scene better.
I see the last mistake often: photographers lock onto a “silky water” look and forget that some falls are stronger with visible texture. If the water is already delicate, a long exposure can make it vanish. If the water is violent and full of motion, a slightly faster shutter may actually reveal more character. The image should fit the waterfall, not force the waterfall into a preset style. That is why I keep a short checklist in my head before I leave the trail.
The checklist I keep before I leave the trail
- Tripod planted on stable ground, with the legs spread wide if the surface is uneven.
- Lens cloth ready, because spray appears faster than people expect.
- One frame for texture, one for the standard silky look, and one slower exposure if the light allows it.
- Foreground, background, and edge clutter checked before I press the shutter.
- Histogram reviewed so the brightest water still has detail.
When all of that lines up, the final image feels specific to the place instead of interchangeable with every other cascade shot. That is the real target here: a frame where the motion, light, and composition all agree. If you keep the subject honest and the technique controlled, the waterfall will do the heavy lifting for you.
