
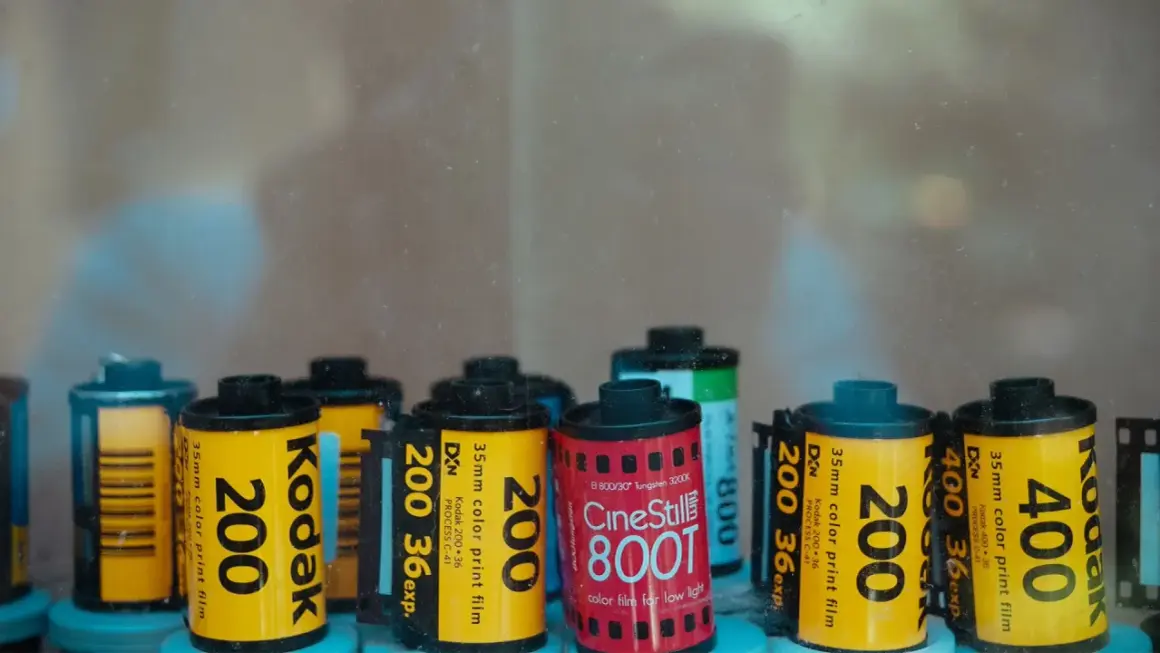
The practical differences start with how the film is built
- Color negative is the safest all-purpose choice when you want flexibility and easy scanning.
- Black-and-white negative gives the widest room for tonal interpretation and classic monochrome rendering.
- Slide film is the most precise and vivid, but it exposes mistakes quickly.
- ISO, grain, and latitude matter more than most “best film” lists admit.
- Specialty films like chromogenic B&W, orthochromatic, and infrared work best when you want a specific effect, not a general-purpose roll.
What 35mm film actually means
In still photography, 35mm usually means 135-format film loaded in a cassette and exposed in a 24 x 36 mm frame. Most rolls hold 24 or 36 exposures, although the exact count depends on the cartridge and loading. I bring this up because the format is only the container; the emulsion and the chemistry do the creative work.
That is why two rolls shot through the same camera can look wildly different. One may give you forgiving shadows and warm color, while another demands precise metering and rewards you with a crisp transparency. Once that distinction is clear, choosing film becomes much less mysterious.
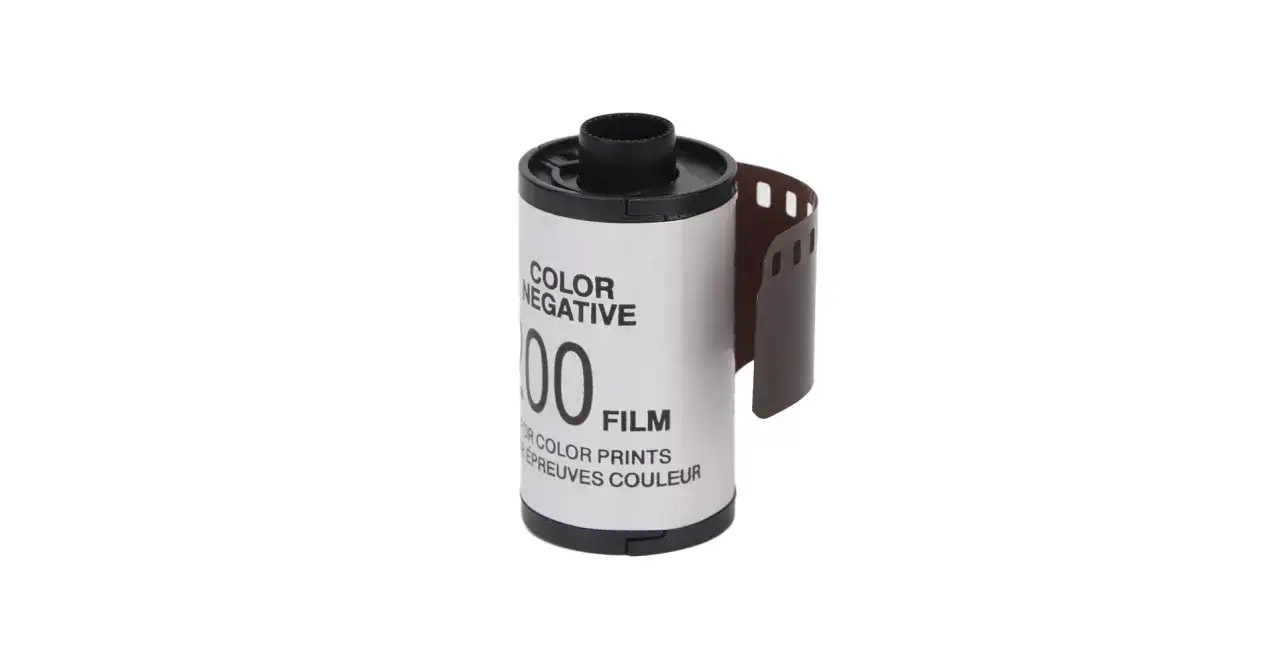
The film families that matter first
When I narrow the field, I usually group 35mm stocks into a few practical families. The label on the box may be more specific, but these are the differences that show up in real shooting.
| Film family | Look | Exposure latitude | Processing | Best use | Main tradeoff |
|---|---|---|---|---|---|
| Color negative | Natural color, soft highlight roll-off, easy to correct | High | C-41 | Everyday shooting, portraits, travel, mixed light | Needs inversion when scanned or printed |
| Black-and-white negative | Classic monochrome, strong tonality, flexible contrast | High to very high | B&W chemistry; some stocks use C-41 | Street, documentary, portraits, home darkroom work | No color information, so the final look depends on the scan or print |
| Slide/reversal | Positive image, vivid color, clean detail | Low | E-6 | Landscape, controlled daylight, transparency work | Small exposure window, harder to rescue mistakes |
| Chromogenic B&W | Monochrome output with a smoother, more lab-friendly workflow | High | C-41 | Fast lab processing, convenient black-and-white shooting | Less hands-on control than traditional B&W |
How speed, grain, and latitude shape the result
ISO is the quickest way to read a film’s behavior. ISO 100 to 200 usually means finer grain, cleaner scans, and a bias toward daylight or tripod-friendly work. ISO 400 is the practical sweet spot for most photographers because it keeps the image flexible without making grain the whole story. ISO 800 and above buys you lower-light capability, but the grain, contrast, and scanning demands rise with it.
- Lower-speed films reward careful metering, bright conditions, and detailed scans.
- Mid-speed films are the most forgiving all-rounders for mixed shooting.
- High-speed films help when shutter speed matters more than a perfectly smooth texture.
What push processing really changes
Push processing means rating the film as if it were faster than box speed and asking the development process to compensate. It can save a dim scene, but it usually adds contrast, deepens grain, and reduces shadow detail. I treat it as a deliberate compromise, not a free upgrade in speed.
Once you see speed as a tradeoff between light, texture, and flexibility, the more unusual film stocks start making sense for very specific jobs.
Specialty stocks make sense only when the effect is the point
There is a temptation to treat niche film like a shortcut to a better image. I do not see it that way. Specialty emulsions earn their place when their behavior supports the subject; otherwise they just make exposure harder.
Chromogenic black and white
Chromogenic B&W films are monochrome stocks designed to run through C-41, the standard color-negative process. Ilford XP2 Super is the clearest example: it gives you black-and-white output with wide latitude, fine grain, and the convenience of one lab workflow. I like that option when I want monochrome but do not want to separate my processing from color rolls.Orthochromatic film
Orthochromatic film is sensitive mainly to blue and green light, which means reds and oranges can render much darker than they do on panchromatic film, the standard film type that responds across most of the visible spectrum. Ilford Ortho Plus is a good reference point here. I reach for it when tonal separation is part of the concept, especially if I want a more graphic or historical feel.
Read Also: Mamiya 645 Guide - Best Models & Lenses for Film Photography
Infrared film
Infrared film is the most specialized of the group. It can make foliage glow and skies go deep, but it also asks for careful filtration, exposure discipline, and a clear reason to use it. Unless you already know the look you want, it is better as a creative detour than as a first-roll choice.
Those niche options are interesting, but they are not the whole decision. The more useful question is how the film behaves in the kind of shoot you actually do.
Matching film to the way you actually shoot
I get the best results when I start with the use case, not the aesthetic label. Portraits, street work, travel, and low light all reward different film behavior, even when they share the same camera.
| Shooting scenario | Film direction | Why it works | What to watch |
|---|---|---|---|
| Portraits | Color negative or medium-speed B&W | Skin tones stay forgiving, and the files or prints are easy to shape later | Watch mixed light and scan balance |
| Street and documentary | ISO 400 B&W negative | Fast enough for handheld work, with strong tonal separation | Grain becomes part of the style |
| Travel and everyday color | Color negative at ISO 200 to 400 | Works in bright daylight and still holds up indoors | Mixed artificial light can shift color |
| Low light | High-speed color or B&W negative | Keeps shutter speeds usable when the light drops | Expect more grain and a narrower latitude margin |
| Landscape in daylight | Slow B&W or slide film | Slow stocks reward detail; slide film rewards exact exposure and clean color | Meter carefully and do not trust highlight recovery |
If I only had one roll for an unfamiliar city, I would usually choose a forgiving color-negative stock at ISO 400. It is the safest balance of flexibility, scan quality, and low-stress shooting. Once you know the scene, you can move into more specialized film with far less guesswork.
Development and scanning can change the look as much as the emulsion
Film type is only half the story. The chemistry, the lab, and the scan profile all shape the final image, especially if your end result is a digital file rather than a darkroom print. C-41 is the standard for color negatives, E-6 is used for slide film, and classic black-and-white film gives you the most room to tune contrast, grain, and tonal curve in development.
- Color negative is the most forgiving if the lab has good scan settings and color correction.
- Slide film looks stunning when exposed correctly, but scan and exposure mistakes show immediately.
- Traditional B&W can look very different from one developer or scan profile to another.
- Chromogenic B&W is the easiest monochrome choice when you rely on a minilab workflow.
For most modern shooters, the scanner is where the look is finally locked in. That is why I judge a film by the full pipeline, not just by how it sounds on paper. The same roll can feel warm, cool, punchy, or flat depending on how it is developed and digitized.
If I were starting from zero, I would build the lineup this way
- One forgiving color-negative roll at ISO 400 for everyday shooting.
- One medium-speed black-and-white negative roll for learning tonality and metering.
- One slide film only after exposure feels consistent in daylight.
- One specialty stock, like orthochromatic or infrared, only when the effect is clearly part of the brief.
That order teaches the format without wasting too many rolls on narrow-use emulsions. Once you can predict how a stock behaves in your light and with your lab, the choice stops being about chasing the “best” film and starts being about choosing the right tool for the image you want to make.
