
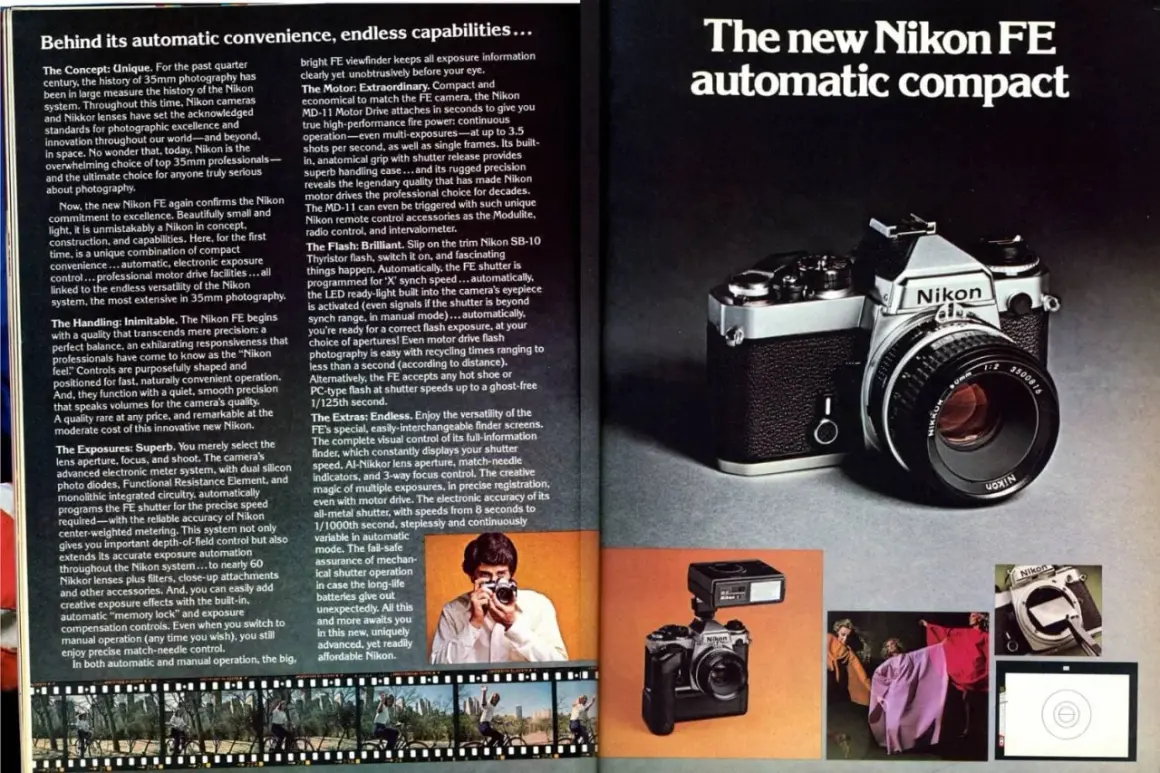
The Nikon FE is one of those 35mm SLRs that looks modest on paper and becomes more interesting once you use it. It gives you aperture-priority automation, full manual control, a center-weighted TTL meter, and a body that feels designed for real film work rather than museum display. In this guide I focus on what it does well, where its limits are, which lenses make sense, and what to check before buying one used.
A compact AE SLR that stays useful because it stays simple
- It pairs aperture-priority auto exposure with manual match-needle shooting, so you can work fast or take full control.
- Its through-the-lens meter is center-weighted and works best when you place the important part of the scene near the middle.
- The shutter runs from 8 seconds to 1/1000 second, with mechanical B and M90 backup modes.
- It uses Nikon F-mount lenses, and AI-era lenses are the easiest fit for full-aperture metering.
- Two 1.5V silver-oxide batteries power the meter and electronic shutter, so battery care matters.
- For most film photographers, it is strongest as a balanced, dependable everyday 35mm body.
What the FE actually is and why it still earns attention
Nikon’s own archive places the camera’s launch in June 1978 and describes it as the AE version of the FM. That framing is accurate and useful: the FE was never meant to be a flashy experiment, but a compact, practical SLR that brought aperture-priority shooting into a body photographers could trust every day. I read that as the main reason it still matters. It does not try to automate everything, and it does not strip away control.
On the outside, the body is straightforward and compact. The manual lists it at about 142 x 89.5 x 57.5 mm and roughly 590 g for the body alone. Inside, the shutter is electronically controlled, but the camera still gives you M90 and B mechanical options when you need them. That mix is the FE’s real strength: enough automation to make shooting easy, enough manual control to keep the process honest.
| Feature | What it offers | Why it matters |
|---|---|---|
| Film format | 35mm, 24 x 36 mm | Standard frame size with a huge choice of film stocks and labs |
| Exposure modes | Aperture-priority AE and manual match-needle | Fast when you want it, precise when you need it |
| Shutter | 8 s to 1/1000 s, plus B and M90 | Useful for daylight, portraits, and long exposures, with a fallback if power dies |
| Metering | TTL, center-weighted, full-aperture with compatible lenses | Predictable readings for general shooting and controlled lighting |
| Film speed range | ASA 12 to 4000 | Enough flexibility for slow slide film or faster negatives |
| Power | Two 1.5V silver-oxide button cells | Simple, but only if you keep the batteries fresh |
That combination explains why the body still feels relevant: it is not trying to do the work for you, but it removes enough friction that you can stay focused on timing, framing, and light. From here, the real question is how the meter behaves in the field.
How it meters and exposes film in practice
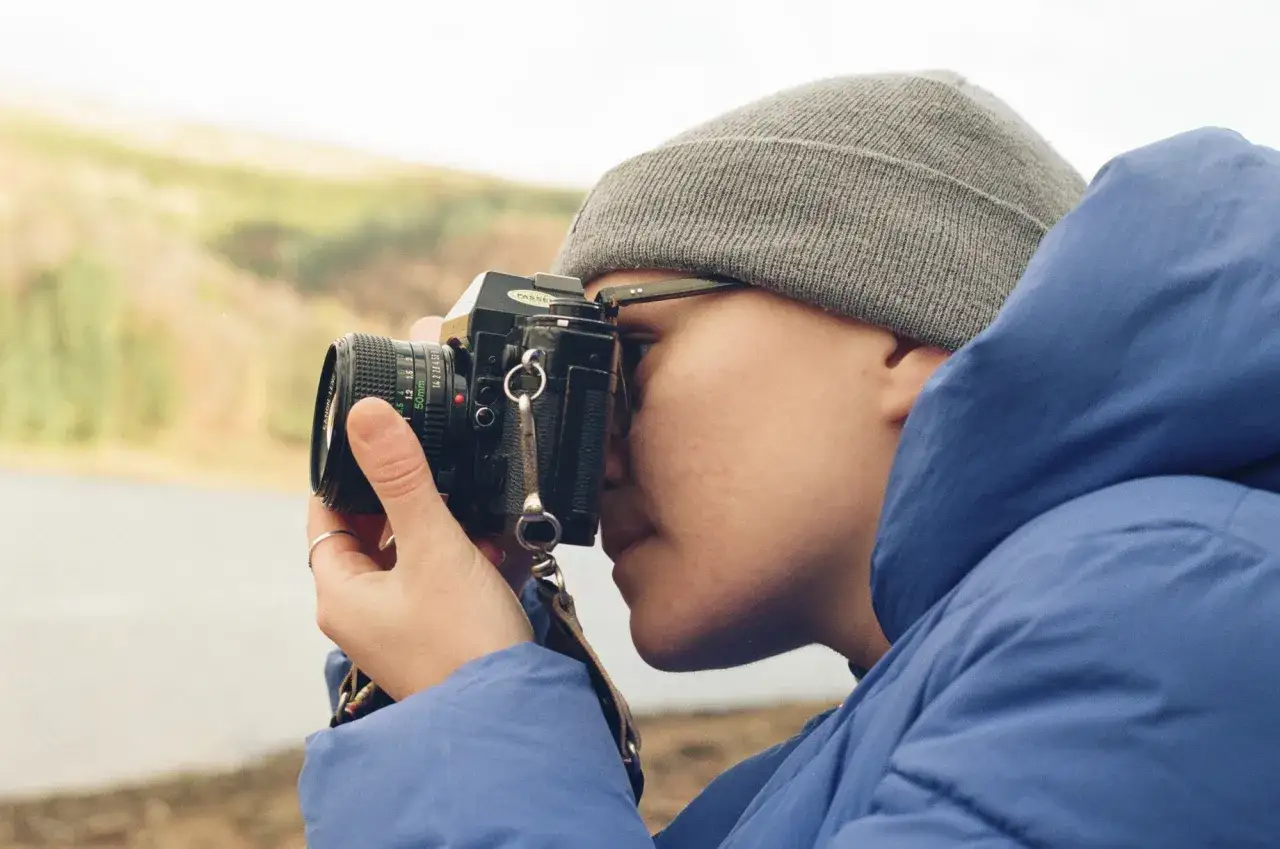
The FE uses through-the-lens center-weighted metering, which means it reads the scene through the taking lens and gives extra weight to the central area of the frame. The manual describes that weighting as focused around a central 12 mm area while still considering the rest of the screen. In plain English, that makes the camera calm and usable for portraits, street work, and general documentary shooting, but it also means you should not treat the frame edges as equally important when the background is bright or dark.
In AUTO mode, you choose the aperture and the camera selects the shutter speed. That is the mode I would use for most negative film, because it keeps the process simple and makes it easy to steer depth of field without turning exposure into a chore. In manual mode, the FE gives you the classic match-needle layout: one needle shows the selected shutter speed, the other shows what the meter wants. Match them, or deliberately offset them if you want to underexpose or overexpose by a stop.
A good working rhythm looks like this:
- Set the film speed correctly before you start shooting.
- Move the advance lever to wake the meter.
- Choose AUTO if you want the camera to pick shutter speed, or manual if you want to set it yourself.
- Watch the shutter speed in the finder and adjust the aperture if the camera is choosing something too slow or too fast.
- Use the center-weighted meter on the subject, not the brightest or darkest edge of the frame, when contrast gets tricky.
The best part is that the FE does not collapse into uselessness when the batteries go flat. M90 gives you a fixed 1/90 second mechanical speed, and B stays mechanical as well. That is a small detail until the day it saves a roll. Once you understand that exposure workflow, the next step is choosing the right lenses and accessories to match it.
The lenses and accessories that make it feel complete
The FE uses the Nikon F mount, which is exactly why it remains interesting to film photographers who already own Nikon glass. Lenses with the AI coupling ridge are the easiest fit because they support full-aperture metering cleanly. The camera can also work with non-AI lenses, but then you move into stop-down metering, which is perfectly usable and a little slower. I would treat that as a compatibility option, not the default way to shoot.
If you want the least friction, I would start with three kinds of lenses:
- A normal lens around 50 mm for general use and fast learning.
- A short telephoto around 85 mm for portraits and isolating subjects.
- A moderate wide angle around 28 mm or 35 mm for travel and street work.
The FE also has a few practical body features that matter more than their headlines suggest. There is a depth-of-field preview lever, a memo holder on the back, and support for optional motor drive use. Nikon’s manual also lists a built-in ISO-type hot shoe and a flash sync speed of 1/125 second, which is enough for simple flash work if you keep expectations realistic. This is not a modern TTL flash system; it is a straightforward film-camera flash setup that rewards clean technique.
Battery choice matters too. The camera wants two 1.5V silver-oxide cells, and the manual is blunt about one habit I see people ignore: leave the advance lever flush with the body when the camera is not in use, or the meter can drain the batteries surprisingly quickly. That kind of detail is exactly what separates a good used-camera experience from a frustrating one.
What to inspect on a used body
When I buy a used FE, I do not start with cosmetic condition. I start with function. Scratches and brassing are fine if the camera is mechanically honest; hidden faults are the real problem. A clean example should pass a few basic checks before I trust it with a good roll of film.
- Check the battery compartment for corrosion or residue.
- Confirm that the meter wakes up when the advance lever is moved out from the body.
- Test AUTO and manual shutter speeds, including the slow speeds where electronic bodies sometimes struggle.
- Make sure M90 fires even if you remove the batteries.
- Inspect the light seals and mirror foam for deterioration.
- Run the rewind crank, advance lever, and self-timer to see whether they feel smooth and consistent.
- Mount a lens and confirm that the aperture coupling and meter readout behave normally.
If the camera fails one of those checks, that does not always make it a bad purchase. It does mean you should treat it as a service project, not a ready-to-shoot body. For a lot of buyers, that distinction matters more than brand reputation. Once the camera passes those basics, the question becomes which Nikon body makes the most sense for your shooting style.
How it compares with the FM and FE2
The FE sits in a very specific middle ground. The FM is the purist’s choice: fully manual, fully mechanical, and excellent if you want the camera to keep working with minimal dependence on power. The FE2 is the more aggressive evolution: faster, more advanced, and built around a more ambitious exposure system. Nikon’s archive describes the FE2 as a later follow-up that added a 1/4000 second shutter and more automation, which tells you exactly what changed in the family.
| Body | Exposure style | I would pick it when | Main tradeoff |
|---|---|---|---|
| FE | Aperture-priority AE plus manual | I want one body that does a little of everything without feeling complicated | Top shutter speed stops at 1/1000, so it is not the fastest option |
| FM | Manual exposure only | I want maximum mechanical simplicity and a stronger “always ready” feeling | No aperture-priority automation |
| FE2 | More advanced AE system | I want the same general idea with more speed and more automation | Less stripped-down, and usually less forgiving as a budget buy |
My practical read is simple: the FE is the sweet spot if you want a camera that is easy to live with but still feels like a photographer’s tool. If you want to move a little faster and keep the experience cleaner, the next question is what you should actually shoot with it first.
What I would shoot with it first in a modern film kit
I would put the FE in a kit built around slow, deliberate 35mm shooting. That means portraits, travel, street scenes, small documentary projects, and any situation where you want the camera to stay out of the way while you think about light. Color negative film is a natural match because it gives you more exposure latitude. Black-and-white film also works beautifully, especially when you want to practice reading contrast instead of fighting it.
I would not make it my first choice for fast sports, erratic wildlife, or anything that demands very high shutter speeds and rapid frame advance. The camera can absolutely handle motion when you work within its limits, but its strengths are composure and consistency, not brute speed. That is not a flaw; it is the reason many people still enjoy it. The FE encourages better habits because it rewards attention instead of panic.
If I were setting one up for 2026, I would keep the kit intentionally small: a normal lens, a short telephoto, two fresh silver-oxide batteries, and one film stock I know well. That combination is enough to make the camera feel effortless rather than nostalgic. And if you want the short version, it is this: keep the setup simple, meter from the center, and let the body do the part of the job it was designed to do.
