
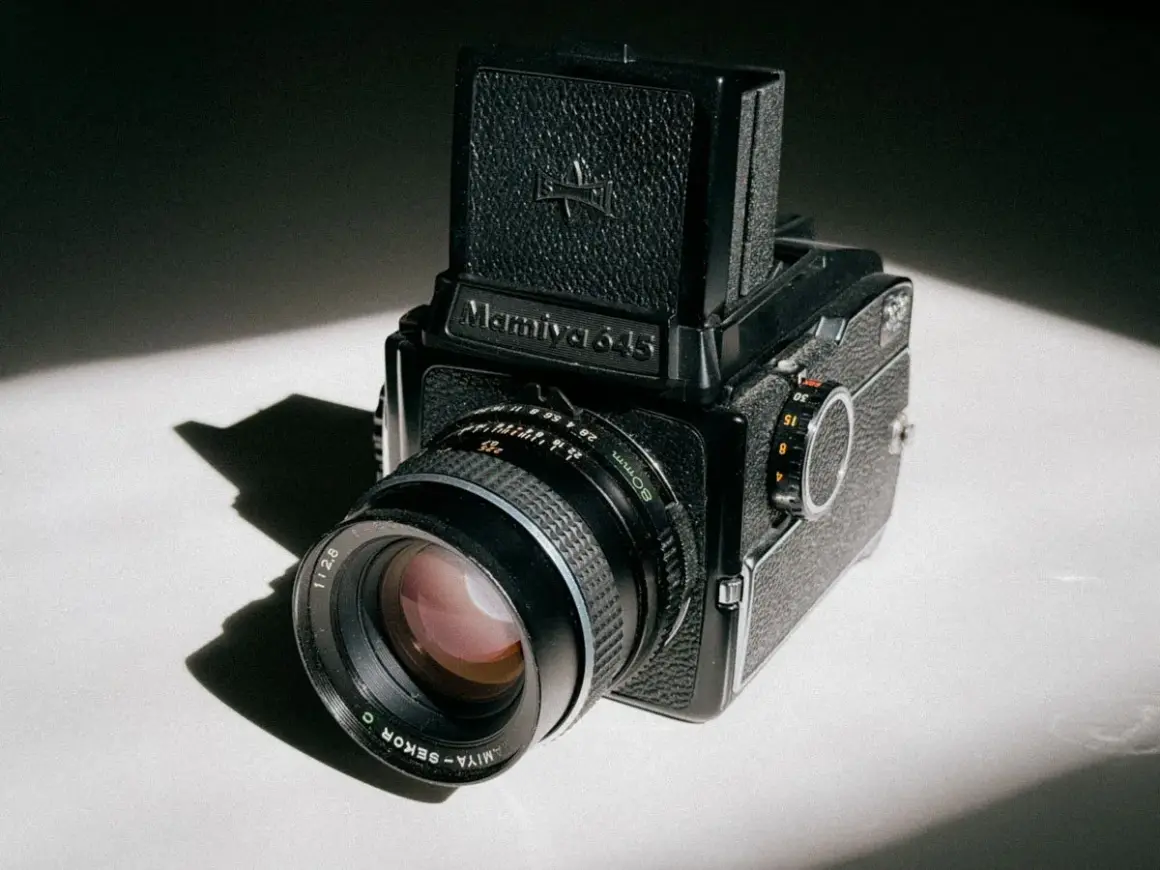
The Mamiya 645 system sits in a practical middle ground: larger negatives than 35mm, but a body you can still handhold for a full afternoon. That balance is why it keeps coming up in film photography conversations, especially for portraits, travel, editorial work, and anyone who wants medium format without committing to a brick. Here I break down what the camera line actually is, which body makes sense, how the lens ecosystem changes the experience, and what to check before you buy one.
What matters most before you buy
- It is a 6x4.5 medium format SLR system, so you get a bigger negative without the size penalty of 6x7.
- A 120 roll gives you about 15 frames, which makes every shot more deliberate but still manageable.
- The Pro and Pro TL bodies are usually the best balance of modularity, ergonomics, and used-market value.
- The 80mm lens is the safest first buy; the 55mm and 150mm matter more once you know your shooting style.
- Used kits vary wildly in price, and missing finders or bad film backs can erase the bargain fast.
- If you want a handheld medium-format workflow that feels controlled rather than fussy, this system still makes sense.
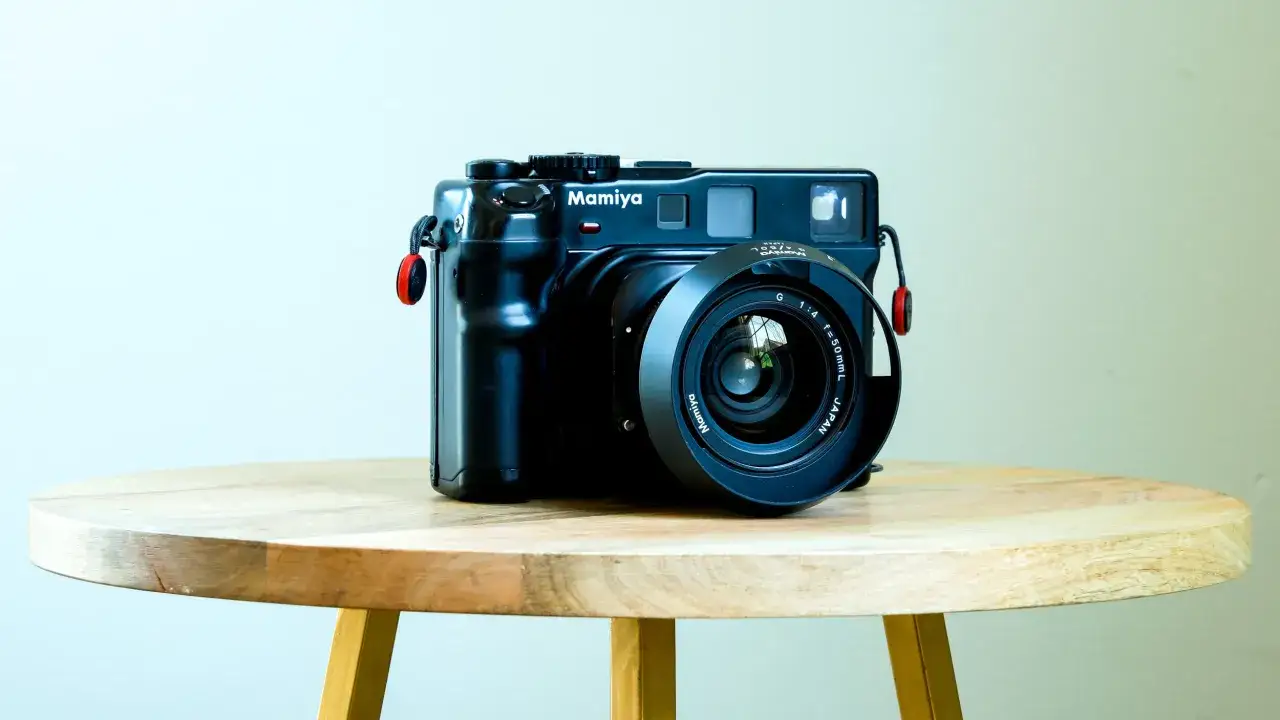
What the 6x4.5 format actually gives you
The appeal starts with the negative size. You are working with a frame that is roughly 56 x 41.5 mm, which is about three times the area of 35mm while still being easier to carry than a 6x7 setup. On 120 film, that means about 15 exposures per roll; the older 220 backs were designed for 30, but 120 is the format that actually matters for most photographers now.
That frame size also explains the look. The 4:3 aspect ratio feels familiar if you come from digital, but the files are more pliable because the negative has more tonal information to work with. In practice, that means portraits look a little calmer, highlights roll off more gracefully, and normal lenses do not need to fight the format the way they often do in 35mm.
| Format | Typical frame size | Frames on a 120 roll | What it feels like |
|---|---|---|---|
| 35mm | 24 x 36 mm | 36 | Fast, compact, forgiving on cost |
| 6x4.5 | 56 x 41.5 mm | 15 | Best balance of quality, weight, and efficiency |
| 6x7 | 56 x 70 mm | 10 | Bigger presence, slower pace, more tripod-friendly |
If I had to reduce the format to one sentence, I would call it the medium-format sweet spot for photographers who want quality gains without turning every shoot into a production. Once that is clear, the next real decision is which body generation fits the way you work.
Which body generation makes sense in 2026
The line splits cleanly into three buying decisions: early manual bodies, the modular Super and Pro era, and the later autofocus system. They all share the same basic promise, but they do not feel the same in the hand or in the field.
| Body family | Strengths | Tradeoffs | Best for |
|---|---|---|---|
| Early M645 / 1000S | Usually cheaper, straightforward, good entry point | Older ergonomics, less refined handling, fewer convenience features | Budget buyers, learners, people who want the format first and the extras later |
| Super | Interchangeable backs and finders, strong value, very practical | Still an older design and often sold in mixed-condition kits | Most photographers who want the modular system without overspending |
| Pro / Pro TL | Best overall ergonomics, refined modularity, excellent working balance | Usually costs more than early bodies, and complete kits can get heavy | Portrait, editorial, travel, and anyone who wants one body to build around |
| 645AF | Autofocus, more automation, more modern shooting feel | Less modular, pricier, and not the same tactile experience as the manual line | Photographers who want speed and are comfortable with a more integrated body |
The modular manual-focus bodies are where the system’s personality really shows. Interchangeable finders, film backs, screens, and grips make them feel like a kit you can tune for a specific assignment rather than a fixed object you just live with. The 645AF is the more modern choice, but it is also a more closed one.
One compatibility detail matters if you are tempted by the autofocus body: older manual-focus M645 lenses still work on the AF system for stopped-down work and focus confirmation, but they do not magically become autofocus lenses. That makes the older glass useful, just not as seamless as native AF optics. Once you understand that tradeoff, the lens list becomes much easier to navigate.
The lenses and accessories that change the experience
The body is only half the story. On this system, the lens and finder choices shape the entire shooting rhythm, which is why two photographers can own the same camera and have very different opinions about it.
| Item | What it changes | Why it matters |
|---|---|---|
| 80mm standard lens | Natural perspective and easy framing | The cleanest first lens; it shows you what the system does without complicating things |
| 55mm wide lens | Wider field of view for environments and interiors | Useful for environmental portraits and scenes where the background matters as much as the subject |
| 150mm portrait lens | Compression and subject separation | One of the easiest ways to make portraits look more deliberate and flattering |
| AE prism finder | Metering and upright eye-level viewing | Best choice if you want a faster handheld workflow |
| Waist-level finder | Lower profile and more deliberate composition | Good for slow work, street scenes, and anyone who likes the ground glass style of shooting |
| Extra film back | Lets you swap film types mid-day | Very useful if you alternate color and black-and-white or want different speeds ready to go |
If I were buying only one lens, I would start with the 80mm and resist the urge to build a whole kit immediately. The 55mm becomes interesting when you know you want more environment in the frame, and the 150mm is the lens that gives the system its portrait confidence. There is also a strong case for a leaf-shutter lens if you shoot outdoor flash, because the body’s own sync limits are not as flexible as modern digital habits might suggest.
The accessory that gets underrated most often is the finder. An AE prism makes the camera much easier to live with when you are moving quickly, while a waist-level finder slows you down in a good way. That choice is not cosmetic; it changes how often you use the camera, which is usually the real metric that matters.
How to shoot it without wasting film
This is a camera system that rewards a steady pace. I would not call it difficult, but it does punish sloppy habits more than 35mm does, mostly because each frame matters more and the viewfinder encourages you to think before you press the shutter.
My practical shooting rules are simple. First, treat the battery as essential; these bodies are not a place for half-broken power compartments or old cells you “might replace later.” Second, get comfortable metering through the prism or with a hand meter, because exposure confidence is what keeps the format enjoyable. Third, use mirror lock-up on a tripod when sharpness really matters, especially with longer lenses or close subjects.
I also think film choice matters more here than people admit. A forgiving color-negative stock gives you room to learn the camera’s response to contrast, while black-and-white stock makes it easier to judge focus and tonality. For a first roll, something forgiving like Portra-style color negative or HP5 Plus makes more sense than a high-contrast, unforgiving stock that exaggerates every mistake.
- Keep your handholding speed conservative, especially with the 150mm and longer lenses.
- Check the dark slide before every back change so you do not waste a frame or jam the system.
- Use a tripod for landscapes, tabletop work, and anything where fine detail matters more than speed.
- Respect the shutter speed limits of the body you own, because not all generations feel the same in flash work.
- Bracket when the light is tricky; 15 frames disappear faster than most people expect.
Once the shooting rhythm clicks, the real risk shifts from exposure mistakes to buying mistakes, and that is where many good deals quietly turn bad.
What a good used kit costs and what can go wrong
Used prices are still all over the map in 2026, so I would budget around condition rather than model name alone. A body that looks cheap on paper can become expensive once you add a finder, a working back, and one lens you actually want to use.
| Item | Rough used price in 2026 | What to watch |
|---|---|---|
| Body only, early manual body | $150 to $250 | Often the least expensive entry, but condition varies a lot |
| Body with prism and 80mm lens | $550 to $800 | This is the point where the kit starts to feel complete |
| 80mm standard lens | $150 to $250 | Common, but good copies still command real money |
| 55mm wide lens | $300 to $400 | Usually costs more because demand is high and supply is thinner |
| 150mm portrait lens | $90 to $150 | One of the better value buys if you want a second lens |
Watch for sticky advance mechanisms, light leaks around old foam, fungus or haze in older lenses, and missing accessory parts that quietly force you to buy replacements. Many listings also come from Japan or other overseas sellers, so shipping can change the real price by a lot. If the body is clean but the back is questionable, I would keep looking.
The starter kit I would choose first
If I were building a practical kit from scratch, I would start with a Pro or Pro TL body, an AE prism, and the 80mm f/2.8. That combination gives you the strongest mix of usability, image quality, and resale stability without locking you into a fragile or overly specialized setup. If I wanted a second lens, I would add the 150mm before I bought anything wider.
That is also why the Mamiya 645 still feels so relevant to me: it gives you medium-format negatives, a modular shooting experience, and a pace that encourages better framing without making the camera feel like a burden. Buy the cleanest complete kit you can afford, not the cheapest incomplete one, and you will get much more out of it than the spec sheet alone suggests.
