
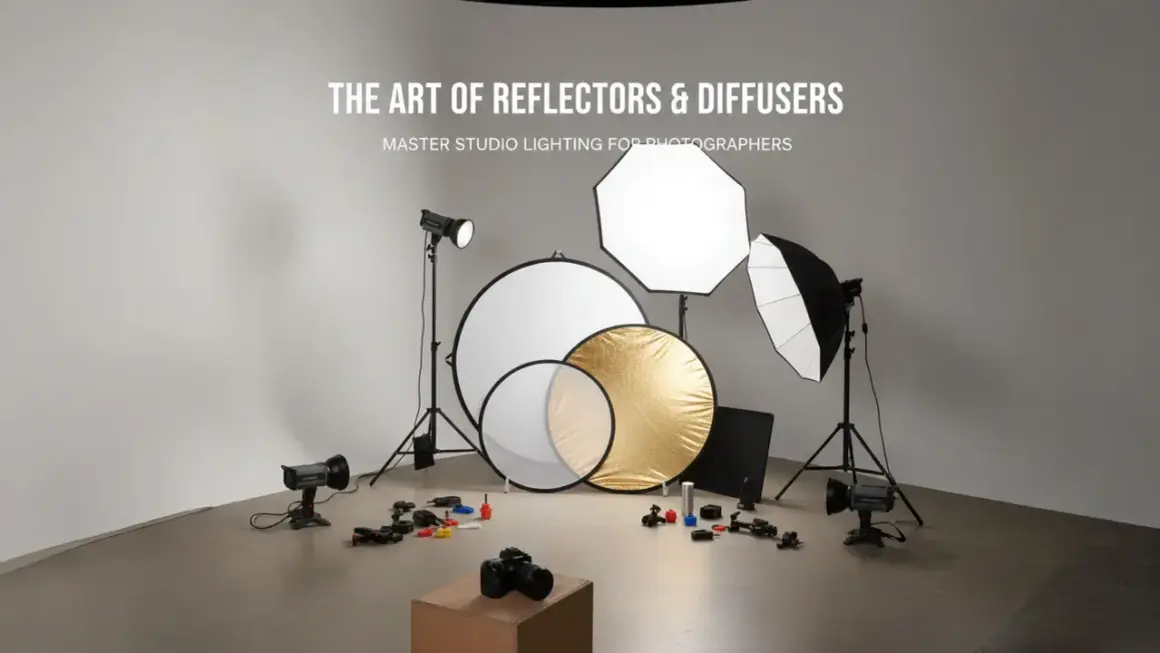
Controlled light is what turns a studio from a room with gear into a place where you can actually shape the image. The best photo studio lighting tips are rarely about buying more gear; they are about deciding whether the frame should feel soft, crisp, dramatic, or clean before you start moving stands. In practice, that means choosing the right source, placing it with intention, and knowing when to stop adding more lights.
These are the studio lighting basics that save the most time
- Start with one key light and add fill only when the shadows need control.
- Use softboxes and umbrellas for softer light, grids and strip boxes for tighter control.
- Place the key light about 30 to 45 degrees off camera axis and slightly above eye level.
- Keep fill 1 stop or 2 stops under the key if you want shape instead of a flat frame.
- Watch the eyes, the background, and the reflections before you declare the setup finished.
Start with the look you want, not the gear you own
Every studio session begins with a choice: high-key clean, low-key moody, or something in between. I decide that before I switch anything on, because the goal of the light determines the rest of the setup: modifier size, angle, subject distance, and how much shadow I leave in the frame.
High-key lighting means bright, low-contrast images with very little shadow detail; it works well for headshots, beauty, and catalog work. Low-key lighting does the opposite, keeping more of the frame in shadow so texture and shape feel stronger. If you know which one you are chasing, you stop wasting time trying to “fix” a result that is actually doing the right thing.
I think in jobs, not in fixtures. The key light creates the main shape, the fill decides how much shadow survives, and the background light separates the subject from the backdrop. Once those roles are clear, the rest of the setup becomes much easier to tune.Once that intent is clear, the next decision is the light source itself.
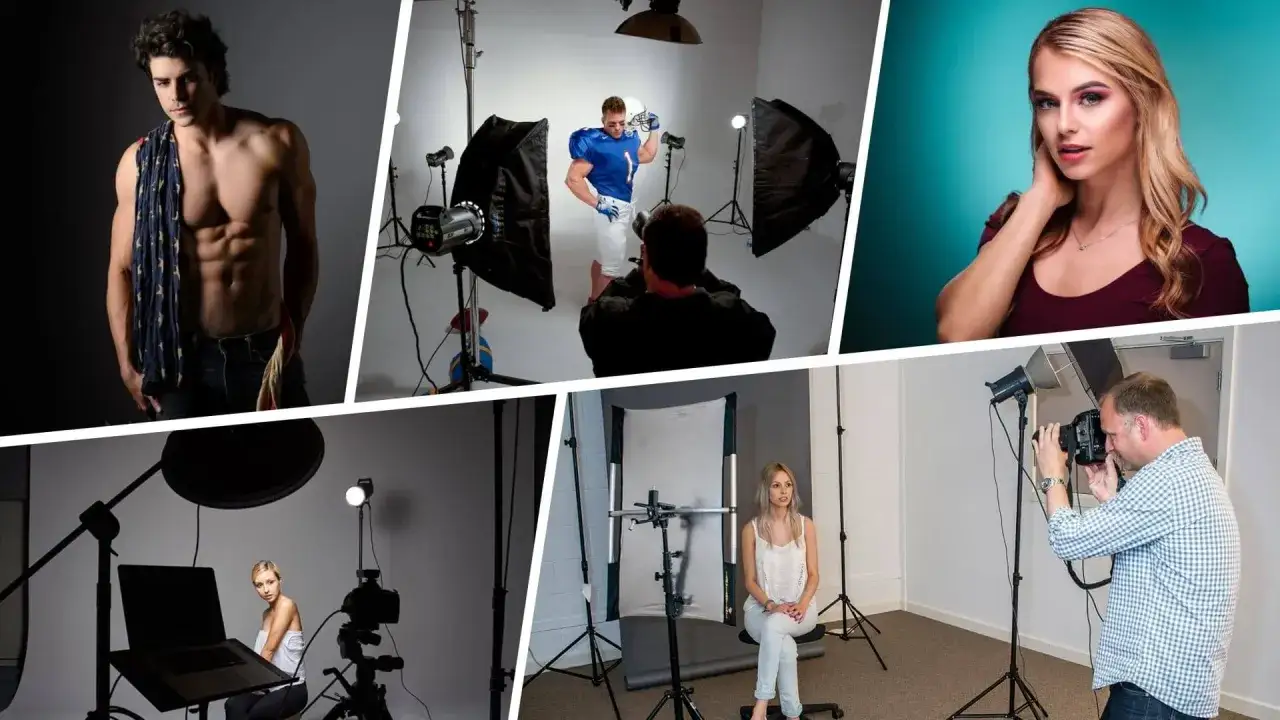
Choose a light source that matches the room and the subject
There is no single “best” source for a studio. The right choice depends on how much control you need, how big the subject is, and whether you want to see the lighting effect live or evaluate it in test frames. The simplest way to narrow it down is to compare the three sources most people actually use in a studio.
| Light source | Best for | Strengths | Tradeoffs |
|---|---|---|---|
| Continuous LED | Learning, portraits, hybrid photo and video work | You see the effect in real time, so placement is easier to judge | Less punch in large modifiers or bright rooms |
| Strobe or monolight | Portraits, product work, frozen motion | Strong output and clean control over ambient light | You only see the final look after a test shot |
| Window light | Soft portraits and a natural look in windowed studios | Free, flattering, and easy to diffuse with curtains or scrims | Changes with weather, season, and time of day |
A monolight is a self-contained flash head, which keeps the setup compact and easy to expand later. If I am starting from scratch, I usually prefer one controllable LED or one monolight with a modifier rather than a full kit. That keeps the learning curve honest. A light you understand is more useful than three lights you cannot balance.
For beginners, consistency matters more than brand names or wattage on a spec sheet. A source you can predict will teach you faster than a more powerful one you do not yet know how to shape.
From there, the real work is learning how to build a frame with one light before you add anything else.
Build a one-light setup before you add complexity
The most reliable studio setup is often the one with the fewest moving parts. I start with a single key light because it shows me exactly what the shadows are doing; then I decide whether those shadows need to be softened, filled, or left alone.
- Place the key light about 30 to 45 degrees off camera axis and slightly above eye level.
- Move the light closer for softer edges and farther away for a harder, more contrasty look.
- Keep the subject about 1.5 to 3 meters from the background if you want cleaner separation and less spill.
- Add a reflector on the shadow side before you add a second light. A white reflector usually looks cleaner than silver when you want subtle fill.
- Check the eyes. Catchlights should look intentional, not like a bright blob dead center in the pupil.
The reason this works is simple: distance changes softness. A larger apparent light source wraps around the face, while a small or distant source produces sharper edges. That is why a modest softbox near the subject often looks better than a powerful light placed too far back.
I also keep an eye on falloff, which is the rate at which light drops as distance increases. Fast falloff can make faces separate nicely from the background, while slower falloff helps groups or product tables stay even.
Once the one-light frame is under control, modifiers become the next lever.
Use modifiers and fill to control the shadow, not erase it
Light modifiers do not simply “soften” or “harden” light; they change how the light wraps, where it spills, and how much of the room it touches. I treat them like precision tools. The right modifier can make the same light feel editorial, commercial, or natural without changing the source itself.
| Modifier | What it does | Best use | What to watch for |
|---|---|---|---|
| Softbox | Spreads and softens the beam | Portraits, beauty, and any setup that needs smooth skin tones | Can look flat if the box is too large and too close to camera axis |
| Umbrella | Creates broad, forgiving light | Quick setups and large-area fill | Spill is harder to control than with a softbox |
| Beauty dish | Gives soft center light with more edge definition | Fashion and portraits that need shape | Can exaggerate texture if placed too close or too high |
| Strip box or grid | Narrows the spread and protects the background | Hair light, rim light, product edge work | Needs careful aiming to avoid uneven coverage |
Fill light is useful, but I rarely let it match the key. If fill is equal to the key, the frame goes flat. A good starting point is 1 stop under for portraits that still need shape, or 2 stops under when I want a more dramatic low-key look. In plain terms, a stop is a doubling or halving of light, so one stop under means the fill is cut roughly in half.
For reflective subjects, I often use less fill than beginners expect. Glass, chrome, glossy packaging, and polished furniture all reveal every extra light source you put into the room. Sometimes the cleaner move is to subtract light with black cards and flags instead of adding more illumination.
Once the modifier is right, the next question is how to adapt the setup to the actual subject.
Match the setup to portraits, products, or groups
Different subjects ask for different priorities. A portrait needs shape and eye life. A product shot needs controlled reflections. A group needs even coverage and enough room for people to stand on more or less the same plane. I rarely light those jobs the same way, even if I use the same room.
Portraits and headshots
For portraits, I usually want a soft key light placed a little above eye level and turned slightly across the face. That gives me dimension without making the subject look tired. If I want a classic look, I often aim for a slight Rembrandt effect, where a small triangle of light appears on the shadow side of the face. It works because it gives structure without feeling theatrical.
Headshots are usually brighter and more direct than editorial portraits. I keep the background clean, the fill controlled, and the catchlights crisp. Catchlights are the reflections in the eyes, and they matter more than people think; without them, a portrait can feel dull even if the exposure is technically perfect.
Products and reflective surfaces
Product work rewards patience. A soft source can still create ugly reflections if it is placed carelessly, so I think first about what the surface is going to mirror. On glossy items, I try to light the reflection, not the object. That usually means positioning the modifier slightly off axis, using diffusion when needed, and shaping the edges with black cards so the product has definition.
For small items, a light tent or a very controlled pair of soft sources can help, but I do not use them blindly. If the product has texture, too much diffusion can flatten it. If it is mirror-like, too little control can make it unusable. The trick is to let the material tell you how much softness it can handle.Read Also: Negative Fill - Sculpt Light & Deepen Shadows Effectively
Groups and movement
Groups are less forgiving because everyone sits at a different distance from the light. To keep the exposure even, I move the source farther back and raise it enough to cover the entire row. If the group is wide, I may use two matching lights rather than forcing one source to do everything. The closer people stand to one another on the same plane, the easier the setup becomes.
That subject-based thinking saves more retakes than any single piece of gear, and it leads directly to the problems that usually slow a shoot down.
Fix the problems I see most often in studio sessions
Most lighting mistakes are not dramatic. They are small mismatches between intention and placement. The good news is that they are usually easy to diagnose if you know what to look for.
| What you see | Likely cause | Fast fix |
|---|---|---|
| The frame feels flat | Fill is too strong or the key sits too close to the camera axis | Turn the fill down, move the key farther to the side, or raise it slightly |
| Shadows look harsh | The source is too small, too far away, or too direct | Use a larger modifier, move the light closer, or add diffusion |
| Eyes look dead | No usable catchlights, or the light is placed too high or too far off axis | Reposition the key until the eyes show a clean reflection in the upper iris |
| The background is muddy or uneven | The subject is too close to the backdrop or spill is uncontrolled | Increase separation, flag the light, or add a dedicated background source |
| Skin looks oddly warm or cool | Mixed color temperatures from windows, LEDs, or mismatched bulbs | Turn off stray sources, set a custom white balance, and avoid mixing temperatures unless you mean to |
| Product highlights look ugly | The source is reflecting directly into the camera | Shift the light, add a scrim, or reshape the reflection with flags and cards |
I also tether when the job justifies it. Tethering means viewing files on a larger screen as I shoot, which makes it much easier to spot uneven shadows, bad reflections, and exposure drift before the client does. Even without tethering, a quick histogram check and a test frame after every major change will catch most problems early.
When those issues are under control, repeatability becomes the final edge.
Make every setup repeatable on purpose
The studios I trust most are the ones where the lighting is documented. I keep a simple note for each setup: light type, modifier, distance from subject, height, power setting, background distance, and whether I used a reflector or fill light. That small habit saves time on reshoots and makes it easier to recreate a look for campaign work or headshots months later.
- Photograph the setup before the subject steps in.
- Record one baseline frame with a meter reading or histogram note.
- Change one variable at a time so you know what actually improved the image.
- Save the distance, not just the power setting, because placement changes the look as much as output does.
- Retest when you change background color, wardrobe texture, or lens choice.
In other words, the best studio lighting is rarely the flashiest one. It is the one you can rebuild quickly, explain to a client, and adjust without guessing.
