
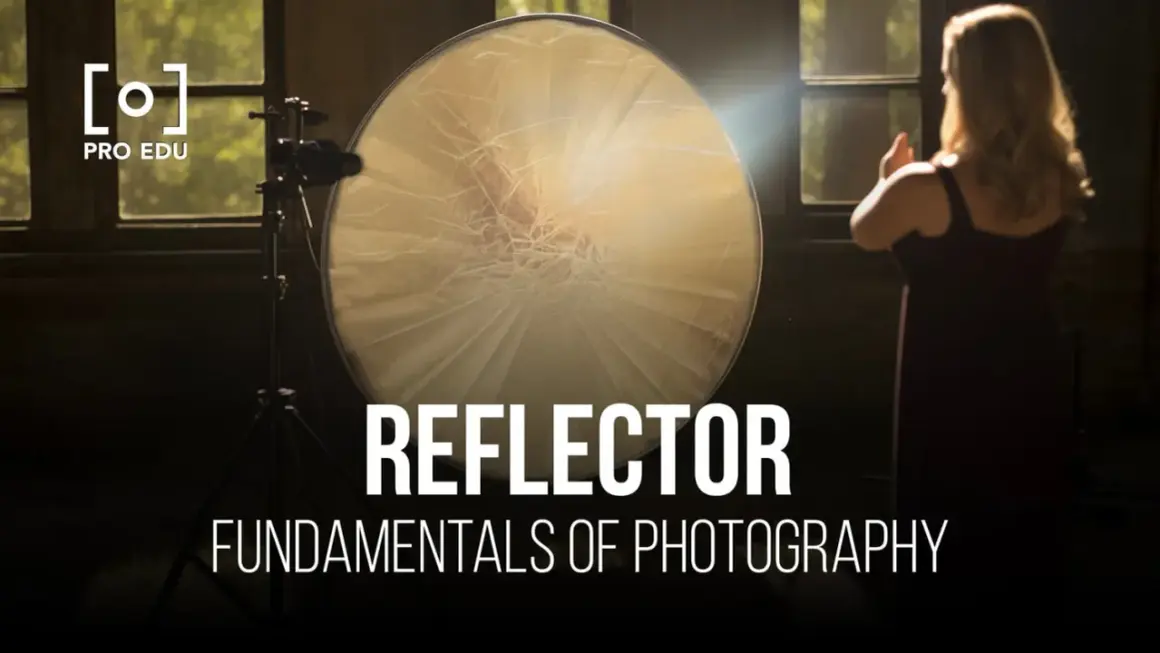
Reflectors are one of the simplest ways to shape light without adding another lamp, and that is exactly why they matter in portraits, product work, interviews, and small studio setups. The right surface can soften shadows, lift detail in a face, or add a cleaner catchlight, while the wrong choice can make skin look harsh or flat. Here I focus on how reflector light actually works, which type to use in common shooting situations, how to place it, and what to buy if you want a practical setup that earns its place on set.
The essentials are surface, distance and size
- White gives the softest, most natural fill; silver adds the most brightness; gold warms skin tones; black removes light instead of bouncing it.
- Keep the reflector close to the subject if you want a visible effect. Moving it even a little farther away can weaken the bounce fast.
- For most portrait work, a 32- to 42-inch collapsible disc is the most useful starting point.
- In the US, basic 5-in-1 reflectors often fall around $15 to $50, while larger premium frames can climb to $75 to $150+.
- A reflector works best as fill light or negative fill, not as a replacement for a proper key light.
What a reflector really does in a lighting setup
A reflector does not create light; it redirects the light you already have. That sounds obvious, but it changes how you use it on set. I treat reflectors as control tools: they open shadows on the unlit side of a face, add a little sparkle to the eyes, and help me keep contrast where I want it instead of letting the scene decide for me.
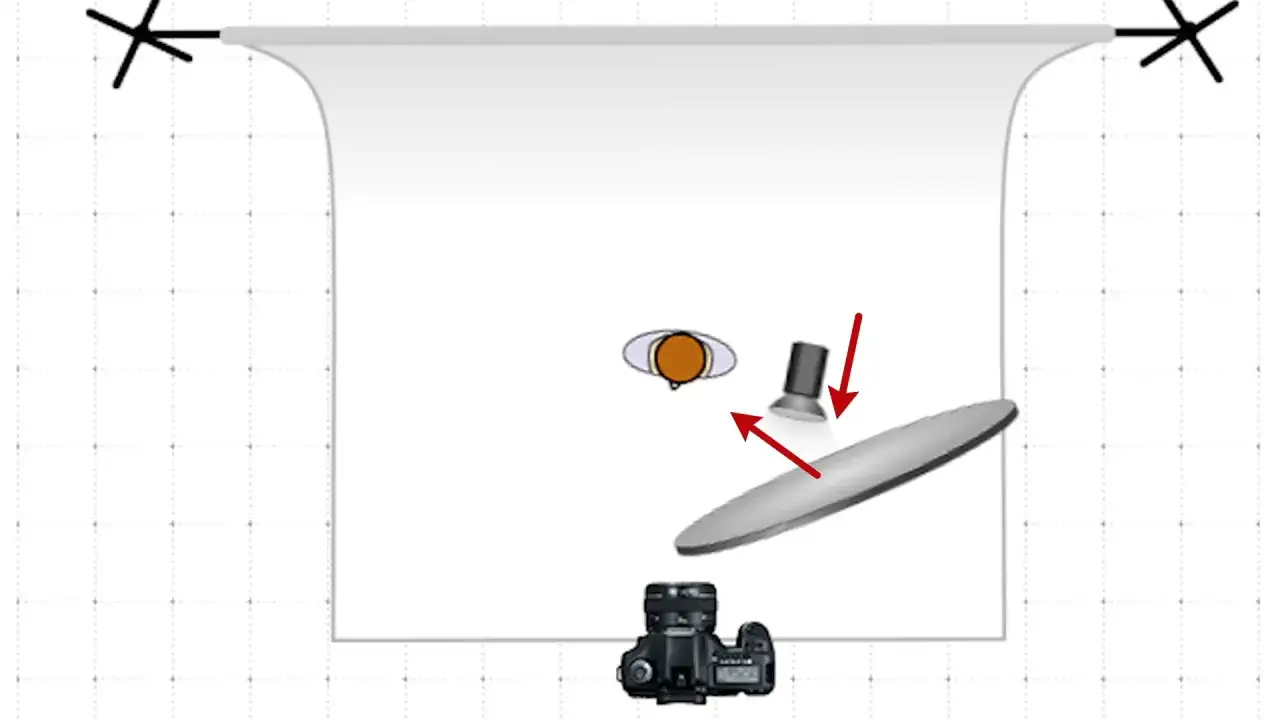
In portraits, the biggest benefit is usually fill. If the key light is coming from one side, the reflector returns some of that light into the shadow side so the face still has shape but does not drop into darkness. In product and food photography, the same principle helps keep texture visible without flattening the image. A reflector also gives you a fast way to fine-tune mood: a tiny shift in angle can change the entire balance between crisp and soft.
The limitation is just as important. If the main source is weak, too far away, or badly placed, a reflector can only do so much. It can clean up the result, but it cannot rescue lighting that has no direction. That is why the next decision matters so much: choosing the right surface for the look you want.
Which reflector surface fits the look you want
Adobe’s breakdown is the one I find most useful in practice because it matches how these surfaces behave on set: white stays soft, silver adds punch, and gold pushes warmth into the frame. I would add one more rule that beginners often miss. Black is not a reflector at all; it is a subtractive tool used to block stray light and deepen shadow.
| Surface | What it does | Best use | Main caution |
|---|---|---|---|
| White | Soft, neutral bounce with the least color shift | Portraits, interviews, beauty work, natural-looking fill | Can feel too subtle if it is too far from the subject |
| Silver | Brightest bounce with a crisper, more directional feel | Cloudy daylight, lower-light scenes, stronger fill | Can look harsh on skin and shiny surfaces |
| Gold | Warms the reflected light and can mimic sunset tones | Golden hour portraits, warm outdoor looks | Overdoes skin tones quickly if it is too close or too strong |
| Black | Blocks light and reduces spill rather than bouncing it | Negative fill, contrast control, sculpting facial shape | It removes light, so it will not help if you need more fill |
| Translucent diffusion | Softens direct light by scattering it | Overhead sun, open shade, one-light portrait setups | Costs you output, so it is not ideal when you already need more brightness |
If I only had one surface for general work, I would start with white. It is forgiving, it rarely ruins skin tone, and it blends into almost any lighting setup. Silver is the better choice when you need more punch without moving your light source, and gold should be a deliberate creative choice rather than a default. Once you know the surface you want, placement becomes the part that turns a decent bounce into a controlled one.
How to position a reflector so it actually changes the photo
The simplest placement rule is also the one that gets ignored most often: put the reflector on the shadow side of the subject, opposite the main light. That is where it has the most impact. For a portrait, I usually start with the reflector slightly below face level and angle it upward so it lifts the cheeks and eyes without shining directly into the nose or forehead.
- Start close, then move out only if the effect is too strong. For a face, 12 to 24 inches often makes a noticeable difference.
- Angle the reflector until the shadow side looks natural, not shiny. You want fill, not a second key light fighting the first one.
- Watch the catchlight in the eyes. If it disappears, the reflector is probably too low, too far, or aimed off target.
- For three-quarter portraits or medium still life, increase the working distance to around 2 to 4 feet and use a larger disc so the bounce stays broad.
- If the reflected light feels too hot, feather it by turning the reflector a few degrees away instead of removing it completely.
Outdoors, the placement changes with the sun. In open shade, white or silver fill can make a face look alive again without creating a second shadow pattern. In hard midday light, the better move is often to use the reflector only after you have already found some shade or controlled the direction of the key. That leads naturally to the next question, because size is what decides how much of that light you can realistically control.
How size and construction change the result
Size matters more than most people expect. A small reflector gives you precision, but it also runs out of coverage fast. A larger reflector is easier to place for portraits and full-body frames, yet it is less convenient to carry and more likely to need a stand or assistant. In other words, bigger is not automatically better; it is better only when the frame and subject need that extra spread.
| Size | Best for | Trade-off | Typical US price range |
|---|---|---|---|
| 20 to 24 inches | Headshots, tabletop work, macro details, travel kits | Very portable, but limited coverage | $5 to $30 |
| 32 inches | Single portraits, interviews, small product setups | Good balance, but still a little small for full-body use | $15 to $40 |
| 42 inches | Three-quarter portraits, medium still life, versatile studio work | More cumbersome, but far more forgiving | $20 to $60 |
| 48 inches and up | Full-body portraits, groups, larger commercial scenes | Needs more space, often better on a stand | $75 to $150+ |
For a lot of US shooters, a 42-inch collapsible disc is the sweet spot because it covers more than headshots but still folds down small enough to travel. B&H’s size guidance for that class of reflector lines up well with what I see on set: it is comfortable for three-quarter portraits and medium still-life setups. If you are building a budget kit, a sheet of white foam board is still one of the smartest purchases you can make. It is cheap, lightweight, and surprisingly effective when you need soft bounce in a hurry.
The mistakes that make reflector light look cheap
Most reflector problems are not really gear problems. They come from distance, angle, or the wrong surface for the scene. I see the same mistakes over and over, and they are easy to fix once you know what to look for.
- Using silver too aggressively in bright daylight, which can make skin look shiny and overworked.
- Placing the reflector too far away, which makes the bounce too weak to matter.
- Choosing gold by default, which often pushes skin too yellow or orange.
- Overfilling the shadows, which kills shape and makes the light look flat.
- Forgetting to move the reflector with the subject, especially during standing poses or when the subject shifts posture.
- Expecting a reflector to fix bad key light, when it really works best as a support tool.
My rule is simple: if the reflector is obvious, it is probably too strong. The cleanest result is usually the one you feel more than you notice. That is why a restrained bounce often looks more expensive than a dramatic one.
What I would put in a compact reflector kit this year
If I were putting together a practical reflector kit in 2026, I would not buy a pile of specialty tools. I would keep it lean. One collapsible 5-in-1 disc handles most jobs, and the rest of the kit should support that disc instead of replacing it.
- One 32- or 42-inch 5-in-1 reflector for portraits, interviews, and general content work.
- One rigid white foam board for quick bounce in tight spaces or tabletop setups.
- One black foam board or flag for negative fill when the scene looks too even.
- A simple stand clamp or reflector holder if you often work alone and cannot hold the disc yourself.
That combination covers the majority of real-world situations without tying you to one style of shoot. For portraits, I would reach for white first, silver second, and gold only when the mood genuinely benefits from warmth. For product work, the translucent panel and white side are usually the safest starting points. If you use reflectors as disciplined light-shaping tools instead of decorative extras, they become one of the most efficient upgrades in a small lighting kit.
