
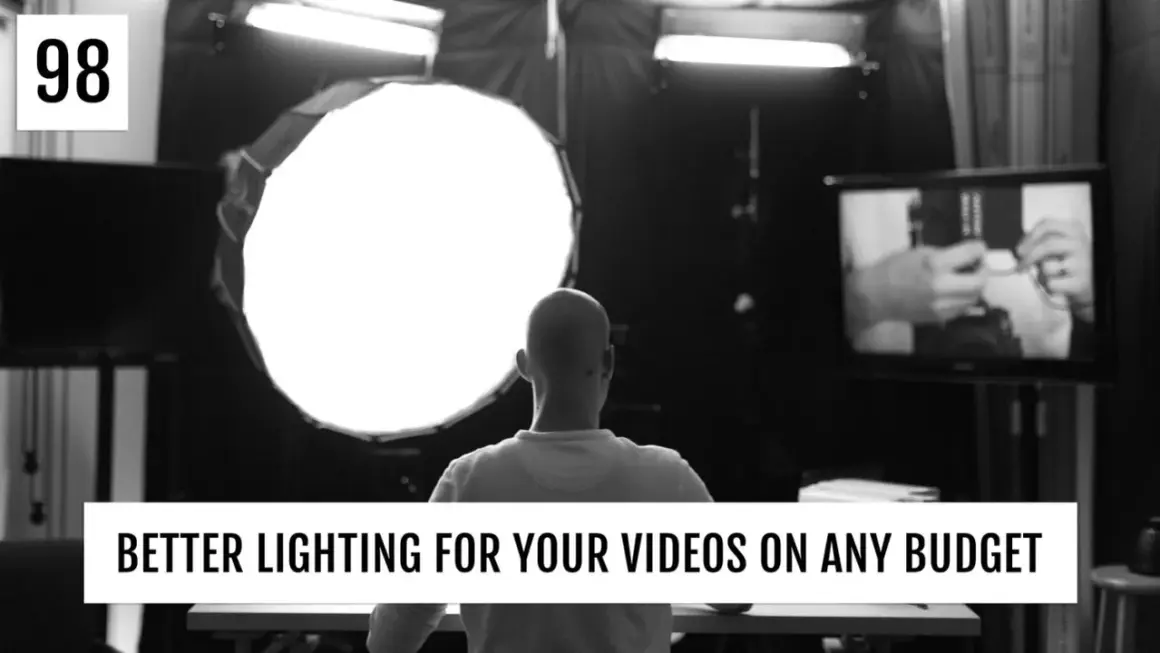
Good meeting lighting is less about looking cinematic and more about making your face easy to read at a glance. The best lighting for video conferencing usually means a soft source in front of you, enough brightness to keep your features clear, and a color temperature that does not fight the rest of the room. In this guide I focus on the setups that actually work, how to place them, what to avoid, and how much you really need to spend.
The fastest way to look better on camera
- Face your main light toward you, not behind you, and keep it soft enough to avoid harsh shadows.
- For mixed home-office lighting, a neutral 4000K to 5000K source is the safest place to start.
- A face-level target around 400 to 500 lux is a useful benchmark in larger meeting spaces, but a single well-placed desk light is enough for most home offices.
- If you only upgrade one thing, choose lighting before a camera upgrade; the image improvement is usually bigger.
- Natural window light is free and flattering, but it changes through the day, so a dimmable LED backup is worth having.
What makes lighting look professional on camera
When I evaluate on-camera lighting, I look at four things: direction, softness, balance, and color accuracy. Direction matters because light from in front of you reveals your face; light from behind you turns you into a silhouette. Softness matters because a large diffused source wraps around features instead of carving deep shadows. Balance matters because too much room light from the ceiling can make your face look flat or tired. Color accuracy matters because a lamp that distorts skin tones creates a distracting yellow, green, or blue cast.
For most remote meetings, I prefer a soft, frontal key light with a color temperature somewhere around 4000K to 5000K. The key light is the main source of illumination, and a diffuser is what turns a small harsh source into something gentler. If your webcam supports manual exposure or white balance, use it; auto modes often try to help and end up making the background brighter than your face. I also look for a light with a CRI rating of 90+ when I can get it, or at least 85+ if the setup is meant for straightforward meetings rather than polished video work.
That basic logic is enough to choose the right gear, because the next decision is not about theory. It is about which setup fits your desk, your schedule, and your budget.
The setups that work best for everyday meetings
I would narrow the field to five options. Each one can work, but they solve slightly different problems, and the right choice depends on how often you meet on camera and how much daylight your office gets.
| Setup | What it does well | Where it falls short | Typical U.S. price |
|---|---|---|---|
| Window light facing you | Free, flattering, and easy to use during the day | Changes with weather, season, and time of day | $0 |
| Desk lamp with a shade or diffuser | Simple, compact, and good for occasional calls | Can look uneven if the bulb is too small or too warm | $20 to $50 |
| Basic ring light | Easy to set up and good for close desktop framing | Can look flat and create reflections in glasses | $25 to $80 |
| Bi-color LED panel | More control over brightness and color temperature | Needs a bit more space and usually a stand | $60 to $200 |
| Two-light setup | Most even and flexible for frequent presenters | More expensive and usually unnecessary for routine meetings | $150 to $400+ |
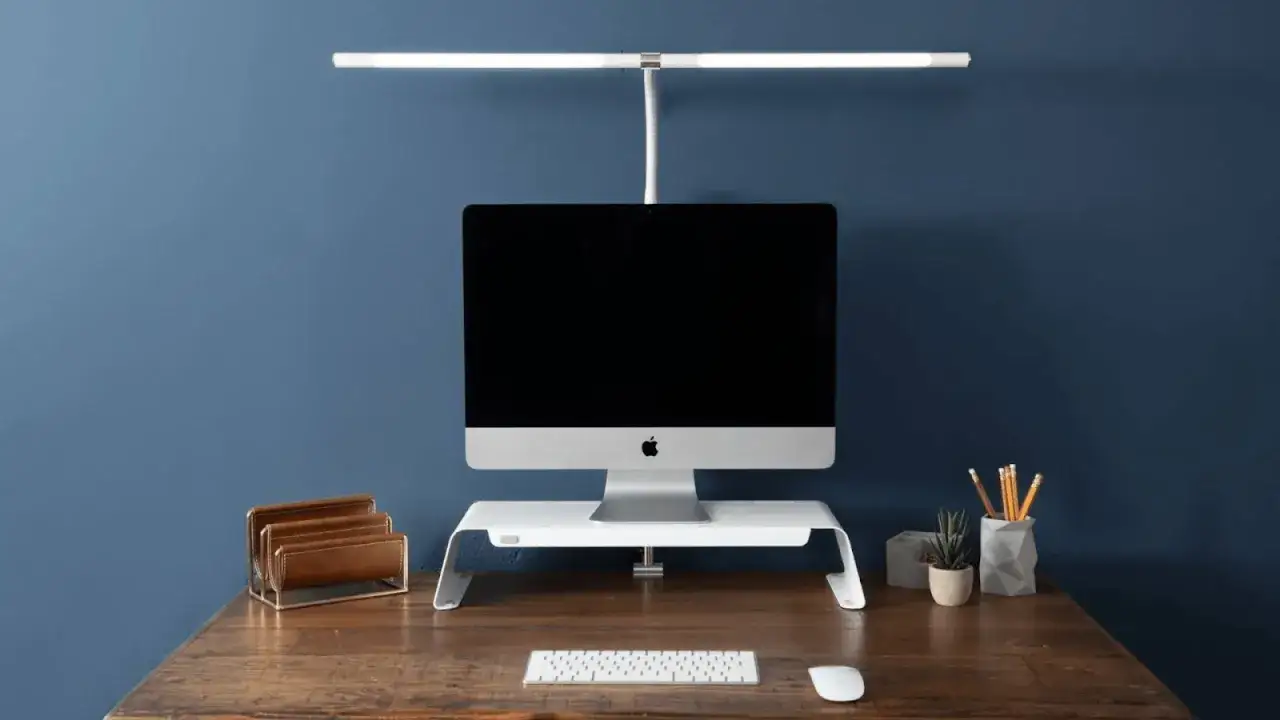
If your calls happen mostly during daylight, a window in front of you is still the simplest win. If your schedule stretches into the evening, a bi-color LED panel gives you much more consistency than a pure ring light. For a compact desk, I like a monitor-mounted light or small panel because it stays out of the way and is easier to position than a floor stand.
The rule I keep coming back to is simple: choose the setup that makes the image stable first, then worry about style.
How I would set it up step by step
Here is the order I use when I am improving a call setup from scratch.
- Start with the main source. Face a window if you have one; if not, place a soft LED panel or lamp in front of you, slightly above eye level.
- Keep the camera at eye height. A camera that looks up at you is rarely flattering, and a camera that is too high creates a strange angle even when the light is good.
- Match the color temperature. If the room has daylight from a window, use a 4000K to 5000K light or turn off the warm table lamp that fights it.
- Diffuse the light if it feels harsh. A shade, frosted panel, or softbox spreads the light and reduces facial shine.
- Test at the time you actually meet. Morning, noon, and late afternoon light behave differently, and winter sun can be dramatically weaker than summer sun.
If you want a more refined look, add a weak fill light on the opposite side of your face. The fill light is simply a second, softer source that reduces shadows without flattening the image. I rarely start with two lights for routine meetings, but I do use that approach when a room has dark walls or when the main light has to sit farther away than I would like.
Once the setup is in place, the remaining gains come from removing the little problems that keep the image from looking clean.
The mistakes that make good gear look bad
Most bad video lighting comes from a few predictable errors. The gear is rarely the real problem.
- Backlighting. A bright window or lamp behind you forces the camera to expose for the background, which leaves your face dark. Move the light in front of you or close the blinds.
- Only using overhead lights. Ceiling lights are convenient, but they usually create shadows under the eyes and nose. I treat them as ambient support, not the main source.
- Mixing too many color temperatures. A daylight window, a warm desk lamp, and a cool panel can make skin tones look muddy. Pick one dominant temperature and stick to it.
- Going too bright. More light is not automatically better. If the source is too intense, the camera clips highlights and your face loses detail.
- Ignoring glasses and reflective skin. Strong frontal light can create glare. Raising the light slightly and widening the source usually helps more than lowering brightness alone.
- Letting auto exposure run the room. Some webcams constantly chase brightness changes. If the software allows it, lock exposure after you have the framing you want.
The cleanest fix is usually to reduce contrast in the scene, not to add another shiny gadget. That distinction matters, because it keeps you from buying gear you do not actually need.
How much to spend if you want a realistic upgrade
If I were spending money in the U.S. market today, I would think in tiers rather than brand names. The right budget depends on how often you are on camera and whether the setup needs to work after dark.
| Budget | What to buy first | Why it works | When to upgrade |
|---|---|---|---|
| Under $50 | Use a window if possible, then add a small clip-on light or desk lamp with a shade | Enough to fix the worst shadows without spending much | Upgrade when you need evening calls or more consistency |
| $50 to $150 | Buy a dimmable ring light or a bi-color LED panel | Good balance of price, control, and convenience | Upgrade when you present often or want better skin tones |
| $150 to $300 | Choose a larger LED panel with a stand, or add a second soft light | More even lighting and less dependence on daylight | Upgrade when video is part of your job, not just a side task |
| $300+ | Invest in a two-light setup with strong diffusion and precise control | Closest to a studio-style result for regular recording or client-facing work | Only if you want a repeatable, production-grade setup |
For most home offices, the sweet spot is the middle tier. It is bright enough for evening meetings, flexible enough for different seasons, and simple enough that you will actually keep using it. I would only move into the higher tier if I were presenting often, recording content, or lighting a room with more than one person on screen.
The important part is not to overspend on a camera before you solve the light. A modest webcam under good lighting usually beats a premium webcam under bad lighting.
The setup I would actually use for a normal workweek
If I had to choose one default setup, I would use a window in front of the desk during the day and a dimmable bi-color LED panel for meetings after sunset. That combination handles the two situations that cause most problems in real offices: changing daylight and weak indoor light.
I would keep the panel at a moderate brightness, use a neutral color temperature, and place it high enough to avoid harsh shadows but not so high that it imitates ceiling light. In a room that gets very bright midday sun, I would add a sheer curtain and treat the panel as a stabilizer rather than the main event.
That is the version of video-call lighting I trust most in practice: simple, repeatable, and easy to adjust when the room changes. Once it is set, you can stop thinking about your face on screen and focus on the meeting itself.
