
Creating available light photos is less about finding perfect conditions and more about learning how to shape what is already there. In this article, I look at how to read ambient light quickly, choose settings that protect detail, decide which subjects benefit most, and handle the places where existing light simply is not enough. If you photograph portraits, products, documentary scenes, or everyday interiors, this approach will make your work faster, calmer, and more deliberate.
What matters most when you work with existing light
- Direction matters more than brightness. A strong side or window light usually gives better depth than a flat, brighter room.
- Set aperture and shutter speed before ISO. ISO is the safety valve, not the main creative control.
- RAW files give you breathing room. They make white balance and shadow recovery far more workable.
- Movement changes the rules. Still subjects can tolerate slower shutter speeds; people, kids, and pets usually cannot.
- Move the subject before you chase settings. A small shift in position often fixes more than a new camera setting.
- Protect highlights first. Lost window detail or clipped skin is harder to save than a slightly dark shadow area.
What available light really means
In practice, I treat available light as any illumination already present in the scene: daylight through a window, room lamps, streetlights, neon, screen glow, candlelight, and reflected light from walls or pavement. The idea is simple. You are not building the light from scratch; you are deciding where to stand, what to include, and how to expose for what already exists.
That is why this approach works so well for candid work, editorial portraits, and small production setups. It is also less forgiving than flash or continuous lighting, because you inherit the scene’s color cast, contrast, and brightness falloff. When the subject moves or the light gets mixed, the camera has to work harder, which is why exposure discipline matters so much.
Once you know what you are actually working with, the next step is learning to read that light in seconds rather than minutes.
How to read the light before you take the shot
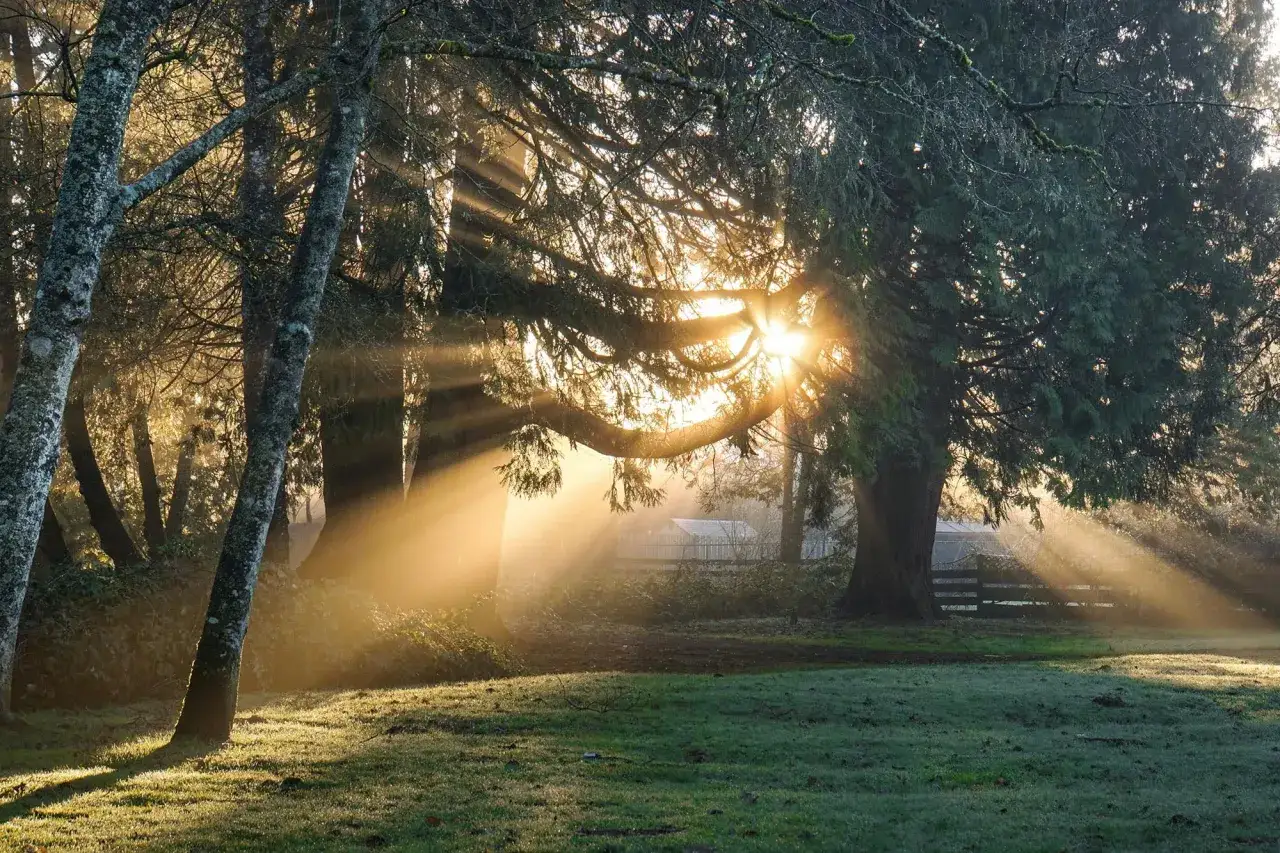
When I walk into a room, I look for three things first: direction, quality, and color. Direction tells me where shadows will fall. Quality tells me whether edges are soft or hard. Color tells me how much correction I will need later.
Some lighting situations are easier to evaluate than others, so I usually think in patterns rather than chasing perfection.
| Light source | What it looks like | Where it works best | Main risk |
|---|---|---|---|
| North-facing window | Soft, directional, and consistent | Portraits, food, product detail | Can feel flat if the subject sits too close to the source |
| Late-day sun through blinds | Sharp shadows and strong shape | Editorial portraits, moody interiors | High contrast and clipped highlights |
| Overhead room bulbs | Warm and localized | Documentary scenes, intimate interiors | Deep eye sockets and ugly color shifts |
| Streetlights or neon | Graphic, colorful, and uneven | Night street, fashion, urban scenes | Color contamination and underexposure |
| Open shade outdoors | Even and low contrast | Portraits, groups, simple lifestyle shots | Can look lifeless without a strong background |
I read those cues in a very blunt order: first I ask where the shadows are going, then I decide whether the light is flattering or dramatic, and only after that do I worry about the settings. That habit keeps me from overcomplicating the scene.
With the light mapped out, the camera settings become easier to choose with purpose instead of guesswork.
Camera settings that keep the file usable
For ambient-light work, I prefer to set aperture first, then shutter speed, then ISO. Aperture controls how much of the scene is sharp and how much light reaches the sensor. Shutter speed decides whether motion stays crisp. ISO is the safety valve, not the hero of the setup.
- Aperture: use the widest opening that still gives you enough depth of field. For a portrait at close range, f/1.4 to f/2.8 is common; for products or interiors on a tripod, f/4 to f/8 often gives cleaner detail.
- Shutter speed: I try to stay at 1/125s or faster for still portraits, 1/250s for kids, pets, or handheld motion, and faster again if gestures matter. If the subject is static and I have support, slower can work.
- ISO: raise it when the alternative is blur. On many current full-frame cameras, ISO 1600 to 6400 is still practical for web and editorial use; smaller sensors usually show noise earlier, so check the file, not the number.
- White balance: RAW gives you breathing room, but setting a Kelvin value close to the source saves time. Tungsten often sits around 2800K to 3200K; mixed daylight can live nearer 5000K to 6500K.
- Exposure protection: keep an eye on highlights. If a window or a pale shirt clips, the recovery cost in post is usually higher than lifting shadows a little later.
Manual mode is easiest when the scene is stable. Aperture priority is fine when you are moving quickly, as long as you watch the minimum shutter speed and use exposure compensation with intention.
Once the camera is under control, the question becomes which subjects actually benefit from this look.
Where ambient light shines brightest
Not every subject rewards the same lighting approach. I reach for ambient light when the scene already has character and I want the lighting to feel integrated rather than staged.
| Subject | Why it works | What to watch |
|---|---|---|
| Portraits near windows | Soft direction, natural catchlights, and a flattering falloff across the face | Distance to the window and the angle of the chin |
| Food and drink on a table | Texture and color stay believable, especially near a bright side source | Shiny highlights on glass, sauce, and metal surfaces |
| Documentary and street scenes | Existing light keeps the moment unobtrusive and honest | Motion blur and mixed color temperatures |
| Interiors with practical lights | Lamps, screens, and neon contribute story and mood | Color contamination from multiple bulbs |
| Night city frames | Reflections, contrast, and color create a strong visual rhythm | Underexposure and noisy shadows |
The pattern is simple: ambient light works best when the scene already contains a usable direction and you can arrange the subject near it. It is far less cooperative with fast action, shiny surfaces, and spaces lit by several incompatible color sources at once.
That leads directly into the situations where the method starts fighting back.
When the light turns against you
Most failures with no-flash shooting are not dramatic technical disasters. They are small compromises that stack up until the image feels messy. I see the same problems again and again.
- Mixed color temperatures: daylight plus tungsten or LED can turn skin strange fast. Pick one dominant source and mute the others when you can.
- Flat overhead light: move the subject toward a window, a doorway, or a wall that can bounce light back onto the face.
- Backlit faces: expose for the subject, not the background, and accept a brighter window only if it supports the story.
- Motion blur: if the subject is moving, shutter speed matters more than ISO purity. A noisy sharp frame beats a clean blurry one.
- Harsh shadows: rotate the subject a few degrees, or change your camera angle so the shadow falls somewhere intentional instead of across the eyes.
- Flat backgrounds: shift position until the background catches a little reflected light or separates in tone from the subject.
If the scene still resists after those adjustments, I stop trying to force it. A small change in timing or location often solves what another twenty camera settings cannot.
Once the frame is captured, editing should preserve that same restraint.
Edit for realism instead of rescue
Good ambient-light files usually need correction, not reinvention. I start with white balance, then check exposure, then balance highlights and shadows without flattening the image. The temptation is to pull every dark area up until the frame looks evenly lit, but that often destroys the very mood that made the scene worth shooting.
- White balance first: remove obvious color contamination before touching contrast.
- Noise reduction second: use enough to clean distraction, not so much that skin and fabric turn waxy.
- Local adjustments third: lift only the face, product label, or key detail instead of the whole shadow range.
- Sharpen carefully: sharpness does not replace light, and aggressive sharpening exaggerates noise.
- Keep grain honest: a little grain can suit low-light work; smeared files rarely do.
If I need extreme shadow recovery just to make the photo work, I usually treat that as a capture problem, not an editing problem. Better exposure at the start gives you a cleaner, more flexible file later.
To make that repeatable, I rely on the same field routine every time.
A repeatable workflow from scene to frame
- Find the brightest clean source in the space, then stand where it falls on the subject at a usable angle.
- Remove or reduce competing lights if you can, especially when they create mixed color.
- Set the aperture for the depth of field you actually need, not the widest option available.
- Choose a shutter speed based on motion, then raise ISO only as far as necessary.
- Make one test frame and judge the histogram and highlight warnings, not just the rear screen.
- Move the subject before changing gear whenever possible; a 30-centimeter shift often matters more than a half-stop adjustment.
- Repeat when the light changes, because ambient scenes are rarely perfectly stable.
This sequence sounds simple because it is simple. The discipline is in doing the same checks every time instead of hoping the scene will cooperate on its own.
The last decision is whether to stay with existing light or break that rule for the sake of the image.
When ambient light is enough and when I would add help
I keep the setup pure when the light already tells the story: a portrait by a north window, a restaurant scene with warm practicals, a city frame full of neon and reflections, or a documentary moment that would feel awkward under flash. In those cases, the restraint is part of the visual language.
- Stay with ambient light when the subject is still enough to hold a 1/125s frame, the color is coherent, and the scene has direction.
- Add light or reshoot when ISO is already high, the shutter is too slow, or the shadows are so deep that the subject disappears.
- Choose control over purity when the project needs consistency across multiple frames, especially for brand, product, or client work.
The strongest available light photos usually come from deliberate placement, not from technical luck. If I had to reduce the whole process to one habit, it would be this: improve the direction of the light first, protect the highlights second, and only then worry about the rest.
