
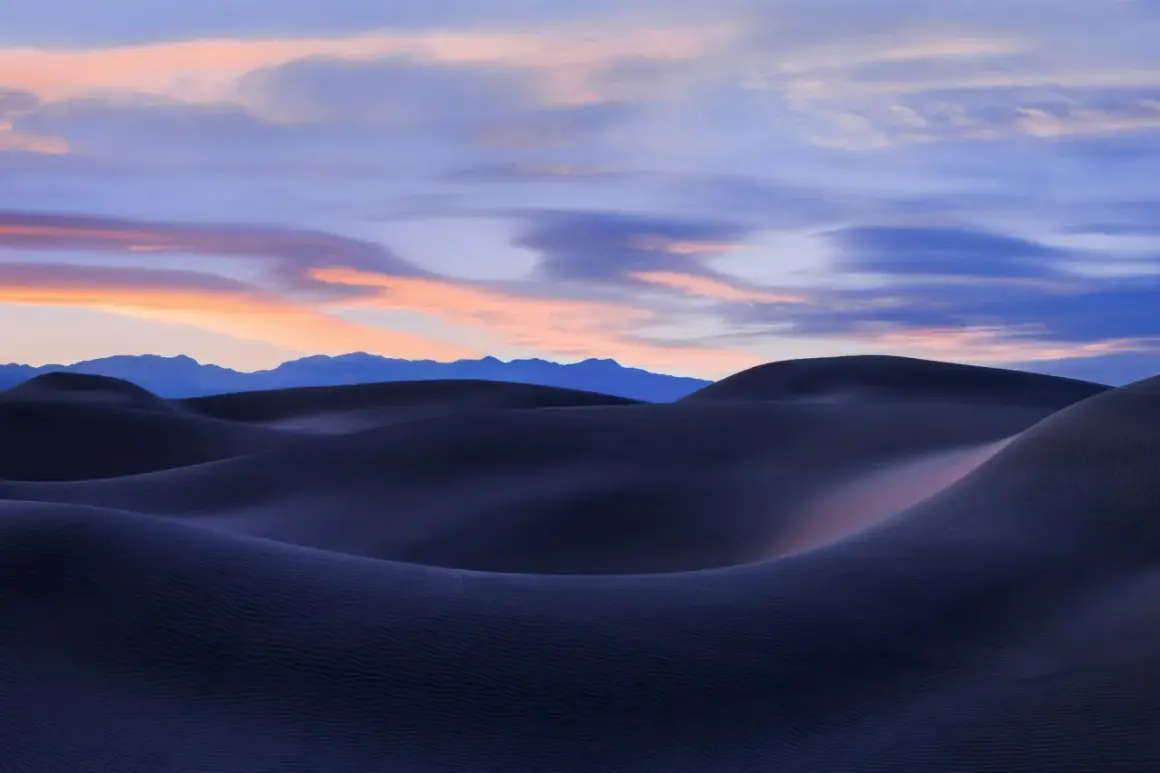
For landscape photography sunset work, I care less about chasing the brightest sky and more about what the light does to texture, depth, and color in the last 30 minutes before dark. This article breaks down how to read that light, choose a scene that can use it, set the camera without guessing, and edit the result without making it look fake. If you want sunset frames that still feel believable after post-processing, the details here matter.
The fastest way to improve sunset landscapes
- Arrive early and stay after the sun drops; golden hour and blue hour often produce better frames than the exact sunset moment.
- Protect the highlights first, because a blown sky is harder to save than a dark foreground.
- Use a foreground anchor such as shoreline, rocks, grass, or a ridge line so the scene has depth beyond the color.
- Start with base ISO and a mid-range aperture like f/8-f/11, then adjust shutter speed to suit the light.
- Edit with restraint so the image keeps the feeling of real evening light instead of drifting into heavy saturation.
What changes when the sun gets low
Sunset is not just a prettier version of daytime light. The sun drops closer to the horizon, the light becomes more directional, and shadows stretch long enough to reveal texture in rock, sand, water, and grass. That is why a scene that looked flat at noon can suddenly feel dimensional and alive an hour later.
I also treat sunset as a sequence, not a single instant. Golden hour gives you warm, soft light with more forgiveness, while blue hour rewards patience with cooler skies, cleaner color transitions, and smoother contrast. The real challenge is that the light changes quickly, so one strong frame usually comes from a decision made before the best color appears.
That means the first job is not pressing the shutter. It is deciding what part of the landscape deserves the light, which is where scene choice becomes more important than gear.
Choose a scene that can carry the light
Not every landscape benefits equally from a sunset. A good sky helps, but a strong frame still needs structure on the ground: a curve in the shoreline, a ridge line, a patch of foreground texture, or water that catches the color. If the foreground is empty, even a dramatic sky can feel like a postcard rather than a photograph with depth.
When I am scouting, I look for scenes where the light can do one of three things: reveal texture, separate layers, or create a clean silhouette. In the United States, that often means Pacific coast cliffs, Southwest sandstone, mountain lakes, or layered ridges in the Rockies, but the rule is the same anywhere. The scene has to justify the sunset, not simply sit under it.
| Scene type | What works at sunset | What usually fails |
|---|---|---|
| Coastline | Wet sand, tide lines, reflections, and a clean horizon | A featureless beach with no foreground detail |
| Mountains | Layered ridges, side light, and strong silhouette shapes | Distant peaks with no separation from the sky |
| Desert or sandstone | Warm rock texture, repeating lines, and long shadows | Overly broad scenes with no anchor point |
| Lakes and rivers | Mirror color, leading curves, reeds, and a reflective edge | Choppy water that breaks the reflection and flattens the frame |
Lens choice matters too, but not in the simplistic "wide angle for landscapes" way people often repeat. I reach for a wide lens when the foreground matters, a normal zoom when the composition is balanced, and a telephoto when I want to compress distant ridges or isolate a band of light on one slope. Once the scene is right, the camera settings become much easier to control.
That leads directly to the part most people overthink: the settings themselves.
Camera settings that keep detail in the frame
For most sunset landscapes, I start with a simple, stable base: RAW, base ISO, and an aperture that gives me enough depth of field without pushing the lens into unnecessary softness. Diffraction is the softening that can happen when a lens is stopped down too far, so I usually stay in the middle range instead of chasing the smallest possible aperture.| Setting | Good starting point | Why I start there |
|---|---|---|
| Aperture | f/8-f/11 | Strong depth of field with less diffraction risk |
| ISO | ISO 64, 100, or 200 | Keeps noise low and preserves image quality |
| Shutter speed | Whatever the light requires | Tripod support lets me slow down when needed |
| White balance | Daylight, Cloudy, or about 5500K-6500K | Preserves the warmth of the sunset instead of neutralizing it |
| File format | RAW | Gives more room to recover shadows and fine-tune color later |
| Exposure compensation | -0.3 to -1.0 EV when the sky is bright | Helps protect highlights before they clip |
I use aperture priority when I want speed and manual mode when the scene is changing fast or the exposure needs to stay locked. If the contrast between sky and ground is extreme, I bracket three frames at -2, 0, and +2 EV and blend later if the scene deserves it. That is not a crutch; it is just a practical way to handle a range that a single frame may not cover cleanly.
Once the exposure is under control, the next step is building a frame that feels deep instead of simply bright.
Compose for depth, not just color
The easiest mistake at sunset is to aim everything at the sky and forget that the land still has to hold the viewer's attention. I want a foreground that gives scale, a midground that carries the eye, and a background that finishes the story. A colorful sky can be the headline, but it should not be the whole article.
My first compositional check is usually the horizon. If the land is more important, I give it more space. If the sky is doing the heavy lifting, I let it dominate the frame. The one place I avoid most often is the dead center, unless I am shooting a reflection or an intentionally symmetrical scene.
| Camera direction | What it gives you | When I use it |
|---|---|---|
| Toward the sun | Silhouettes, reflective highlights, and a dramatic sky | When clouds or water are strong enough to support the frame |
| Side light | Texture on rocks, dunes, grass, and ridges | When the shape of the land matters more than the sky |
| Away from the sun | Color behind the camera and warmer light on the landscape | When the best color is behind me, not on the horizon |
That last point surprises a lot of photographers. Some of the best sunset landscapes I have made were not aimed directly at the sun at all. I simply turned around and found that the opposite direction had better color, cleaner shape, and less visual clutter. Good composition at sunset is often about noticing where the light is most usable, not where it is most obvious.
With the frame built, the final technical challenge is keeping the bright parts intact while still holding enough detail in the darker ground.
Expose for the highlights first
When sunset light gets intense, the camera screen can be misleading. The preview is small, the scene is high contrast, and your eye adapts faster than the sensor does. I rely on the histogram and highlight warnings more than the LCD because they tell me where the file is actually breaking down.
Protect the highlights is the rule I come back to most often. It is usually easier to lift shadows from a RAW file than to recover a sky that has gone pure white. If I have to choose, I would rather lose a little shadow detail than sacrifice the color in the clouds.
- If the sky is only slightly bright, I underexpose by about 1/3 to 2/3 stop.
- If the contrast is clearly heavy, I bracket three frames at 1-stop spacing.
- If water or grass is moving, I accept a little blur only when it helps the image.
- If I am shooting handheld, I keep shutter speed above the reciprocal of the focal length whenever possible.
There is one exception worth mentioning: long exposures can be excellent at sunset when the subject supports them. A shoreline, waterfall, or cloud layer can become much more expressive at 1/2 second, 2 seconds, or even longer on a tripod. That is where the technique changes the mood, and it is also why editing decisions matter so much afterward.
Once the file is captured cleanly, the edit should refine the mood rather than invent it.
Edit sunset files with restraint
The best sunset edits are usually the ones you do not notice. I start by correcting exposure, white balance, and highlight recovery, then I use local adjustments to guide the eye instead of flooding the entire frame with color. Vibrance is usually safer than saturation because it pushes muted tones more gently, while saturation can make clouds and rocks look artificially loud very quickly.
I also keep an eye on three things that can ruin a sunset file fast: overdone clarity, heavy dehaze, and aggressive orange tones. Those sliders are useful, but they are easy to overuse when the goal is "more drama." A real sunset already has drama. My job is to organize it, not inflate it.
- Lift shadows only enough to reveal the scene, not enough to make it look like noon.
- Pull highlights down gently so the sky keeps detail.
- Use masks on the sky or foreground instead of pushing the whole image equally.
- Back off if clouds start looking crunchy or the land picks up a strange color cast.
That restraint is especially important for natural scenery, because the viewer usually notices when the edit stops feeling like evening light and starts feeling like a filter. The fastest way to avoid that problem is to know the mistakes before you make them.
The mistakes I see most often
- Arriving too late - the best light often starts before the sun reaches the horizon, so the setup window matters.
- Chasing the sky alone - a dramatic cloud layer is not enough if the foreground has no shape or context.
- Exposing for the whole scene equally - this is how skies get clipped and sunset color disappears.
- Ignoring blue hour - some of the cleanest color and the best tonal balance happens after the sun is gone.
- Overediting the warmth - if everything turns orange, the photo stops feeling like a landscape and starts feeling like a preset.
- Handholding when the light gets thin - once shutter speed drops, a tripod often matters more than another lens.
Most of these mistakes come from rushing. Sunset photography rewards the opposite: a slower pace, a little restraint, and a willingness to keep working after the obvious moment has passed.
The last 15 minutes are usually the best ones
When I am out in the field, I work through the sunset in a repeatable order instead of reacting to every color change. That keeps me from missing the stronger frames that often arrive later than expected.
- Arrive at least 45 to 60 minutes before sunset and scout two or three angles.
- Decide whether the scene works best toward the sun, sideways to it, or away from it.
- Set a stable base exposure with RAW, base ISO, and an aperture around f/8-f/11.
- Take one test frame, check the histogram, and protect the highlights before anything else.
- Bracket if the sky and foreground are more than about 2 stops apart.
- Keep shooting after sunset, because blue hour can deliver the most balanced light of the session.
The strongest sunset landscapes are usually the most deliberate ones: a clear subject, a thoughtful direction of light, and enough restraint to let the scene stay believable. When I leave with those three things, I do not feel like I missed the sky I could have chased; I feel like I used the light that was actually there.
