
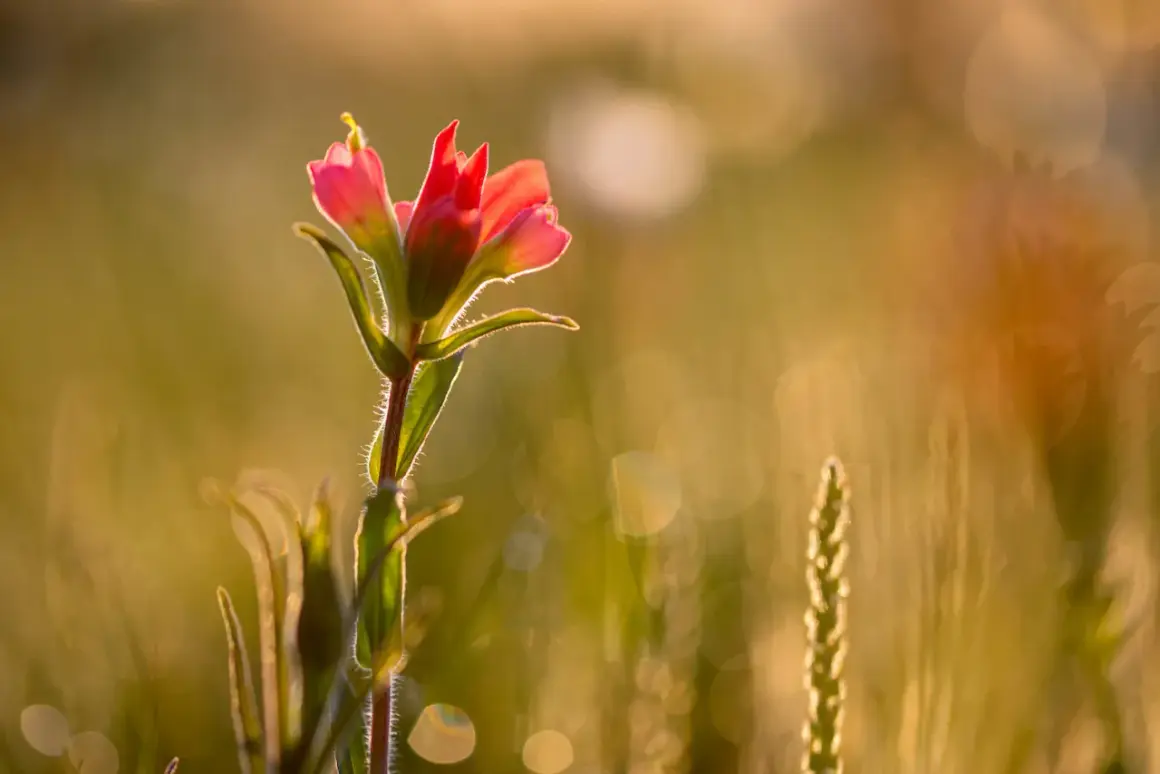
I usually think about spring photography as a timing problem, a light problem, and a subject problem. The season gives you blossoms, fresh greens, rain, soft skies, and moving wildlife, but those ingredients only work when you choose the right moment and the right angle. In this guide, I focus on practical ways to photograph spring scenes, from the best subjects and styles to settings, composition, and editing choices that keep the images believable.
Timing, light, and a clear subject matter most
- Choose a subject with structure. Flowers are obvious, but portraits, park landscapes, wet streets, and wildlife often tell a stronger story.
- Use softer light. Overcast skies and early mornings usually flatter petals, skin, and fresh greens more than midday sun.
- Keep motion in mind. Wind, rain, and birds require faster shutter speeds than a calm still-life frame.
- Protect the color. Slightly underexpose bright blooms and avoid oversaturating greens in post.
- Move quickly on bloom windows. In many U.S. locations, peak blossoms can disappear in just a few days.
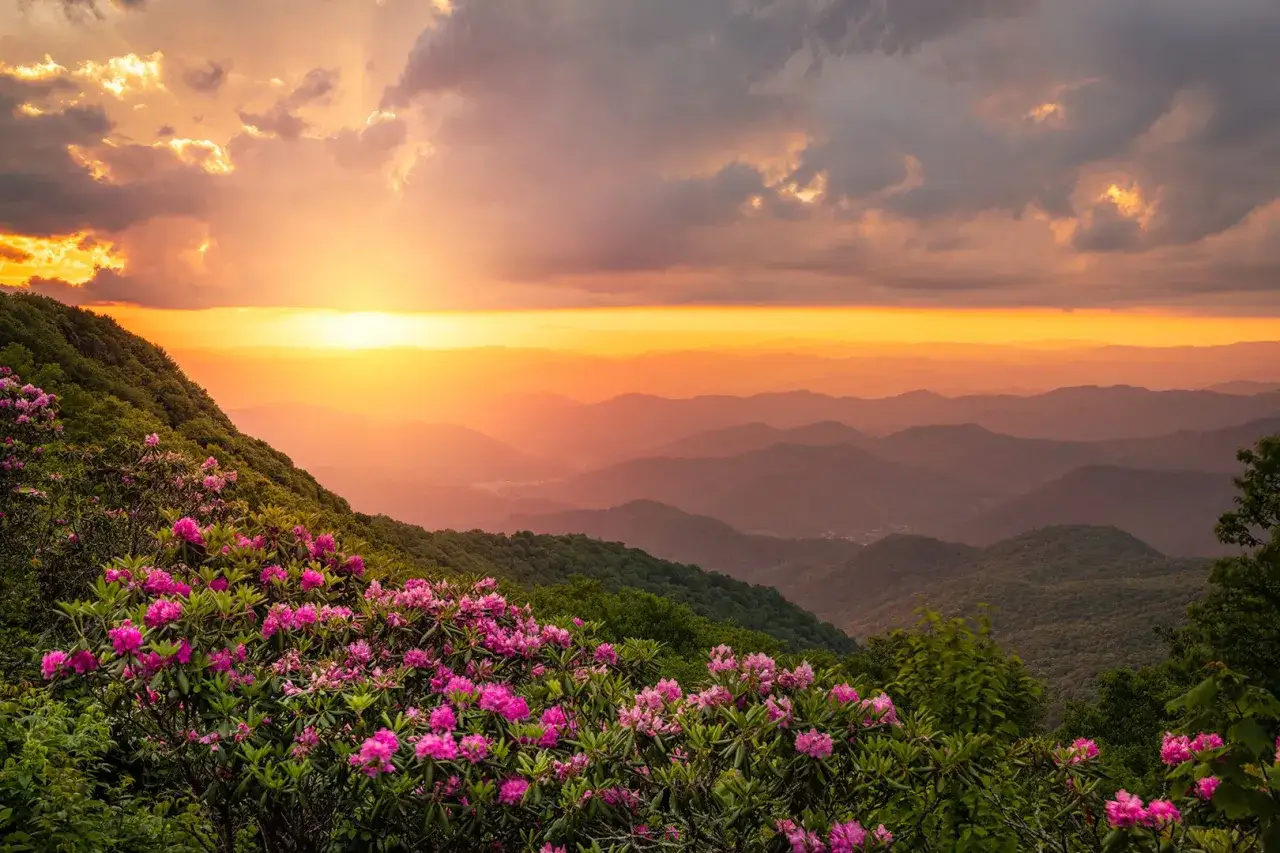
The subjects and styles that work best in spring
Spring is generous, but I do not try to shoot everything the same way. I pick a style based on the subject first, then I let the lens and composition follow. That simple decision keeps the images from looking like generic seasonal filler.
| Subject or style | Why it works | How I approach it |
|---|---|---|
| Blossoms and flowers | They are the clearest signal of the season and give you color, shape, and texture in one frame. | Use a macro lens or a short telephoto, shoot at f/2.8-f/5.6 for separation, and keep the background simple. |
| Environmental portraits | Fresh foliage and pastel blooms create a soft backdrop without making the frame feel staged. | Place the subject under open shade, use 50mm or 85mm, and leave enough space for the environment to breathe. |
| Parks and landscapes | Layered greens, trails, hills, and haze make spring landscapes feel deep and alive. | Start at f/8-f/11, include a foreground element, and let paths or fences lead the eye. |
| Rain and reflections | Wet pavement, leaves, and petals add atmosphere instead of decorative fluff. | Look for puddles, reflections in glass, and low-angle surfaces after a shower. |
| Wildlife and birds | Nesting season and new growth pull animals into visible areas. | Use a telephoto lens, keep your distance, and raise shutter speed when the subject is moving. |
| Lifestyle and flat lays | Garden tools, picnic items, notebooks, and produce are easy seasonal content for brands. | Build a controlled setup with negative space so the photo can carry text or design later. |
I like this split because it forces a decision. A scene becomes stronger when I treat the flower, the person, the weather, or the landscape as the actual subject rather than as seasonal decoration. Once you know which subjects deserve your attention, the next decision is when to shoot them.
Light and timing matter more than most gear choices
The safest rule is simple: I shoot spring scenes when the light is soft, even if the sky is not dramatic. Overcast mornings are especially useful because clouds act like a giant diffuser, which keeps petals from blowing out and makes skin tones easier to manage. In the United States, I also pay attention to wind and bloom timing, because both can change a scene faster than the weather app suggests.
- Go early for the calmest conditions. The first 1-2 hours after sunrise usually give you the cleanest color, the least foot traffic, and the lowest wind.
- Use the hour after rain. Droplets on petals, wet paths, and reflective surfaces add texture without extra props, but keep a cloth nearby and protect the camera body.
- Watch for harsh midday sun. If you must shoot at noon, move into open shade, use a diffuser, or switch to detail frames that can handle contrast.
- Stay flexible at sunset. Late light works well for landscapes and portraits, but clouds can disappear quickly, so I treat golden hour as a moving target rather than a guarantee.
That timing discipline matters because it saves the image before the settings even come into play.
Camera settings and lenses I reach for first
I do not think there is one perfect setup for the season, but I do have a few starting points that save time in the field. For portraits and flowers, I usually begin with aperture priority, ISO 100-400, and a wide aperture if I want separation, and I shoot RAW so I have room to protect bright petals later. For landscapes and bigger environmental scenes, I stop down and build more depth into the frame.
| Subject | Good starting settings | Why I use them |
|---|---|---|
| Portraits | 50mm or 85mm, f/1.8-f/2.8, 1/250s or faster, ISO 100-400 | Gives soft backgrounds and keeps faces clean while the scene still reads as seasonal. |
| Close flowers | 90mm-105mm macro or a close-focusing zoom, f/2.8-f/5.6, 1/250s handheld or tripod | Lets me isolate petals, dewdrops, and pollen without flattening the subject. |
| Landscapes | 24mm-35mm, f/8-f/16, ISO 100, tripod when needed | Preserves depth from foreground to horizon and handles layered spring scenery well. |
| Birds and wildlife | 100mm-400mm or similar, 1/1000s+, auto ISO | Freezes motion and keeps distance so I do not disturb the subject. |
| Rain and reflections | 35mm-70mm, f/4-f/8, exposure compensation -1/3 to -2/3 | Protects highlight detail in bright water, shiny leaves, and pale petals. |
If I do not have a macro lens, I reach for the longest lens I have, step back, and crop lightly instead of forcing the camera too close. That usually produces a cleaner frame than trying to get extreme magnification from the wrong tool. With the settings sorted, composition becomes the part that separates a decent seasonal shot from one people remember.
Composition ideas that keep spring images from looking generic
Spring scenes can get repetitive fast if every frame is just a centered flower or a wide park shot with no structure. I try to build a frame around one clear idea, then add layers that support it rather than compete with it.
- Use a foreground layer. A few blades of grass, a branch, or even a soft blur of petals gives the frame depth and stops it from feeling flat.
- Work low to the ground. A lower viewpoint makes blossoms, wildflowers, and new leaves feel more immersive and less like casual snapshots.
- Include a clean line. Paths, fences, rows of trees, and garden borders pull the eye through the frame and give the season a sense of direction.
- Leave breathing room. Negative space is useful when you want a calm editorial look or a frame that can later carry text for social media or brand work.
- Use one imperfect element. A bent stem, a fallen petal, or a wet shoeprint can make the image feel lived in instead of overly polished.
- Build a sequence. I often shoot one wide frame, one medium composition, and one detail shot so the set feels intentional rather than random.
Those choices make a bigger difference than most camera upgrades, and they also make editing easier because the frame already has a clear visual hierarchy.
Editing choices that keep color fresh instead of artificial
Post-processing should make spring images feel like a better version of the scene, not a neon cartoon of it. I keep the edits light enough that the greens still look like grass and the pinks still look like petals, which sounds obvious but is exactly where many files go wrong.
- Tune white balance first. A slight warm-up can help, but too much warmth turns delicate pastels muddy.
- Pull back green saturation when needed. Spring greens can dominate the frame quickly, especially in parks and gardens.
- Protect highlight detail. Bright petals and white blossoms lose shape fast, so I recover highlights before I add contrast.
- Use clarity carefully. Too much local contrast makes petals and leaves look harsh instead of soft and fresh.
- Remove distractions, not atmosphere. I clean up litter, bright signs, and stray branches, but I leave enough natural mess to keep the scene believable.
If I am building a seasonal gallery for a brand or social feed, I also keep the color palette consistent across the set so the images feel like one campaign instead of a pile of separate moments. That discipline matters more than most people expect, especially when the next challenge is avoiding the usual spring mistakes.
The mistakes I see most often in spring shoots
Most weak spring frames do not fail because the subject is boring; they fail because the photographer gives the subject the wrong conditions. The good news is that the fixes are straightforward once you know what to look for.
- Shooting only in bright noon sun. The colors get harsh, shadows get ugly, and petals often lose detail. I switch to shade or return later in the day.
- Ignoring the background. A beautiful flower can be ruined by a bright trash can, a parked car, or a cluttered hedge. I check the edges of the frame before I press the shutter.
- Overdoing saturation. Spring color already does the work. When I push it too far, the image stops feeling natural.
- Not accounting for wind. Fast shutter speed matters more than people think when leaves and blossoms are moving.
- Using the same angle for everything. If every shot is eye level, the series feels flat. I change height, distance, and focal length on purpose.
- Waiting for a perfect peak bloom. Early bloom, full bloom, and post-rain detail shots can all be stronger than the most obvious “perfect” day.
Once those errors are out of the way, the whole process becomes simpler, which is exactly why I like to end with a practical field checklist instead of one more abstract tip.
A field-ready checklist for your next spring outing
When I go out to shoot this season, I keep the plan deliberately small. A short list helps me move faster, adapt to changing weather, and come home with a set of images that actually fit together.
- Pick one primary subject before you leave the house.
- Scout one shaded option and one open-light option.
- Pack a lens cloth, spare battery, and a small reflector or white card for soft fill.
- Make one wide frame, three medium frames, and a handful of detail shots before moving on.
- Check the background edges every time the light or wind changes.
- Leave room in the schedule for a second pass, because spring weather rarely stays still.
The season rewards photographers who stay alert rather than overcomplicate the setup. If you work with the light you have, choose subjects with shape, and keep the color honest, the images will feel fresh long after the bloom fades.
