
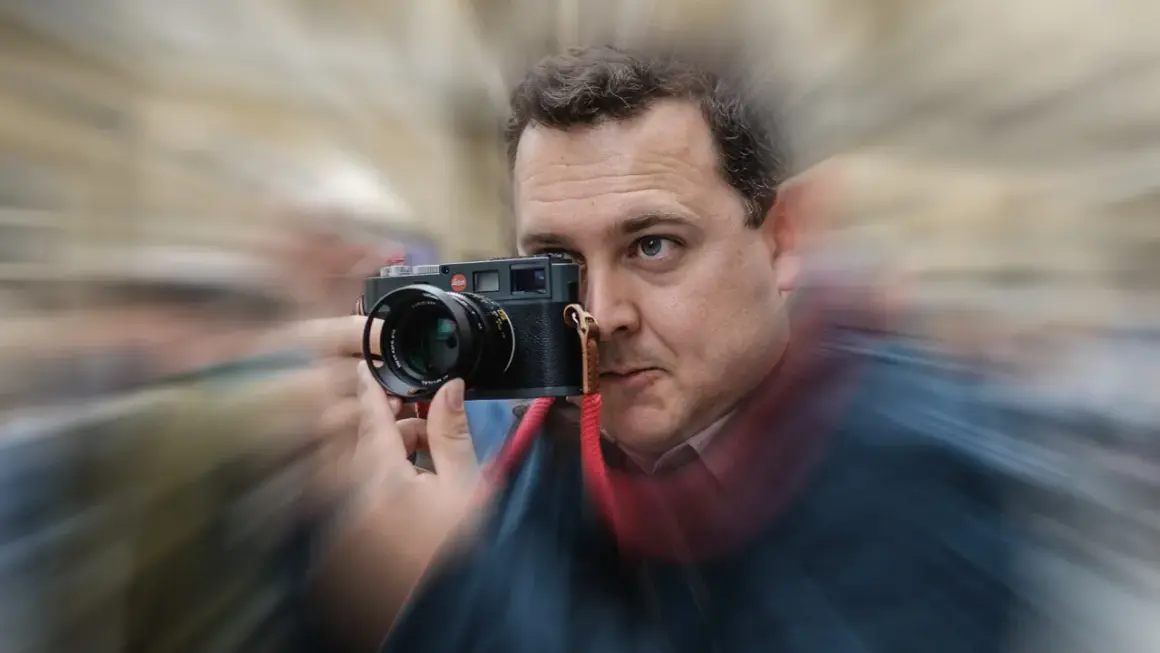
The shortest practical answer for street shooters
- 35mm equivalent is the safest all-around starting point for most photographers.
- 28mm gives more city, more context, and a more energetic frame.
- 50mm works well when you want tighter, more intimate candid images from a bit farther away.
- APS-C users often get the same feel with a 23mm or 24mm lens.
- Filters are optional, but a good CPL and a solid protective filter can help in the right conditions.
- The lens you know well matters more than chasing a theoretically perfect number.
Why 35mm keeps winning street photographers over
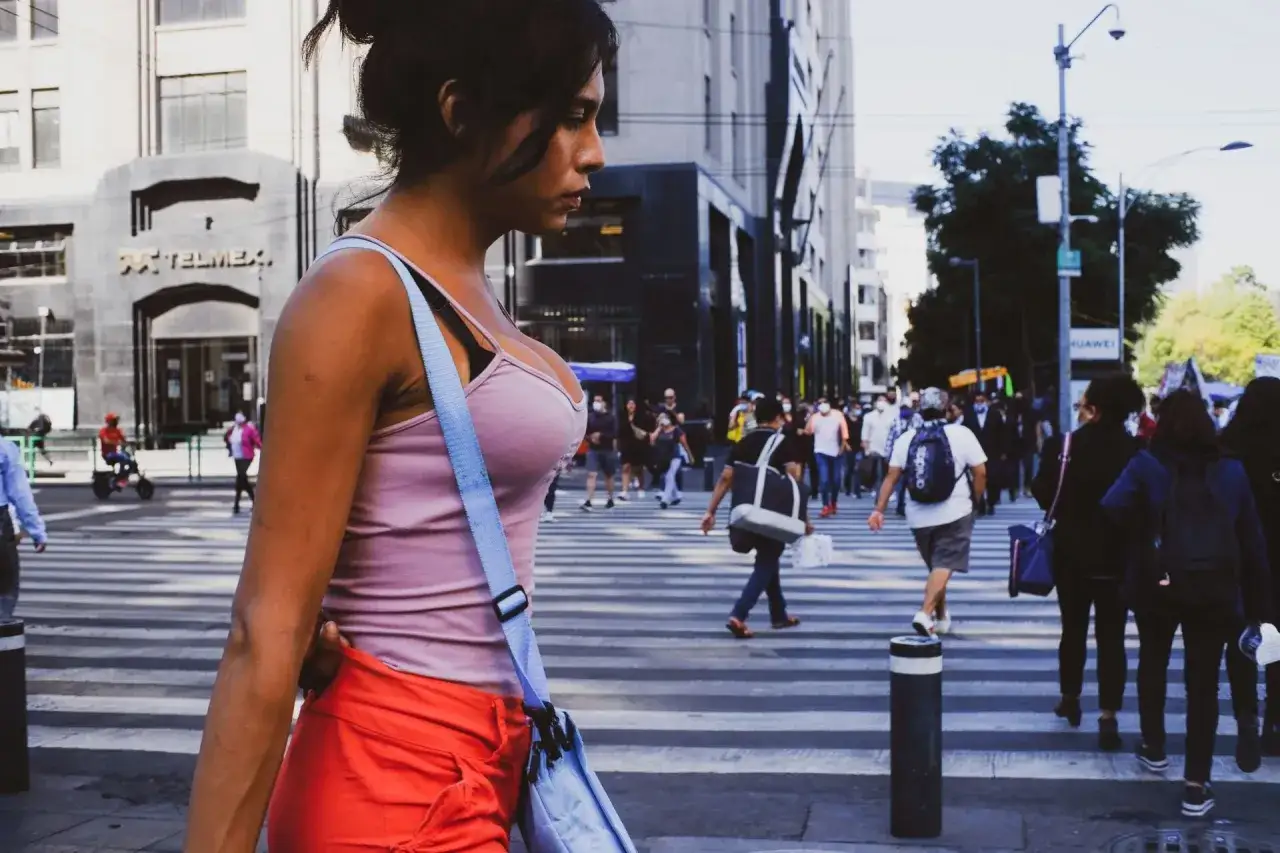
When I want a single lens that can handle sidewalks, storefronts, faces, and the small bits of geometry that make a city feel alive, I usually start at 35mm. It gives enough width to include context without forcing the scene into a wide-angle spectacle, and it stays close enough to natural perspective that the image still feels believable rather than exaggerated.
That balance is the reason 35mm has become such a durable default. You can frame a person in the environment without losing the environment. You can react quickly to movement without needing to stand on top of your subject. And if the light turns difficult, a fast 35mm prime at f/1.8 or f/2.0 still gives you a usable low-light tool without making the camera feel bulky.
I also think 35mm rewards good habits. It does not save lazy composition, which is a good thing. If the background is messy, it stays messy. If the subject placement is weak, the lens will not hide it for you. That pressure is useful because it teaches you to work with the street instead of treating it like a backdrop.
If you are unsure where to begin, this is the focal length I would personally hand to most people first. Once you know what 35mm gives you, the wider and tighter options make more sense instead of feeling like abstract numbers. From there, the differences become much easier to judge in actual urban scenes.
How 28mm, 40mm, 50mm, and 85mm change the story
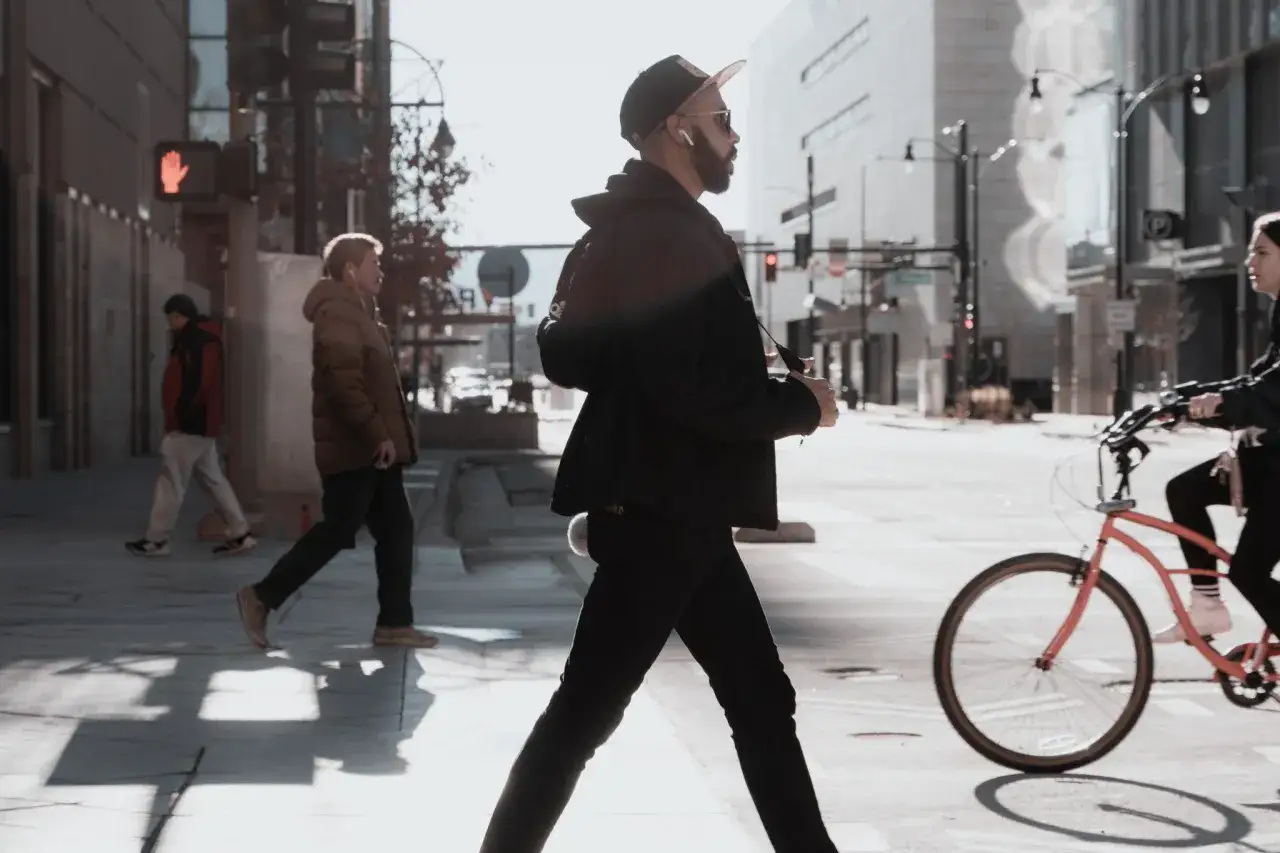
Street photography is not really about picking a number and declaring it universal. It is about deciding how much of the scene you want to keep alive. A wider lens makes the city feel more present. A longer lens makes the subject feel more isolated. Both can work, but they create very different emotional tones.
| Focal length | What it emphasizes | Best use in street work | Main trade-off |
|---|---|---|---|
| 24mm | Environment, scale, and strong perspective | Crowded intersections, architecture, layered scenes | Harder to isolate a subject; too close can look aggressive |
| 28mm | Energy and context | Busy sidewalks, documentary-style frames, dramatic compositions | Needs disciplined composition and physical closeness |
| 35mm | Balance between subject and scene | Most everyday candid shooting, walk-around use, flexible storytelling | Less wide than some shooters want, less tight than others prefer |
| 40mm | A slightly calmer, more restrained view | Discreet walk-around work, subtle portraits, less distortion | Can feel like a compromise if you want stronger wide-angle context |
| 50mm | Intimacy and cleaner subject separation | Candid portraits, details, quieter moments, shooting from a bit farther back | You lose environmental context faster |
| 85mm | Compression and distance | Isolated gestures, compressed layers, candid portraits from afar | Less immersive, harder to tell a full street story |
In practical terms, 28mm and 35mm are the two lengths I see most often in street kits because they keep the photographer inside the scene. Forty millimeters is the quieter middle ground, and 50mm starts to feel noticeably more selective. Eighty-five millimeters can still produce strong street images, but it changes the genre a bit: less immersion, more observation.
The real question is not which focal length is “best” in the abstract. It is whether you want the viewer to feel the surrounding street, or whether you want them to focus almost entirely on a person and a gesture. That decision becomes even more important once sensor size enters the picture.
Sensor size changes the number on the lens
A lens does not look the same on every camera body. Crop factor changes the field of view, so the number printed on the lens can be misleading if you do not translate it into equivalent framing. Adobe’s crop-sensor guidance is a useful reminder here: APS-C bodies typically use a 1.5x or 1.6x crop factor, while Micro Four Thirds uses 2x.| Camera format | Lens that gives a 35mm-ish view | What it feels like in practice | Useful note |
|---|---|---|---|
| Full frame | 35mm | The classic balanced street view | 28mm feels wider, 40mm feels slightly tighter |
| APS-C | 23mm or 24mm | Roughly the same field of view as 35mm on full frame | A 35mm lens on APS-C starts to feel closer to a short telephoto |
| Micro Four Thirds | 17mm or 20mm | Close to a 34mm to 40mm equivalent look | A 25mm lens behaves more like a 50mm equivalent |
This matters because people often buy the “wrong” focal length for their system. A photographer on APS-C who loves 35mm street images should usually look at a 23mm lens, not a 35mm, if they want the same framing. On Micro Four Thirds, I would treat 17mm as the direct 35mm-equivalent answer and 20mm as the slightly tighter alternative.
So if someone asks me for a straight answer, I do not just say “35mm.” I say “35mm equivalent,” then translate it for the camera they actually use. That shift alone prevents a lot of bad lens purchases and a lot of unnecessary disappointment. Once the format is matched, the next decision is whether a prime or a zoom fits the way you work.
Prime or zoom, and what matters more than focal length
For street work, I usually prefer primes because they keep the camera smaller, make the kit less noticeable, and force me to commit to a look. A compact 35mm or 40mm prime often disappears into the rhythm of a city walk in a way a larger zoom simply does not. That matters when you are trying to stay unobtrusive and react quickly.
That said, zooms are not a compromise if you use them deliberately. A 24-70mm zoom can be excellent for someone still learning what framing feels natural, especially if the goal is to experiment with 28mm, 35mm, and 50mm on the same outing. The trade-off is that it is easier to keep thinking than shooting. I see that all the time: the zoom invites constant adjustment, and the moment passes while the lens gets negotiated with.
What matters more than the label on the barrel is how quickly the lens lets you work. I care about three things:
- Size and weight because a smaller lens draws less attention and gets carried more often.
- Autofocus speed because candid scenes do not wait for slow glass.
- Maximum aperture because f/1.8 to f/2.8 usually gives enough flexibility for dusk, interiors, and shaded streets.
If I had to simplify the buying decision, I would say this: choose the focal length first, then choose the smallest, fastest version you can realistically live with. A lens that feels awkward in your hand will not become a favorite just because the spec sheet looks good. After that, the filter choice becomes the last piece of the kit that can help or get in the way.
Filters that actually earn space in a street kit
Filters are not mandatory for street photography, and I do not think they should be treated that way. A bad filter can soften the image, add flare, or create a slight loss of contrast that you only notice after you get home. Still, there are a few situations where a filter is genuinely useful.Protective clear filters
I use a protective filter when the front element is exposed to dust, rain, grit, or the kind of crowded handling that happens during travel. The benefit is simple: the filter takes the abuse instead of the lens. The downside is also simple: if the filter glass is cheap, you may pay for that protection with extra reflections. In clean, dry conditions, I often prefer a lens hood and nothing else.
Circular polarizers
A CPL is the filter I reach for when the city gets reflective. It helps reduce glare on windows, wet pavement, cars, and metal surfaces, and it can deepen contrast in a way that suits urban scenes. The catch is that it also reduces light, usually by around one to two stops, so it can slow your shutter speed more than you expect. That is a real trade-off if you are trying to freeze a moving subject.
Read Also: Leica M4 - The Optimal 3-Lens Kit for Your Photography
Neutral density filters
An ND filter is useful when I want to keep a wide aperture in bright daylight or when I deliberately want motion blur from pedestrians or traffic. It is a creative tool, not a street-photography essential. If you shoot fast, candid frames most of the time, I would treat ND as optional rather than part of the default kit.
My practical rule is this: carry a filter only when you know what problem it solves. Otherwise it becomes extra glass between you and the scene, which is the opposite of what most street work needs. The simpler your setup, the easier it is to trust your framing and move on to the part that really matters: learning one focal length well enough to stop second-guessing it.
How I would test the right focal length without overthinking it
The fastest way to choose a street focal length is not to read another gear thread. It is to shoot three separate walks with a clear constraint and review the results honestly. I like this approach because it reveals what your eye naturally wants to do, not what a spec sheet says you should like.
- Pick one framing for a full walk. If you own a zoom, lock it at 28mm, 35mm, or 50mm for that outing. If you own primes, use one lens only.
- Track your distance. Notice whether you keep wanting to step closer, step back, or avoid certain scenes because the lens does not fit them.
- Review for keepers, not just sharpness. A lens is a good street lens if it helps you create believable frames with strong subject placement, not just technically clean files.
After a few sessions, the pattern usually becomes obvious. If you keep feeling starved for context, you are probably too tight. If you keep clipping people at the edges or fighting perspective, you may be too wide. If you feel comfortable but the images still carry enough street atmosphere, you are probably in the right zone.
This is also where personal style matters more than most people admit. Some photographers love the feeling of being inside the scene at 28mm. Others prefer the slightly detached, observational feel of 50mm. Neither camp is wrong. The useful part is knowing which one matches the kind of stories you actually want to tell.
The one-lens street kit I would start with today
If I had to build a simple street setup from scratch, I would choose a 35mm-equivalent prime first. On full frame, that means 35mm. On APS-C, I would look at 23mm or 24mm. On Micro Four Thirds, I would start with 17mm or, if I wanted a slightly tighter feel, 20mm.
From there, I would keep the rest of the kit minimal. One small lens, one body, and only the filters that solve a real problem on that day. That combination is usually the most honest answer to urban candid work: it is discreet, flexible, and forgiving enough to let you focus on timing instead of gear.
If you want the short version, my advice is simple: start at 35mm equivalent, move wider only if you want more of the street in the frame, and move longer only if you want more separation and less context. Once you settle on a field of view that feels natural, the camera stops getting in the way and the city starts doing the heavy lifting.
