
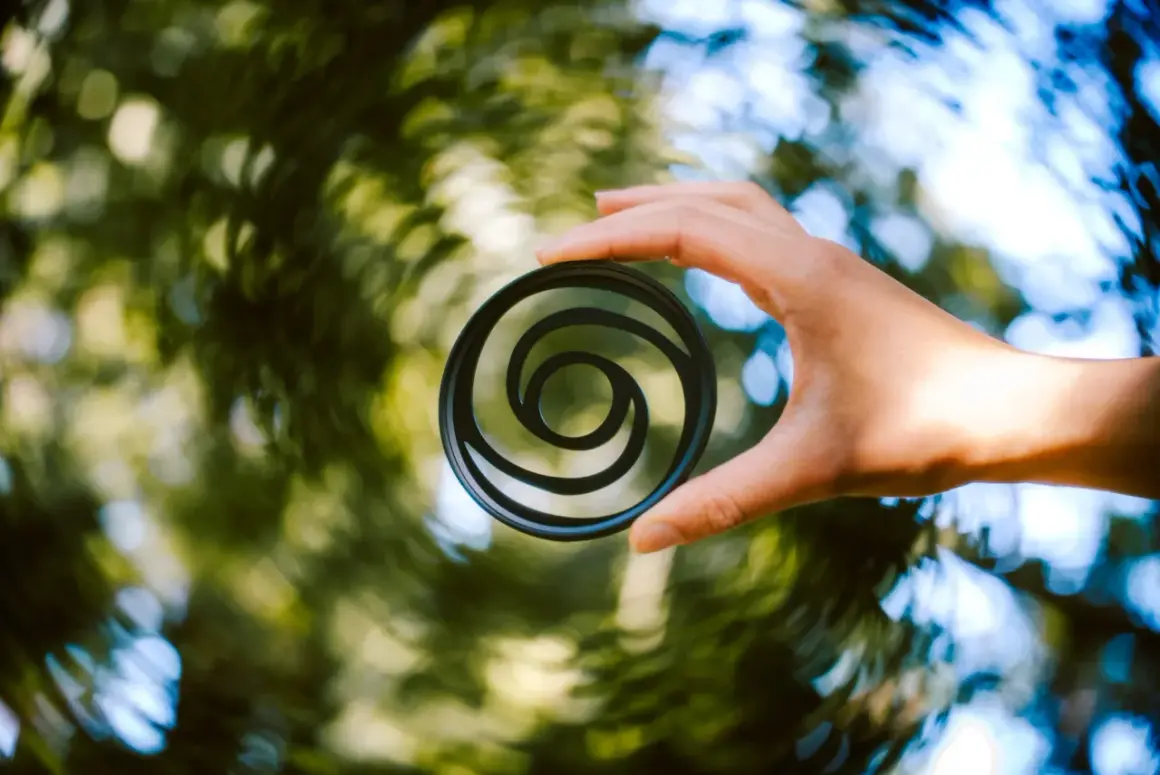
Swirly bokeh is one of those optical looks that can turn an ordinary portrait into something far more cinematic: the background seems to rotate around the subject instead of fading away politely. In this article, I break down what creates that effect, which lenses produce it most reliably, how filters fit into the equation, and how to shoot it without wasting frames. The goal is practical: help you choose the right gear and settings with realistic expectations.
The look comes from lens character, frame edges, and scene setup more than from aperture alone
- The swirl is usually caused by a mix of field curvature, aberrations, and strong edge falloff in the lens.
- Vintage fast primes, Petzval-style lenses, and modern twist lenses are the easiest ways to get it on purpose.
- Standard filters do not create the effect; specialty swirl filters can mimic it, but with less optical depth.
- Wide apertures, subject-background separation, and textured backgrounds near the frame edges matter a lot.
- Heavy cropping, lens-correction profiles, and stopping down too far can flatten the look fast.
What creates swirly bokeh in the frame
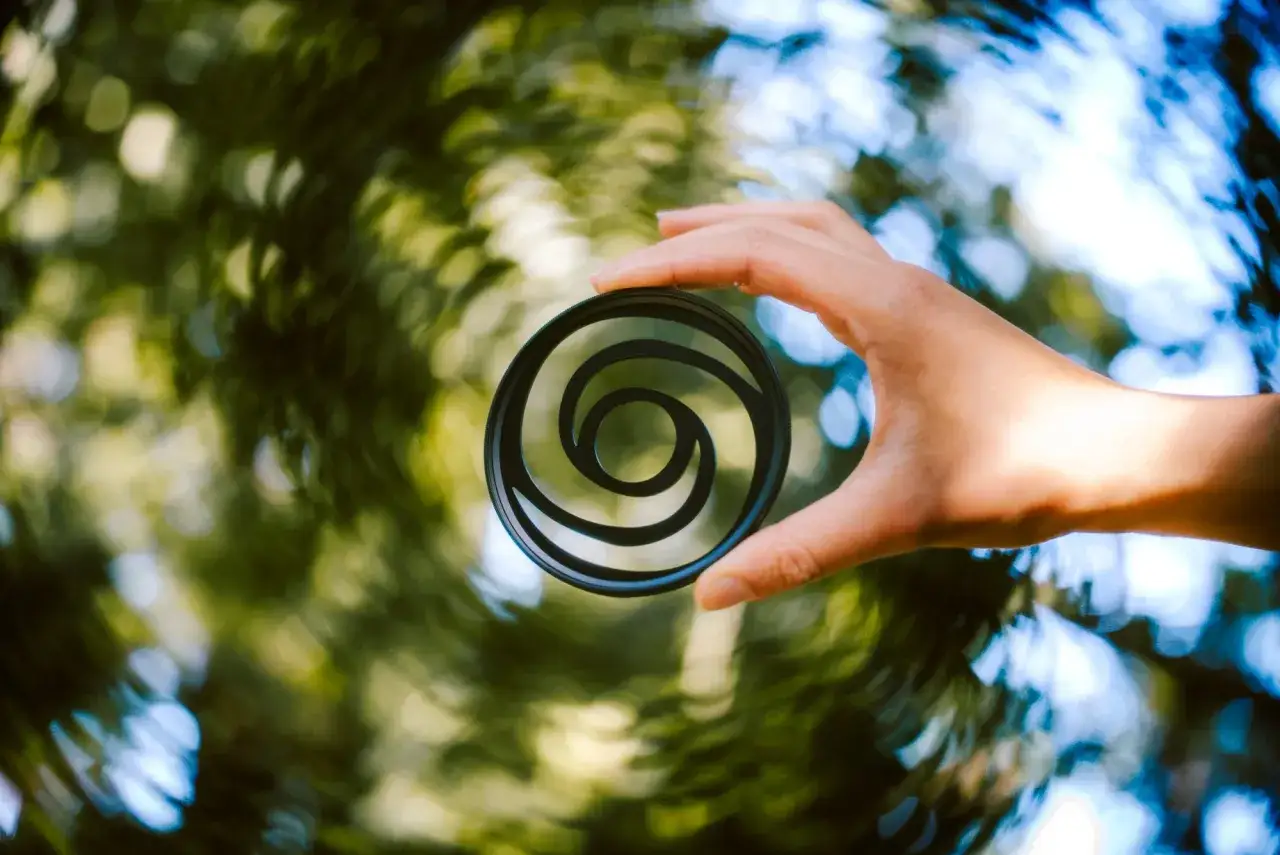
I think of this as a lens-drawing problem, not a blur preset. The center of the frame can stay relatively clean while the outer zones bend and smear the out-of-focus highlights into arcs, which is why the effect feels like motion even when nothing in the scene is moving.
Technically, the strongest swirl usually appears when a lens has a combination of field curvature and under-corrected aberrations. Field curvature means the sharpest plane is not perfectly flat across the image; the edges focus on a different curve than the center. Add wide-open shooting and a background full of small highlights, and those edge highlights can start to look like they are orbiting the subject.
That is why the effect is so dependent on the lens formula. A fast aperture helps, but it is not the whole story. Two lenses at the same f-number can look completely different: one gives creamy blur, another gives a hard, spinning edge pattern. The character comes from the optical design, not just the aperture ring.
This matters because it changes how you shop and how you shoot. If you expect every bright lens to produce the look, you will be disappointed. If you understand the optical behavior, you can choose gear that gives you the swirl on demand instead of hoping it shows up by accident.
Which lenses give the most usable look
When I want the effect to be repeatable, I start with lenses that are known for character. The common options fall into three practical buckets, and each one has a different level of control, cost, and polish.
| Lens type | Typical US price range | Look | Control | Best for |
|---|---|---|---|---|
| Vintage fast primes | $50 to $150 used, plus $15 to $40 for an adapter | Strong character, softer edges, occasional swirl variation | Medium | Portraits, editorial stills, low-budget experimentation |
| Dedicated twist or Petzval-style lenses | $180 to $400+ depending on the model | More deliberate swirl, cleaner center, more consistent rendering | High | Commercial creative work, music visuals, repeatable styling |
| Converted projector or specialty lenses | $25 to $300+ depending on conversion and condition | Very strong character, sometimes messy or unpredictable | Low to medium | Experimental work, one-off looks, stylized video |
On full-frame cameras, I usually think in the 50mm to 85mm range for a portrait-friendly starting point. On APS-C, that often translates to roughly 35mm to 58mm. The exact focal length matters less than the lens design, but these ranges tend to give enough subject isolation and enough off-axis background for the swirl to show up clearly.
One thing I would not ignore is sample variation. Vintage lenses can be charming, but they can also be inconsistent. One copy may glow beautifully wide open while another feels mushier than useful. That is not a flaw if you want character, but it is a real limitation if you need the same result across a campaign or a series.
So my rule is simple: if I need predictability, I pick a dedicated creative lens. If I want cheap experimentation, I start with a used vintage prime and an adapter. That leads naturally to the question of whether filters can do the same job.
How filters change the result without changing the whole lens
Most standard filters do not create swirling blur. An ND filter lets you keep the aperture open in daylight, a polarizer controls reflections, and a diffusion filter softens highlights. Those tools can support the look, but they do not build the optical swirl by themselves.
Specialty swirl filters are different. They are designed to introduce a spinning pattern into the out-of-focus areas, which makes them useful when you want to test the aesthetic without buying a dedicated lens. I see them as a shortcut, not a replacement. They can be practical, especially for content teams that need a portable setup or want to keep the same base lens lineup across multiple bodies.
Here is the trade-off I actually care about:
- Standard filters preserve the lens character and help you control exposure or contrast.
- Diffusion filters soften the image and can make the swirl feel dreamier, but they do not create the spinning pattern.
- Swirl filters can fake the effect, yet they usually feel more effect-driven and less optical than a real twist lens.
If you are producing stills for a brand campaign, that difference matters. A genuine lens-based effect tends to feel more integrated into the frame. A filter-based effect can work well, but it is easier for it to look like an overlay if the scene is not carefully composed. That is why technique matters just as much as gear.
How I set up a shot so the background actually spins
The swirl does not usually show up because someone “has the right lens.” It shows up because the scene gives the lens something to work with. When I am setting up the frame, I focus on separation, edge detail, and aperture first.
- Open the lens wide, or close to wide open. In practice, the look is usually strongest around the lens’s maximum aperture, and it often calms down noticeably at f/4 or smaller.
- Keep the subject separated from the background. A gap of roughly 10 to 20 feet is often enough to give the background room to blur into motion, especially outdoors.
- Put textured detail near the edges of the frame. Leaves, string lights, branches, window reflections, and foliage are far better than a blank wall.
- Stay close enough to your subject for subject isolation, but not so close that the background disappears into featureless blur.
- Move your camera position in small increments. A tiny shift left, right, or back can change the swirl more than a full stop of aperture.
- Check the raw frame before trusting the result. Some in-camera corrections and lens profiles can reduce the very edge behavior that makes the effect interesting.
That last point is underrated. I often see people judge the lens too quickly because they view the image with corrections already applied. If the file looks too corrected, too clean, or too flat, the swirl may still be present in the optics but muted by software. I would rather evaluate the lens first, then decide later whether the correction helps or hurts the final image.
For portraits, I also keep the face in the middle third of the frame. Push the subject too far toward the edges and the lens character starts to compete with facial distortion. The background can be wild, but the face still needs to look intentional. That balance is where the effect feels cinematic instead of accidental.
The mistakes that flatten the look fast
I see the same mistakes over and over, and most of them are avoidable. The easiest one is cropping too aggressively. Once you cut away the frame edges, you remove the very area where the spin lives. If you want the swirl to read clearly, compose for it in-camera instead of planning to rescue it later.
The second mistake is using a background that is too plain. A smooth wall, overcast sky, or featureless backdrop may give you blur, but it will not give you motion. You need structure: light points, foliage, wires, texture, or repeating shapes that can stretch as they move toward the corners.
The third mistake is stopping down too much. Yes, you can make the subject sharper and reduce optical quirks, but you also reduce the distortion that creates the effect in the first place. If the effect is the point, I would rather accept a little softness and keep the character.
There is also a post-processing trap. Over-sharpening, heavy dehaze, or aggressive noise reduction can make the background look processed rather than optical. That does not mean you must avoid editing. It means the edit should support the lens behavior, not overwrite it.
Finally, do not confuse swirl with chaos. The effect should still let the eye land on the subject. If the background steals the entire frame, the image stops feeling like design and starts feeling like an error. The best results keep the swirl as a frame around the subject, not as the main event.
How I decide when the swirl is worth the trade-off
I use this look when I want the frame to feel expressive, nostalgic, or slightly off-center in a good way. It works well for portraits, music visuals, fashion details, social clips, and campaign hero frames where the background needs to do more than just disappear.
I avoid it when technical clarity matters more than mood. That includes product catalog work, architecture, group shots, and documentary-style images where viewers need neutral rendering. In those cases, a clean lens and a controlled blur are usually the better choice.
The middle ground is where the effect earns its keep. For example, if I am building a brand visual around movement, memory, or a handmade feel, I may use a swirl-rich lens on the lead image and then switch to a cleaner optic for the supporting frames. That approach keeps the visual identity strong without making every shot shout for attention.
If I had to reduce the decision to one line, it would be this: use the swirl when the image benefits from character, and leave it out when the audience needs clarity first. That is the balance that keeps the effect useful instead of decorative.
