
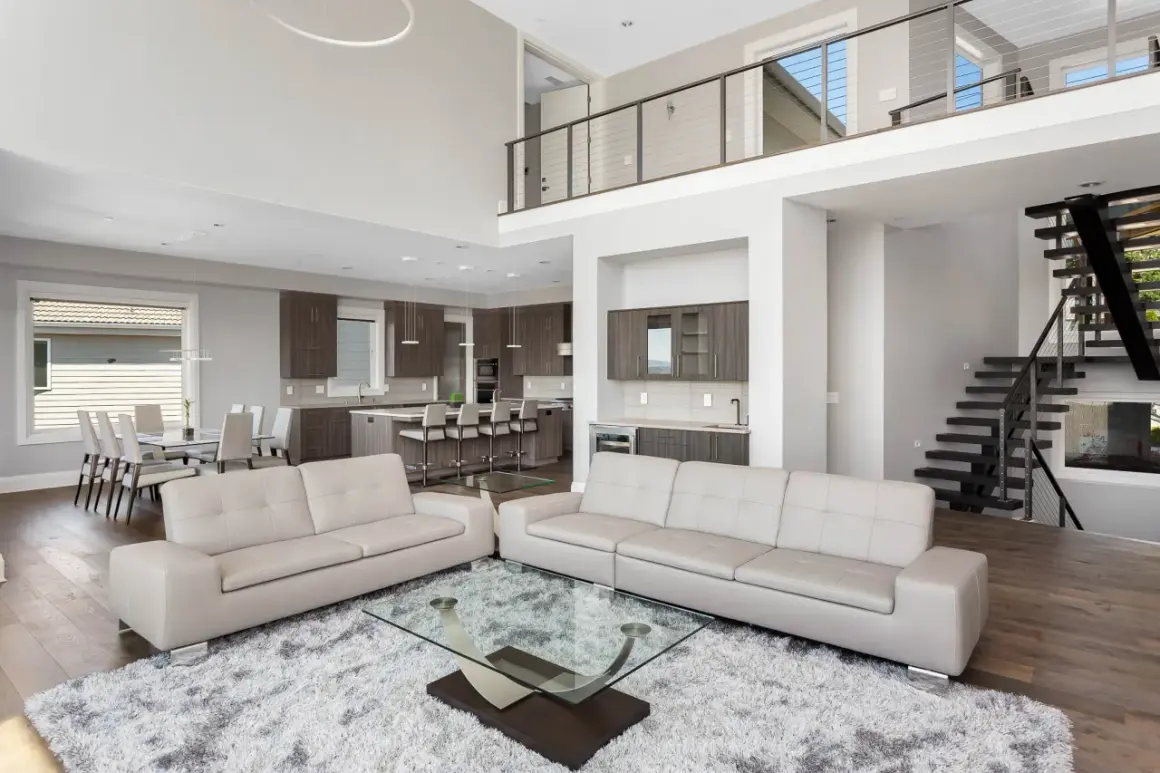
A real estate photography lens is less about shallow depth of field and more about how honestly it can render a room. The best choices cover tight interiors without exaggerated warp, keep vertical lines under control, and still give you enough flexibility to move from bedroom to exterior to detail shots without slowing the job down. In this guide, I’ll break down the focal lengths, lens designs, and filters that actually matter when you are shooting homes, condos, and commercial property.
What matters most when choosing property glass
- For full-frame cameras, 14-24mm and 16-35mm are the safest interior ranges; on APS-C, look for roughly 10-18mm or 10-24mm equivalents.
- f/4 is usually enough because real estate is typically shot on a tripod at f/8 to f/11.
- Ultra-wide zooms are the most practical all-around option; tilt-shift lenses are better for straight lines but cost much more.
- A circular polarizer is useful for glass, glossy counters, and some exterior work, but it is not a universal fix.
- Fisheye lenses are rarely a good choice for standard listing photos because they distort rooms too aggressively.
The focal lengths that actually solve the room problem
The first decision I make is focal length, because it controls how much of the room I can include before the geometry starts to look unnatural. For interiors, I want a wide view, but not so wide that cabinets bulge, walls stretch, or every room feels bigger than it really is.
| Camera type | Range I would target | Why it works | What to watch for |
|---|---|---|---|
| Full-frame | 14-24mm or 16-35mm | Covers most bedrooms, kitchens, living rooms, and smaller offices without forcing extreme angles. | Going wider than necessary can make spaces look stretched and less believable. |
| APS-C | 10-18mm, 10-20mm, or 10-24mm | Delivers a full-room view that feels similar to a wider full-frame lens. | Many kit zooms start too narrow, so the frame feels cramped in bathrooms and compact bedrooms. |
| Exterior and detail work | 20-70mm or 24-70mm | Better for façades, entry shots, fireplaces, countertops, and decor details where you do not need a giant field of view. | These lenses are too tight to be your only interior tool. |
I would rather have a slightly less dramatic frame that feels true than a hyper-wide image that looks impressive for two seconds and then starts to feel fake. That is also why I usually prefer rectilinear optics, meaning lenses that keep straight lines straight instead of bending them like a fisheye. Once the focal length is in the right window, the next question is whether I want to correct perspective in-camera or later in post.
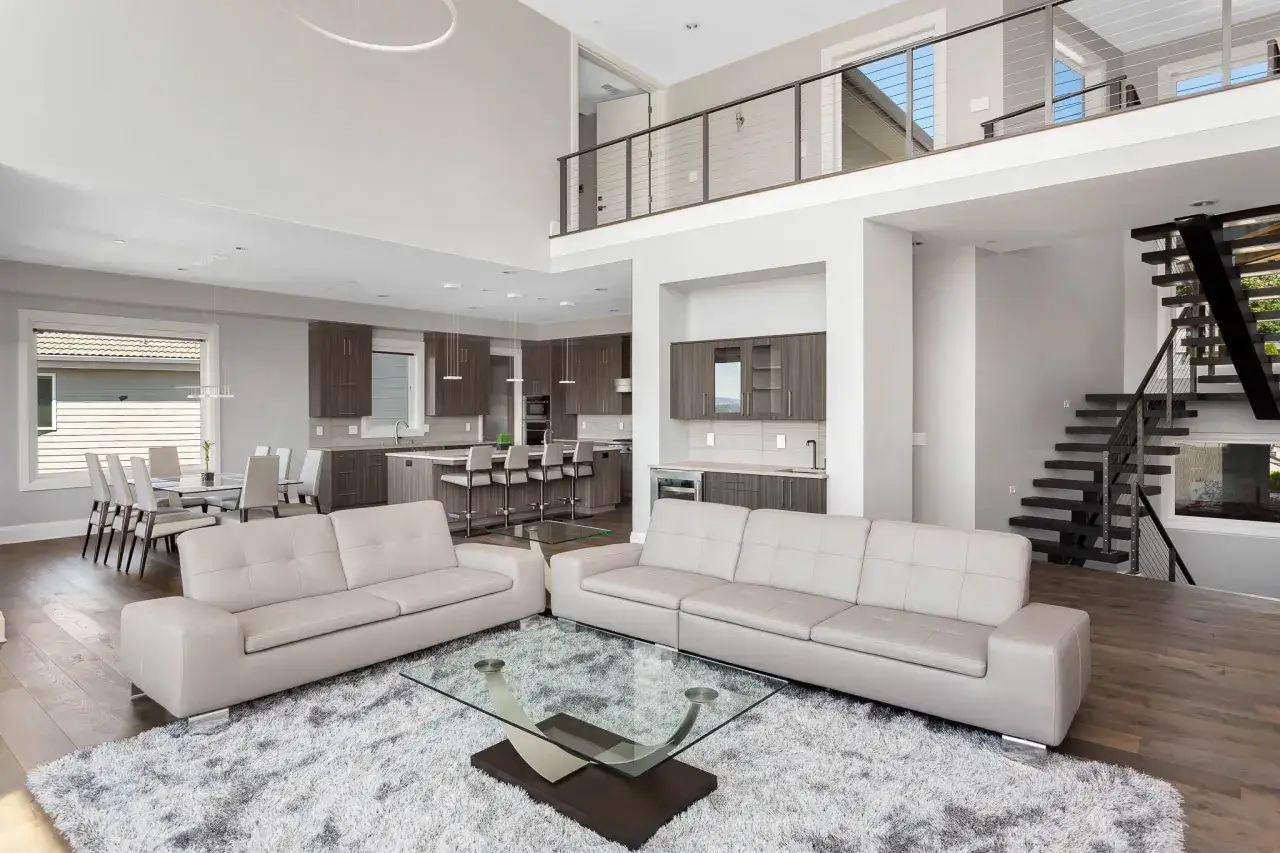
Tilt-shift lenses earn their keep when straight lines matter
For most listing work, I can correct a little perspective in Lightroom and still deliver a clean image. A tilt-shift lens matters when I want the correction to happen in-camera, especially on exteriors, luxury interiors, or jobs where the client expects perfectly straight verticals without cropping away part of the frame.
“Shift” moves the lens’s image circle relative to the sensor so I can keep the camera level while still framing higher or lower parts of the scene. “Tilt” changes the plane of focus, which is useful in some architectural work but is less central for typical real estate interiors than shift.
- Worth it when you shoot high-end homes, architecture, or designer spaces regularly.
- Less compelling when you mainly deliver fast MLS galleries and the shoot volume is high.
- Budget reality: entry-level tilt-shift options now begin in the mid-hundreds, while premium models often sit around $1,500 to $2,400+.
- Client fit: use it if straight lines are part of your style or your clients judge technical polish closely.
I treat tilt-shift as a precision tool, not a required first purchase. If the client mainly wants bright, accurate rooms delivered quickly, a good wide zoom usually gives me a better return on the money. That leads naturally to the broader question of which lens design is the best all-around fit.
Zooms, primes, and fisheyes are not equal in this job
There is a reason working photographers keep coming back to wide zooms. They are fast to use, flexible from room to room, and forgiving when a hallway is too tight to recompose from scratch. Primes can be excellent, but they are more rigid. Fisheyes are a creative tool, not a standard property solution.
| Lens type | Typical US price range | Best use | Main strength | Main drawback |
|---|---|---|---|---|
| Ultra-wide zoom | $300-$1,500 | Most residential interiors and exteriors | Flexible framing and fast workflow | May need some correction in post |
| Wide prime | $250-$1,200 | Budget shooters or people who prefer a fixed look | Simple, often sharp, and usually lighter | Less flexible when the room size changes |
| Tilt-shift | $550-$2,400+ | Architecture, luxury interiors, and premium listings | Straighter verticals in-camera | Slower operation and a much higher cost |
| Fisheye | $150-$800 | Special creative projects only | Extreme coverage in a tiny space | Too much distortion for standard marketing photos |
For current mainstream full-frame options, I keep seeing lenses like the Nikon Z 14-30mm f/4 S around the $1,097 mark, the Sony FE PZ 16-35mm f/4 G around $1,298, and the Canon TS-E 17mm f/4L around $2,399. Those numbers matter because they show the real tradeoff: a reliable wide zoom sits in a practical middle zone, while a tilt-shift lens is a bigger, more deliberate investment. That is also why I do not chase the fastest aperture for this genre; real estate is usually shot stopped down anyway, often around f/8.
The next piece is filters, because the wrong filter can help one problem and create three more.
Filters that help and the ones I leave off
Filters are useful in real estate photography, but only when they solve a specific problem. I do not treat them as permanent accessories. Every extra layer of glass can add flare, reduce contrast a little, or create cleanup work that was not there before.
- Circular polarizer - best for reducing glare on windows, glossy countertops, polished floors, stainless steel, and some exterior surfaces. It can make a big difference, but on very wide focal lengths the effect can look uneven across the frame, so I use it selectively.
- ND filter - useful if I want a long exposure, a smoother exterior scene, or a specific creative effect. For standard interiors, it is rarely necessary.
- Clear or UV filter - I only use one when I want extra front-element protection in dusty, rainy, or salty environments. Otherwise, I prefer to leave the lens cleaner and simpler.
One practical note: if you buy wide zooms that use different front thread sizes, step-up rings are a smarter purchase than multiple duplicate filters. They let me run one quality CPL across more than one lens instead of buying a separate filter for every diameter. In real work, that kind of small system choice saves more money than people expect.
My rule is simple: use a CPL when reflections are hurting the frame, skip it when the scene is already clean, and do not expect a filter to fix weak composition or bad camera placement. That brings us to the part most buyers actually need, which is how to choose a setup without overspending.
How I would choose a setup by camera type and budget
If I were building a property kit from scratch, I would start with the camera body I already own and choose the lens that solves the widest range of rooms first. A lot of people get this backward. They buy a fast lens, then discover it does not help much because they still shoot stopped down on a tripod.
| Scenario | What I would buy | Typical budget | Why this makes sense |
|---|---|---|---|
| APS-C starter | 10-18mm or 10-24mm zoom plus a tripod | $250-$800 | Enough width for small rooms without jumping straight to expensive specialty glass. |
| Full-frame starter | 16-35mm f/4 or 14-30mm f/4 | $900-$1,400 | Probably the best blend of flexibility, quality, and price for standard residential work. |
| Hybrid photo and video shooter | Ultra-wide power zoom or a 20-70mm class lens as a second lens | $1,100-$1,500 | Great for exteriors, walkthroughs, and detail shots, but still not a replacement for an interior-wide lens. |
| Luxury or architecture specialist | Wide zoom plus a tilt-shift lens | $1,800-$3,500+ | Best when clean geometry and premium presentation are part of the deliverable, not just a nice extra. |
I would spend on a sturdy tripod before I spent on a faster aperture. I would also choose lens correction profiles in post and a good editing workflow before I doubled the budget just to gain one stop I rarely use. In this genre, consistency beats glamour.
That is also why I like a setup that gives me one dependable wide lens, one optional filter, and a clean support system. Once those three pieces are in place, the jump from decent to professional usually comes from composition and lighting discipline, not from buying a more exotic optic.
The leanest kit I would buy first
- A rectilinear wide zoom in the right range for my sensor size.
- A solid tripod that keeps the frame level and repeatable.
- A single good circular polarizer if I regularly fight reflections.
- Step-up rings so one filter can cover more than one lens.
- A tilt-shift lens later, only if clients or projects truly justify it.
If I had to choose one answer, it would be this: buy the widest clean lens you can afford, then build the rest of the kit around control, not speed. That approach gives you more usable interiors, cleaner exteriors, and fewer surprises when you open the files on a large screen.
