
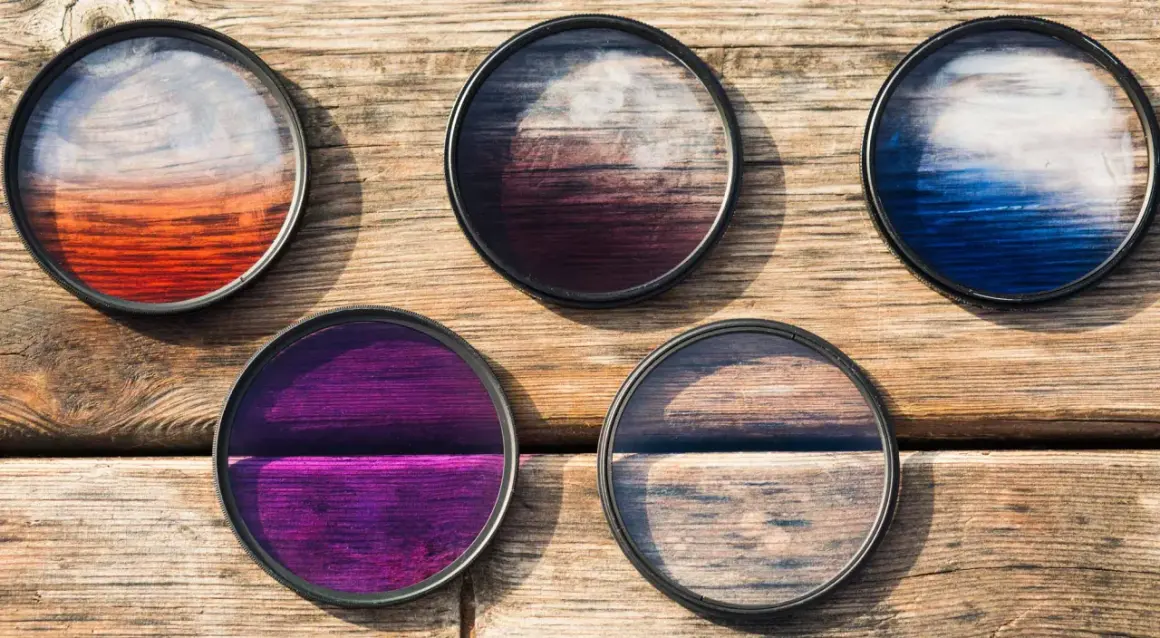
The best telephoto setup balances reach, light, and the control you need over the background.
- 70-200mm is the most flexible starting point for portraits, events, and general outdoor work.
- 300mm and beyond is where wildlife and distant action start to feel realistic instead of cropped.
- A circular polarizer is the most consistently useful filter for reflections, skies, and foliage.
- An ND filter matters when you want slower shutter speeds or wider apertures in bright light.
- Cheap filters are often the fastest way to soften the look of an otherwise good telephoto lens.
What telephoto lenses change in a photograph
The main change is not just magnification. A long lens narrows the angle of view, so the background becomes less busy, and the subject occupies more of the frame without you walking into the scene. That gives you cleaner portraits, tighter wildlife frames, and more control over how much of a location you reveal.
What people call compression is the visual effect of shooting from farther back and framing tighter; distant objects appear closer together, and layers in the background feel stacked rather than stretched out. I treat that as a compositional consequence, not magic. It is useful when you want a mountain behind a person to feel imposing or a skyline to look dense instead of scattered. Once that is clear, choosing the right focal length becomes much easier.
How I choose focal length for portraits, sports, and wildlife
I do not start by asking which lens is longest. I start by asking how close I can realistically get, how much background I want to keep, and how much subject motion I need to handle. That answer usually points to a focal length faster than it points to a brand or a price tag.
| Use case | Practical focal length | Why it works | Main tradeoff |
|---|---|---|---|
| Portraits | 85-135mm | Flattering perspective, strong subject separation, pleasant background blur | You need more working distance, especially indoors |
| Events and ceremonies | 70-200mm | Fast framing changes, good reach without losing flexibility | Good versions are often heavy and expensive |
| Sports | 200-400mm | Lets you fill the frame from the sidelines or stands | Tracking gets harder as the subject speed rises |
| Wildlife and birds | 300-600mm | Enough reach for timid subjects and distant behavior | Support gear becomes more important |
| Travel and detail work | 100-200mm | Compresses architecture, signs, people, and scene layers without distortion | Not ideal when space is tight around you |
| Landscape compression | 135-300mm | Makes mountains, buildings, and foreground layers feel connected | You must pre-visualize the frame more carefully |
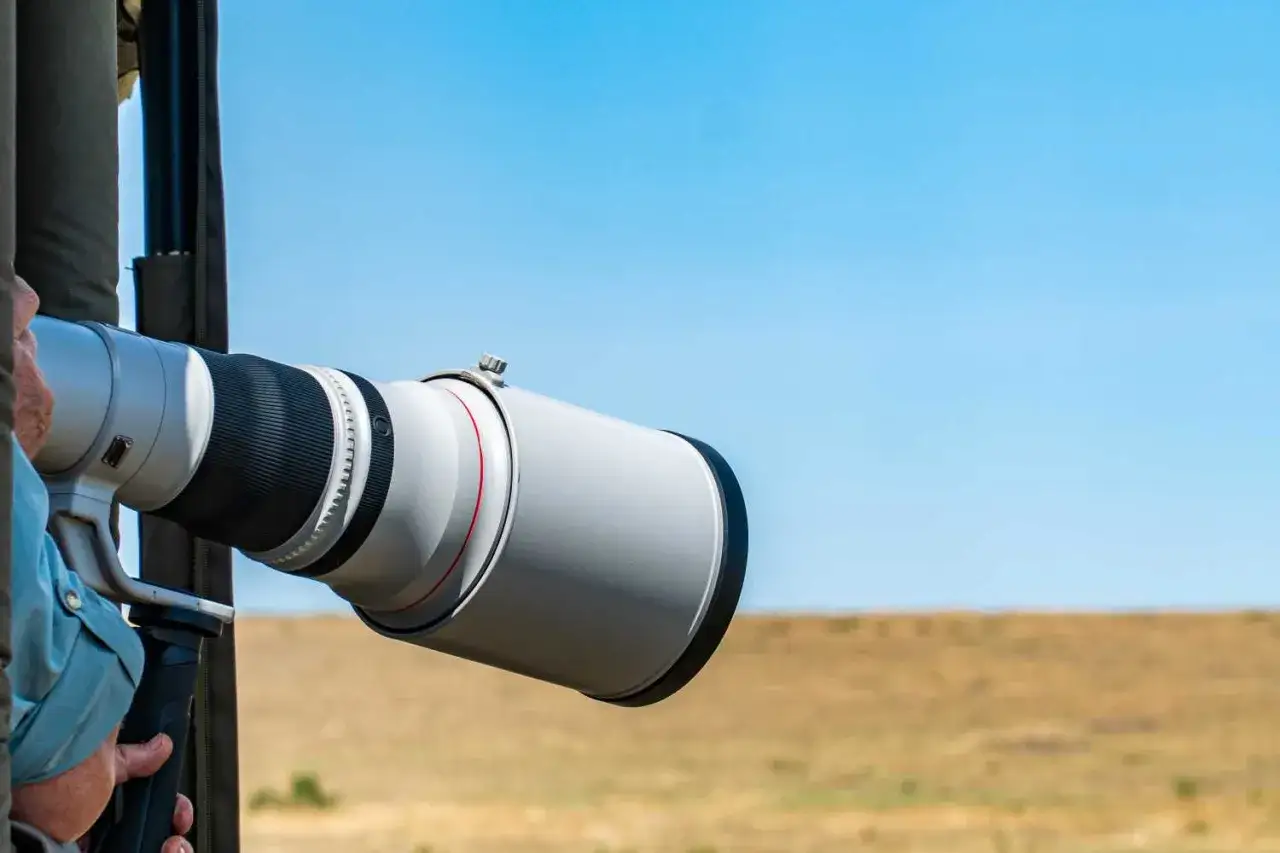
Which filters are actually worth carrying on telephoto lenses
I keep the filter list short. In long-lens work, the useful accessories are the ones that solve a real optical problem, not the ones that sit on the lens all day. A good filter should give you control over reflections, motion, or exposure; otherwise it is just more glass in front of the subject.
| Filter type | Best use | What to watch |
|---|---|---|
| Circular polarizer | Water, glass, wet leaves, richer skies, reduced glare | Costs light, and the effect is strongest when the subject is roughly 90 degrees to the sun |
| Neutral density | Slower shutter speeds, wider apertures in bright light, some video work | Variable ND filters can show color shift or an X-pattern if pushed too far |
| Clear or protective | Dust, sand, salt spray, rough travel conditions | Poor coatings can reduce contrast and flare resistance |
| Close-up filter | Occasional near-focus work with a tele zoom, like flowers or product details | Useful, but not a replacement for a real macro lens |
The circular polarizer is the one I reach for most often. It can cut reflections on water and glass, deepen blue skies, and make foliage look less washed out, which is especially useful in outdoor portraits and travel work. On telephoto lenses, the effect is usually easier to manage than on ultra-wide glass because the field of view is narrower. I also prefer a polarizer when I want cleaner color without heavy post-processing, though I still expect to lose about 1.5 to 2 stops of light.
Neutral density filters are different: they do not change color or contrast on purpose, they simply reduce the amount of light hitting the sensor. That matters when I want a wider aperture in bright daylight or when I need slower shutter speeds for motion blur. If you shoot both stills and video, ND becomes even more practical because it helps you hold a natural look outdoors without forcing the exposure triangle into awkward compromises. The next issue is whether the filter preserves the sharpness you paid for.
How filters affect sharpness, autofocus, and flare
Long lenses magnify everything: haze, shake, and filter defects. That is why I am picky about filter quality on telephoto glass. A poorly coated polarizer can flatten contrast, a cheap variable ND can create color casts, and any dusty front surface becomes obvious when the subject is small and the frame is tight.
- Match the filter to the hood. Some super-telephotos use hoods with a polarizer window, which is a practical detail that saves time in the field.
- Avoid unnecessary stacking. Each extra ring and filter edge increases the chance of flare and mechanical vignetting.
- Check autofocus after adding dense ND. Strong ND can make focus less confident in dim light.
- Use the hood first. In normal shooting, a hood protects the front element better than a clear filter does.
- Remove the filter before blaming the lens. If an image looks flat or soft, the filter is often the first thing I test.
At the super-telephoto end, I usually prefer drop-in filter systems or high-quality front filters over cheap screw-on accessories. The lens is already asking for precision; there is no reason to let a weak filter become the weak link. Once the glass is sorted, technique becomes the real difference between a sharp frame and a merely distant one.
How to hold sharpness when the focal length keeps getting longer
Telephoto lenses are far less forgiving of shake than standard lenses. A practical starting point is the old shutter-speed rule, where the minimum shutter is roughly the inverse of the focal length, but I treat that as a floor, not a goal. For a 300mm lens, I would rather start around 1/500s handheld; for birds, athletes, or kids moving unpredictably, 1/1000s to 1/2000s is often the safer range.
- Use stabilization for static subjects. It helps with hand movement, but it does not freeze motion.
- Use continuous autofocus and burst mode. Long lenses punish hesitation more than most people expect.
- Brace the lens when the build gets heavy. A monopod is often enough for events and sideline work, while a tripod makes sense for very long sessions.
- Stop down with intent. A lens at f/4 or f/5.6 is often sharp enough for portraits and sports, but a small stop down can improve depth of field when eye placement matters.
- Watch the background before you shoot. Telephoto work rewards careful framing; the background may be less visible, but it still shapes the image.
It is also worth remembering that stabilization helps the camera, not the subject. A still branch or a portrait subject benefits from it; a running player or a turning bird does not. That distinction is where many telephoto files go soft even though the lens itself is perfectly capable. The next section is about the mistakes that create that gap in the first place.
Common mistakes that waste telephoto potential
- Buying reach before solving the shooting distance. If you cannot position yourself well, a longer lens only makes the problem more obvious.
- Using the longest focal length all the time. Sometimes a shorter telephoto framing gives you a stronger composition and cleaner background layers.
- Leaving a weak protective filter on permanently. A low-grade filter is often the easiest way to lose contrast for no real benefit.
- Ignoring the hood. Flare and washed contrast are common when the front element is left exposed.
- Trusting stabilization too much. It is a support tool, not a substitute for shutter speed.
- Overcropping files that were already underexposed. Telephoto shots need good exposure discipline because noise becomes more visible when you crop later.
- Forgetting that the background still matters. Long lenses do not remove clutter; they just compress it.
Most of these mistakes come from treating a long lens as a shortcut. It is not a shortcut; it is a precision tool. That is why I think the next step should always be a practical buying order instead of a wish list. If the kit is lean and intentional, the results usually improve faster than the gear count.
A practical buying order that keeps the kit lean
If I were building a telephoto kit for portraits, events, and outdoor brand work in the US, I would start with one versatile zoom in the 70-200mm class, then add a high-quality circular polarizer and a support option before chasing extreme reach. That combination covers a large share of real jobs: cleaner portraits, tighter editorial frames, less glare on reflective surfaces, and enough stability to make long-lens shooting predictable.
- Buy the lens that matches the subject you actually shoot most. Reach is useless if the lens is too heavy or too slow for your workflow.
- Add a circular polarizer if you shoot water, glass, foliage, or bright outdoor scenes. It is the most consistently useful filter in the telephoto bag.
- Add an ND filter if you need motion blur, daylight wide-open shooting, or video control. A 3-stop or 6-stop filter covers a lot of practical use.
- Add a monopod or tripod when the lens starts fighting your hands. Support gear often improves keeper rate more than a small upgrade in glass.
- Consider a teleconverter only when you genuinely need more reach. It gives distance, but it also taxes light and autofocus performance.
The smallest telephoto kit that still handles real assignments
If I had to keep the kit tight, I would build around one lens that gets used on every shoot, not the one that looks best on a spec sheet. For portraits and event work, that usually means a 70-200mm zoom with a good circular polarizer. For wildlife or sports, I would move toward 100-400mm or 100-500mm territory and add a monopod before I spent more on exotic filters.
The most useful telephoto setups are the ones that let you shoot quickly, control reflections, and keep the background intentional without making the bag miserable to carry. That is the balance I look for every time: enough reach to isolate the subject, enough light to keep shutter speeds honest, and enough restraint to avoid turning simple shoots into gear management.
If you remember only one thing, make it this: a long lens is strongest when it is paired with the right support and the right filter, not when it is treated as a cure for weak framing. The more deliberately you use distance, the more useful every frame becomes.
