
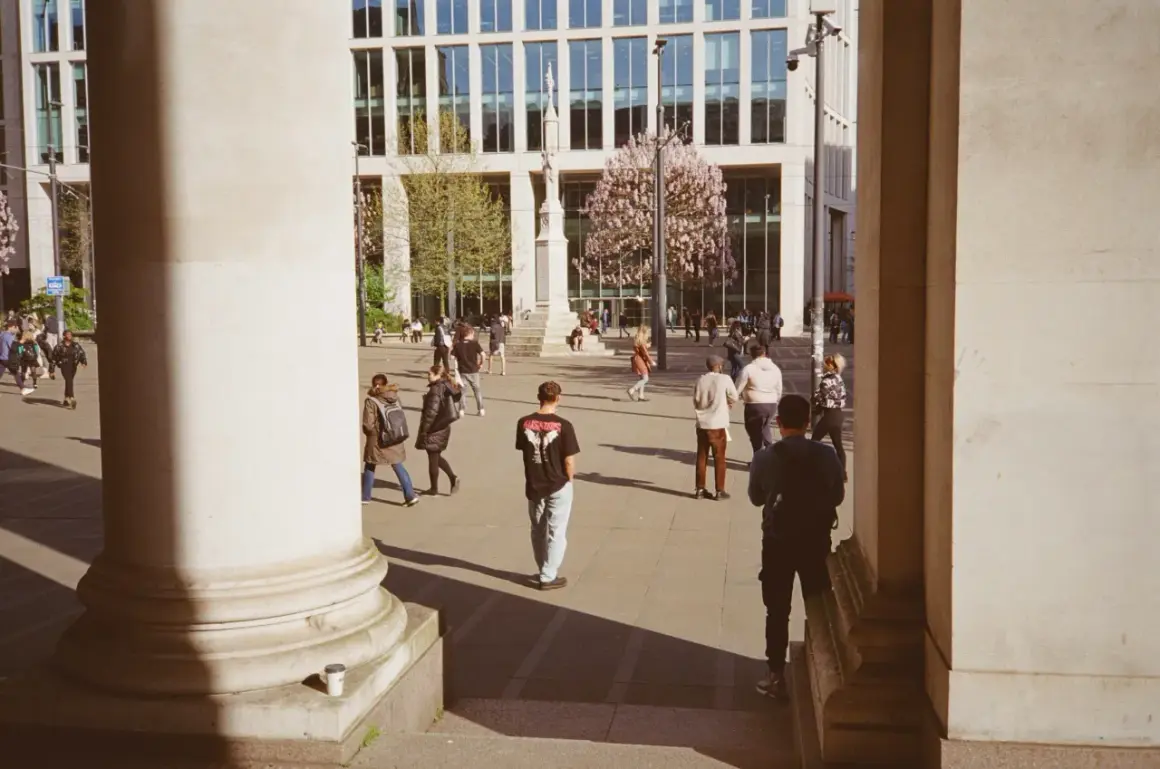
Street work on film rewards speed, discipline, and a camera that disappears in your hand. 35mm street photography works so well because the 35mm field of view keeps the scene, the gesture, and the surrounding context in one frame without forcing you to stand too far away. In this guide, I focus on the choices that actually change the result: lens perspective, film speed, exposure, focus, composition, and what to do after the roll comes back from the lab.
What matters most before the shutter clicks
- Keep the frame readable. A 35mm view gives you enough context to tell a street story without losing the person inside it.
- Start with faster film. ISO 400 is the safest all-purpose choice, while 800 helps when light drops.
- Pre-focus. Zone focusing at f/8 or f/11 makes a film camera fast enough for moving scenes.
- Use light as structure. Hard shadows, reflections, and patches of brightness often matter more than the subject itself.
- Protect the negative. Good development and neutral scanning preserve detail that aggressive editing can destroy.
Why a 35mm lens feels so natural on the street
On a 35mm film camera, 35mm sits in a useful middle ground. It is wide enough to include the sidewalk, storefront, and background action, but not so wide that every face starts looking stretched when you move in close. I reach for it when I want the frame to feel like a slice of real life rather than a forced close-up.Compared with 28mm and 50mm, it gives me a more forgiving balance of context and intimacy. That balance matters because street images usually fail for one of two reasons: the subject is too isolated from its environment, or the environment overwhelms the moment entirely.
| Focal length | What it does well | Tradeoff | Best use |
|---|---|---|---|
| 28mm | Creates a strong sense of place and makes the viewer feel inside the scene | Needs closer working distance and can exaggerate perspective | Tight streets, layered backgrounds, dramatic context |
| 35mm | Balances context, subject presence, and natural perspective | Still demands careful edge control | General street scenes, candid moments, everyday narratives |
| 50mm | Isolates subjects more cleanly and simplifies the frame | Shows less of the environment and can feel less immediate | Details, quieter scenes, selective storytelling |
If I had to simplify the choice, I would say 28mm is about immersion, 35mm is about balance, and 50mm is about selectivity. Once that tradeoff is clear, the next step is choosing gear and film that let you react without hesitation.
Choose gear and film that won't slow you down
I prefer small, quiet cameras with a clear viewfinder and simple controls. A compact rangefinder, a mechanical SLR, or a tiny autofocus point-and-shoot can all work if the controls are predictable and the shutter is unobtrusive. The body does not need to be special, but it does need to be easy to trust when the scene changes in a second.For film, I usually start with 400-speed black-and-white or color negative stock because it gives me workable shutter speeds and more latitude when the light changes from block to block. Exposure latitude is the room the film gives you before highlights clip or shadows collapse, and that flexibility is useful when the scene can change in one step.
| Light and situation | Film speed I would pick | What it gives you | Tradeoff |
|---|---|---|---|
| Bright midday street | ISO 100 to 200 | Fine grain and clean detail | Less margin if you step into shade |
| Everyday daytime coverage | ISO 400 | The best mix of speed, latitude, and grain | Not ideal for deep night scenes |
| Overcast, shade, late afternoon | ISO 400 to 800 | Safer shutter speeds | More visible grain if you push it |
| Night or dim interiors | ISO 800, sometimes pushed one stop | More usable frames when light is weak | Higher contrast and thinner shadows |
I avoid slide film for this kind of work unless I want a very strict look, because it punishes bad exposure faster than negative film does. Once the gear and stock feel right, the real advantage comes from setting exposure before the scene has time to change.
Lock in exposure before the scene moves
Street scenes on film rarely wait for perfect metering. I like to think in starting points instead of exact rules: 1/250 second for general walking pace, 1/500 second when people are moving quickly, and 1/125 second only when I can tolerate some blur or when the scene is otherwise static.
| Condition | Starting shutter | Aperture | Why it works |
|---|---|---|---|
| Sunlit sidewalk | 1/500 | f/8 to f/11 | Gives enough depth of field for quick focus and strong detail in bright light |
| Open shade or overcast light | 1/250 to 1/500 | f/5.6 to f/8 | Keeps motion under control without making the frame too shallow |
| Late evening or dim interiors | 1/125 to 1/250 | f/2.8 to f/4 | Accepts a little risk in exchange for a usable exposure |
Zone focusing is the other half of the equation. It means pre-setting focus to a distance and using depth of field to cover a range around that point. If I am walking a busy block, I often set the lens around 8 to 12 feet (2.5 to 3.5 m) and stop down to f/8 or f/11 so I can shoot without hunting for focus.
The useful technical term here is hyperfocal distance, which is the nearest focus point that lets everything from a chosen distance to infinity stay acceptably sharp. You do not need to calculate it every time, but understanding it explains why a stopped-down 35mm lens can feel so fast in the field. Once focus becomes automatic, composition becomes the main problem again.
See the street as layers, not single subjects
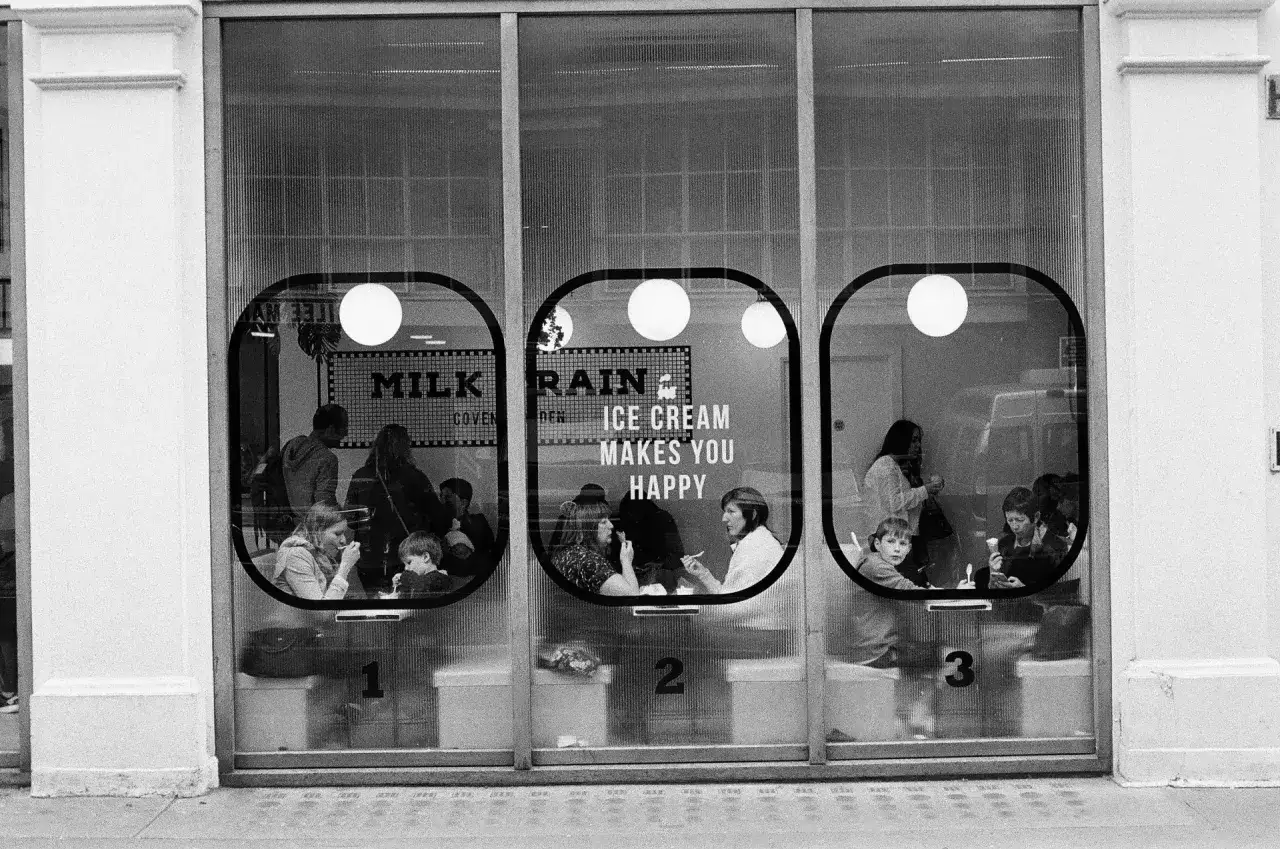
The strongest street frames usually have more than one thing happening at once. I look for a foreground element, a clear subject, and a background that adds information instead of noise. That could be a reflection in a shop window, a passerby crossing a shadow line, or a person framed by a doorway that gives the image structure.
- Use intersections and crossings. They naturally create motion, tension, and overlap.
- Work with reflections. Glass can double the scene and let you include the street plus the street's echo.
- Wait for gesture. A small hand movement, a turned head, or a lifted foot can turn a static frame into a story.
- Watch the edges. A bright sign or half-cut object at the border can undo an otherwise good frame.
- Move your feet. On a fixed 35mm lens, small position changes do more than most people expect.
My favorite situations are places where the light already organizes the frame, like a crosswalk in hard sun, a bus stop under mixed shadow, or a storefront where people pass through layers of reflection. Those scenes are useful because they reduce the amount of invention required from you. You are not forcing drama, you are recognizing it before it disappears. Once you learn to see those layers, the next challenge is staying invisible long enough to let them happen.
Work calmly so the camera stays invisible
In the U.S., I keep public spaces separate from private ones and I do not treat every sidewalk like a free-for-all. Local rules vary, especially on transit systems, in museums, near security-sensitive buildings, and on privately managed property, so I stay flexible and move on when a scene starts to feel wrong. The bigger practical point is simpler: if your presence changes the scene too much, the photo usually gets weaker.
I try to keep my process small and repeatable. Camera ready, exposure pre-set, focus zone chosen, one or two frames made with intent, then I move. That rhythm matters because film rewards attention more than volume, and a 36-exposure roll disappears faster than people expect when every frame has to earn its place.
- Raise the camera only when the scene is almost ready. If you are still deciding, keep watching.
- Take a small number of frames. Two or three usually beats a burst of indecision.
- Keep your body relaxed. Tension shows up in the frame and in how people react.
- Accept the occasional missed shot. Chasing every possibility creates more noise than results.
- Leave when the moment is gone. Good street work is often a series of brief commitments, not a long siege.
The less you fight the street, the more the street gives back. After that, the negative still has to survive development and scanning, which is where a lot of film images quietly get lost.
Develop and scan for the look you actually want
Development is not just a finishing step. It decides how much shadow detail survives, how hard the grain looks, and whether the frame feels crisp or brittle. If I know I underexposed one roll by a stop, I may ask for push processing, which means developing the film longer to compensate for the lower exposure and bring the image back into usable range.
For a standard street workflow, I usually want neutral development and a scan that respects the negative instead of trying to overstyle it. Aggressive sharpening and crushed blacks can make a scene look louder than it really was, while a flatter scan often gives me more room to shape contrast later.
- Ask for neutral scans if you plan to edit yourself.
- Check shadow detail first because deep blacks hide exposure mistakes fastest.
- Use push processing selectively when the light genuinely requires it, not as a default.
- Keep notes on each roll so you can compare meter reading, light, and final density.
- Watch for repeated lab habits if every roll comes back too contrasty or too thin.
Film street work improves quickly when you treat the lab as part of the craft rather than a black box. Once you start reading your negatives honestly, the last step is refining the habits that make every future roll cleaner.
What I would refine after the first five rolls
After the first few rolls, I stop chasing new tricks and start tightening the same few decisions. I want one lens, one default film speed, one comfortable aperture, and a clear idea of which streets or light conditions keep producing strong frames. That is usually how the work becomes consistent.
- Stay with one focal length long enough to learn its blind spots. Switching too often slows the learning curve.
- Pick a default exposure recipe. For many daytime situations, ISO 400, f/8, and 1/250 second is a solid baseline.
- Track where the good frames happen. Some blocks reward you because of light, not because of foot traffic.
- Look at failed negatives honestly. Blurry focus, weak contrast, and empty backgrounds usually repeat for a reason.
- Keep the edit narrow. Street images often improve when you make small adjustments instead of trying to rescue everything.
