
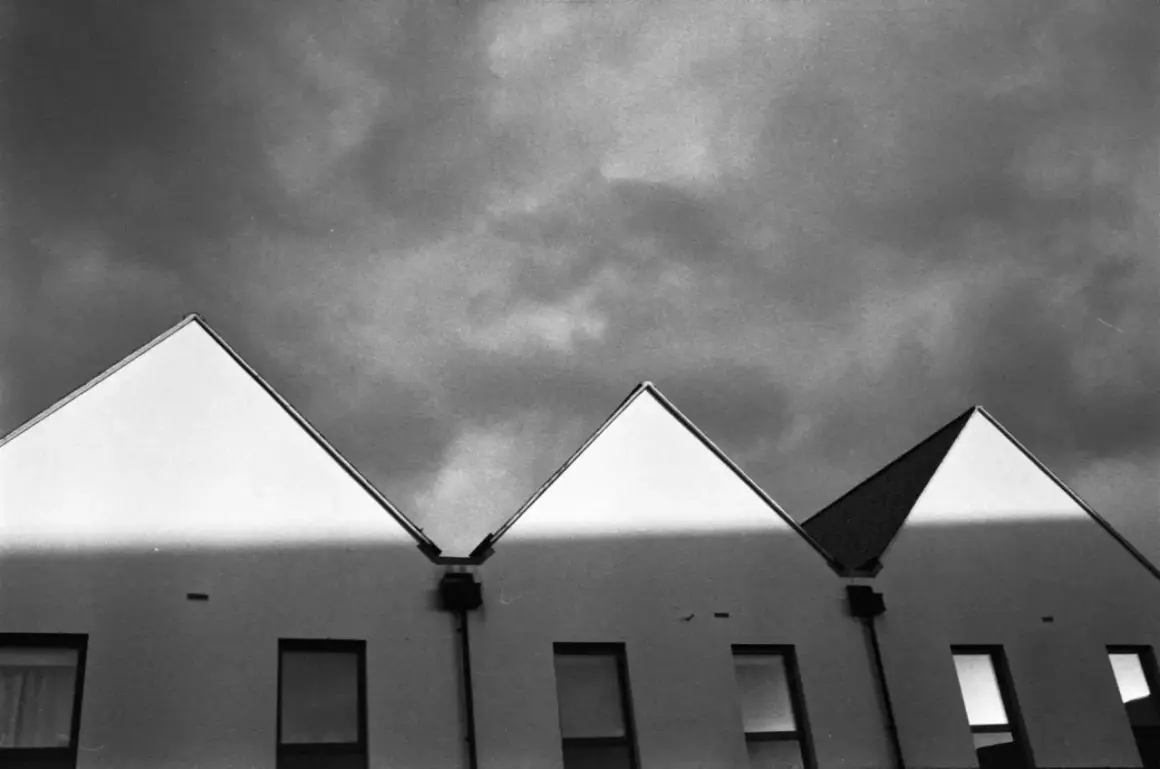
Minimal agitation works best as a controlled test, not a universal preset
- Developer exhaustion near dense highlights creates the compensating effect.
- Semi-stand is usually safer than a full no-agitation hour, especially in 35 mm tanks.
- A common starting point is a high dilution such as 1+100, but the right time depends on film, developer, and tank.
- Temperature stability and enough solution volume matter more than beginners expect.
- Standard intermittent agitation is still the better choice when you need repeatable, lab-friendly negatives.
Why minimal agitation changes the negative
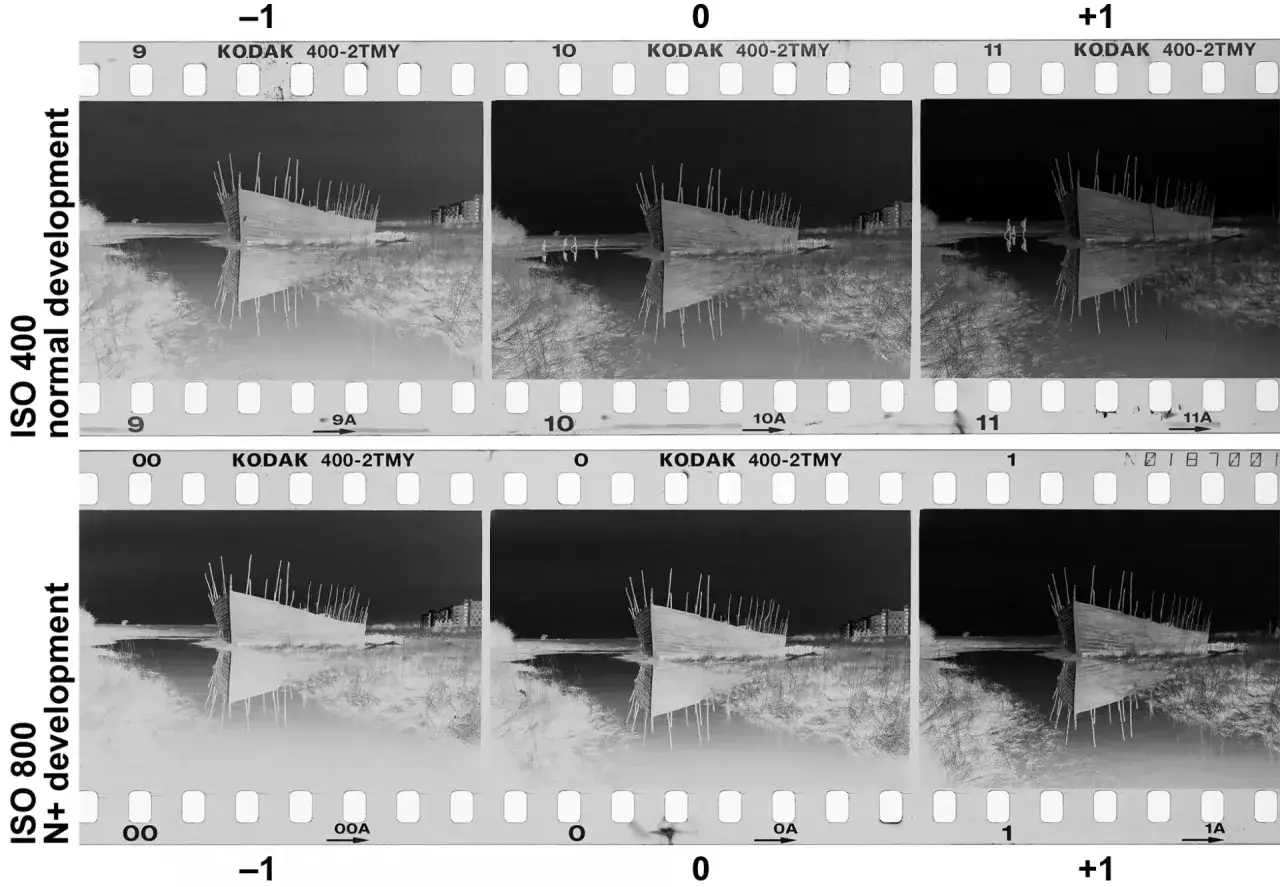
The chemistry is simple once you strip away the mystique: the developer near dense highlights gets used up faster than the developer in thinner areas, so the brightest parts of the negative slow down first. That local exhaustion creates a compensating effect, which can keep skies, white shirts, and sunlit walls from racing away while the shadows continue to build. The same process also raises the risk of bromide drag, a streaking artifact caused by bromide-rich developer sliding through the tank instead of mixing out evenly.
I care about that trade-off because it explains why this method is useful in some scenes and frustrating in others. You are not getting a free highlight miracle; you are choosing a different balance of control, edge effects, and risk. Ilford’s processing guidance still treats agitation as a serious variable, and in some of its film notes continuous agitation shortens development time by about 15%, which is a good reminder that agitation changes the curve, not just the motion.
That is also why the technique is usually more interesting in contrasty scenes than in flat ones. If the scene itself lacks separation, less agitation will not create it out of nowhere. It only changes how the developer behaves around the values you already captured, which is why the setup matters so much in the next step.
A safe starting workflow for different film formats
If I want a first pass that is controllable rather than dramatic, I start with a high dilution and one of two agitation patterns: full stand for seasoned tanks and semi-stand for everything else. A common baseline is 1+100 for about 60 minutes or 1+50 for about 30 to 40 minutes, with temperature held at 20°C / 68°F. I treat those as starting points, not commandments.
| Format | Starter setup | Agitation pattern | What I watch for |
|---|---|---|---|
| 35 mm | 1+100, about 60 minutes | 30 to 60 seconds at the start, then either no agitation or one brief inversion halfway through | Bromide drag along the sprocket area and uneven density near the frame edges |
| 120 | 1+100, about 60 minutes | Initial agitation, then semi-stand is usually safer than pure stand | More even results than 35 mm, but still sensitive to temperature drift and weak loading |
| Sheet film | 1+100 or a tested equivalent, 45 to 60 minutes | Tray or deep-tank processing with gentle rocks every 10 to 15 minutes is often more reliable | Surge marks, trapped air, and edge unevenness if the holder or tray workflow is sloppy |
For a first test, I also keep the developer volume generous and the tank fully loaded in the way the system expects. A dilute developer leaves very little margin for error if the chemistry is underfilled or the reel traps air. If I am using a high-dilution Rodinal-style formula, I want the tank setup to be boringly reliable before I blame the film.
The point of this workflow is not to chase a “look” on day one. It is to remove variables until I can see whether the method actually helps the negatives I shoot most often. Once the setup is stable, the next question is whether the scene itself justifies the gamble.
When I reach for it, and when I skip it
I use minimal-agitation processing when the scene has a strong brightness range and I want the highlights to land with less aggression. It is also useful when I want a little more acutance, which simply means perceived edge sharpness, in negatives that will be scanned or printed with a straightforward black-and-white workflow. I skip it when the negative has to be perfectly repeatable, when the scene is already flat, or when I am pushing film hard enough that I need more predictable shadow placement.
- Good candidates strong sun, backlit portraits, white buildings, or high-contrast street scenes.
- Sometimes useful expired film, older emulsions, or scenes where you want to tame bright clouds without overcooking the rest.
- Bad candidates low-contrast overcast scenes, delicate product work, or anything where you need the smoothest possible tonal transition.
- Skip it if you are still learning a tank or reel, because loading and agitation errors are harder to hide at long development times.
The biggest mistake is to treat the method as a contrast booster. It is often the opposite: it can compress highlights and make the negative easier to print, but only if exposure and developer choice are already sane. If the shadows were never recorded on the film, no agitation pattern can invent them later.
That is why the failure modes matter so much. Once you know what goes wrong, you can decide whether the problem is the scene, the chemistry, or simply the way the tank was handled.
The mistakes that cause streaks, thin shadows, or dull highlights
- Not enough solution volume if the developer is too close to exhaustion, the film can go uneven before the cycle ends.
- Too little initial agitation the first 30 to 60 seconds distribute fresh chemistry, and if I skimp there, I invite drag and uneven start-up.
- Temperature drift even a small swing shows up more clearly in a long process, so I keep the tank and chemistry at the same temperature before I begin.
- Overly active developer some formulas work, but the margin gets smaller; high-dilution, predictable developers are easier to control.
- Tank or reel issues air bells, loose reels, and bad loading can create streaks that look like exposure problems but are really mechanical.
- Assuming semi-stand fixes bad exposure it can tame highlights, but it does not replace missing shadow detail or recover a badly underexposed roll.
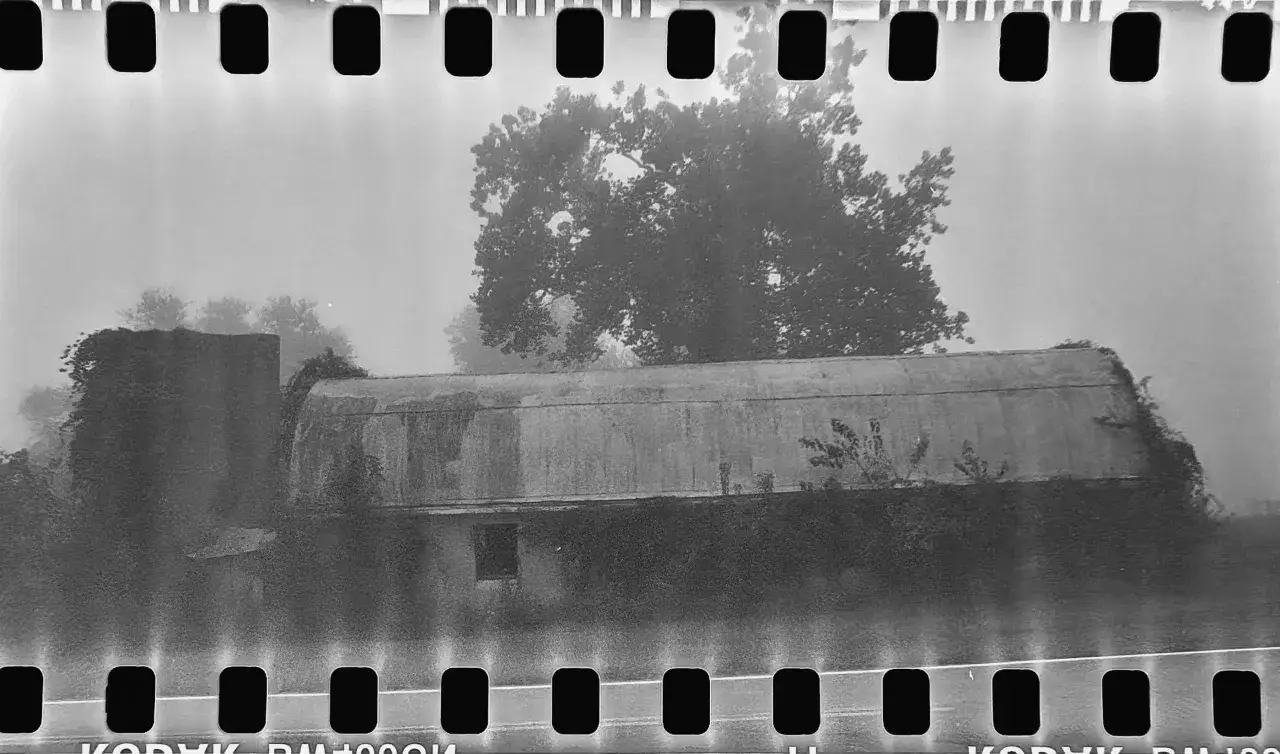
Bromide drag is the one failure I see people underestimate most often. It is not just a cosmetic streak; it tells you that local chemistry has stopped moving the way you expected. If I see that problem once, I usually increase early agitation or shorten the quiet period before I trust the same setup again.
There is also a subtle trap here: a negative can look “interesting” while still being awkward to print or scan. When I get a thin shadow base and dramatic highlight compression at the same time, I do not call that a win. I call it a sign that the process needs to be tuned before I use it on an important roll.
How it compares with normal intermittent agitation
Standard spiral-tank processing is the baseline for a reason. Ilford’s film guidance typically assumes intermittent agitation in the tank, often with four inversions in the first 10 seconds and four more at the top of each minute. That rhythm is easier to repeat, easier to test, and usually far less likely to create streaking.
| Factor | Minimal agitation | Standard intermittent agitation | My take |
|---|---|---|---|
| Highlight control | Stronger compensating effect in bright areas | More linear highlight build-up | Useful when the scene is harsh, unnecessary when the negative is already balanced |
| Repeatability | Less forgiving | Much easier to repeat | I choose standard agitation whenever consistency matters more than character |
| Risk of streaking | Higher, especially with poor loading or weak first agitation | Lower | Minimal agitation rewards disciplined technique, not improvisation |
| Acutance | Often a bit more pronounced | Usually smoother | The difference can be visible in scans and prints, but it is not magic |
| Best use | High-contrast scenes and intentional tonal shaping | General-purpose negatives | I default to standard agitation unless I have a specific reason to do otherwise |
If I have a deadline, I choose standard intermittent agitation. If I want a specific tonal signature and can afford a test roll, I go slower and more deliberately. That is the real distinction here: one method is a dependable baseline, the other is a tonal tool.
Once you see it that way, the right test becomes obvious. I do not start with an important assignment; I start with a controlled roll that tells me exactly how the system behaves.
The first test roll I would run before trusting the method
I would test one film stock, one developer, one tank, one dilution, and one exact agitation pattern. Changing two variables at once makes the result hard to read, and that is the fastest way to waste an otherwise useful experiment. The goal is to learn whether the process suits your way of shooting, not to chase a perfect chart value.
- Shoot a mixed subject with bright sky, deep shadows, and a few midtone surfaces so the roll gives you something real to evaluate.
- Develop one control roll with standard intermittent agitation first, so you have a baseline for contrast and shadow placement.
- Develop the second roll with semi-stand using the same exposure index and temperature.
- Compare shadow detail first, then highlight density, then scan behavior or print contrast.
If the test roll looks good but a little awkward to scan, I do not call the method bad; I call it specialized. That distinction matters, because this workflow is about shaping tone, not replacing careful exposure or making every film behave the same way. If I had to reduce the whole technique to one rule, it would be this: use it to control contrast, not to excuse uncertainty.
Once that is clear, the rest becomes easier to judge. You can decide whether the extra highlight control is worth the extra discipline, and that is the real question behind this entire method.
