
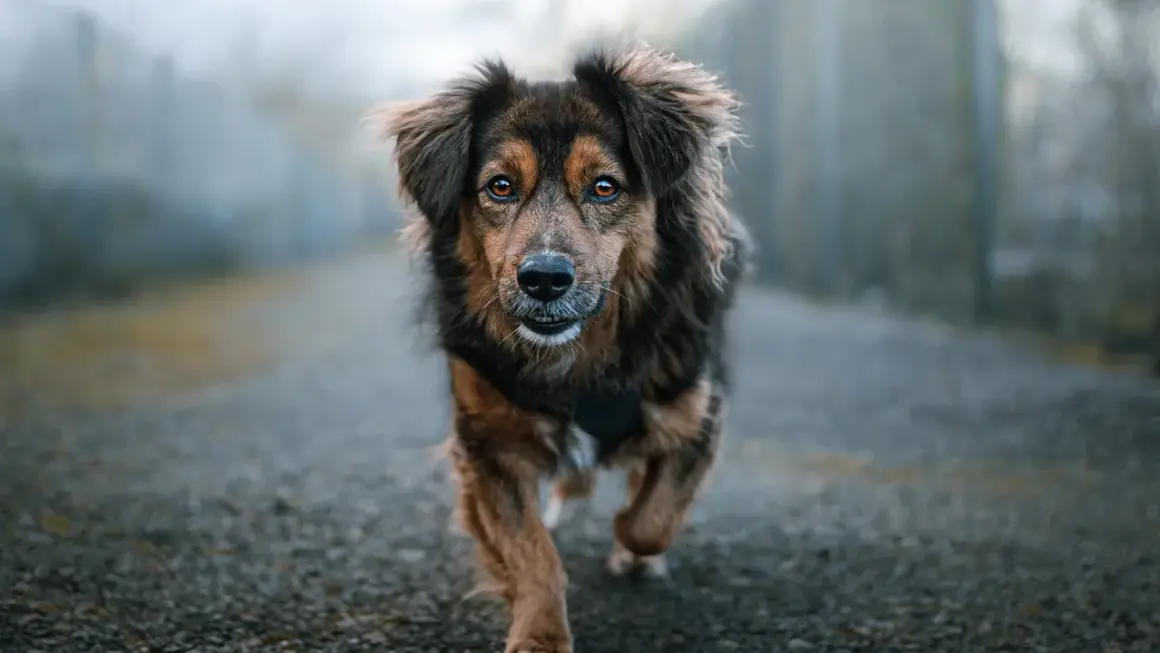
Great pet photos come from timing, comfort, and light long before they come from expensive gear. Learning how to take pet photos is really about controlling motion, reading the animal’s mood, and choosing a style that fits the subject instead of forcing a pose. In this article, I focus on the practical decisions that make a real difference: setup, settings, subjects, editing, and a simple workflow you can repeat at home or outdoors.
What matters most before you press the shutter
- Start with eye-level framing and a clear idea of whether you want a portrait, action frame, candid moment, or detail shot.
- Use soft natural light when possible; direct flash is often harsh and can spook animals.
- For movement, shutter speed comes first. A good starting range is 1/250-1/500 sec for calmer pets and 1/1000 sec or faster for fast play.
- Treats, toys, and short sessions usually create better expressions than trying to pose an animal for too long.
- Match the subject to the method: dogs, cats, and small pets do not respond the same way.
- Edit lightly so the fur texture, eye detail, and true coat color still feel honest.
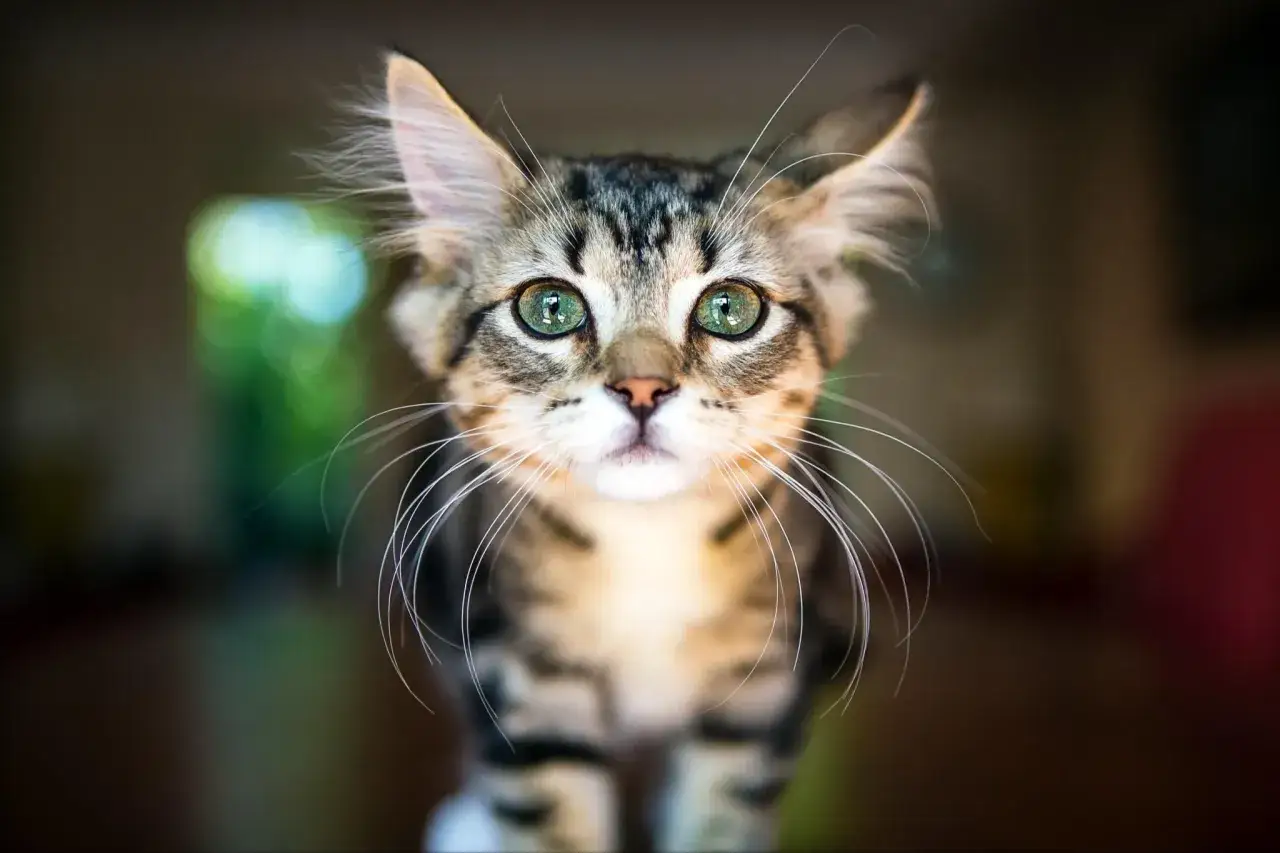
Decide on the style before you start
Before I touch settings, I decide whether I want a portrait, an action shot, a lifestyle image, or a close detail frame. That choice matters because a sleepy cat in window light, a terrier mid-jump, and a rabbit resting in its enclosure need different pacing and different camera behavior. If the style is clear, everything else gets easier: lens choice, distance, background, and even how long I stay in one spot.
For example, portraits reward stillness and clean composition, while action shots reward anticipation and a fast burst of frames. Lifestyle images work best when the pet is doing something ordinary and believable, like curling up on a couch or walking beside its owner. The more I align the technique with the story, the less the photo feels staged.
| Style | Best subject | How I approach it | Common trap |
|---|---|---|---|
| Portrait | Calm dogs, cats, and older pets | Eye level, soft light, simple background | Too much blur or a cluttered backdrop |
| Action | Playful dogs, kittens, active pets | Fast shutter, burst mode, anticipation | Missing the peak moment because the camera is too slow |
| Lifestyle | Pet and owner together | Natural interaction, candid direction, storytelling | Poses that feel stiff or forced |
| Detail | Paws, whiskers, eyes, fur texture | Close framing, steady focus, careful crop | Overcropping until the image feels cramped |
| Candid | Shelter pets, shy animals, spontaneous moments | Patience, quiet movement, observation | Trying to direct too much too soon |
Once I know the style, I can build the light around it instead of hoping the light will rescue a vague idea.
Set up light and background before the pet enters the frame
For most pet sessions, I start with a bright window, open shade, or another soft source that wraps around the face instead of flattening it. If I have to choose, I pick soft light over dramatic light almost every time. It is easier on the animal, easier on the eyes, and it usually gives me cleaner fur detail.
I also keep the background simple: a blanket, couch, wall, or patch of grass that does not compete with the subject. Pulling the pet a few feet away from the background helps the background blur out and gives the animal more separation. If the light is harsh, I use a sheer curtain or move into shade rather than trying to rescue the shot later.
Flash is the one tool I use carefully. Direct flash tends to create shiny fur, hard shadows, and startled expressions, so I only use it when I can bounce or diffuse it and the pet is clearly comfortable. Once the scene is calm, the next challenge is keeping the camera fast enough to freeze whatever the animal decides to do.
Use camera settings that freeze motion without making the image stiff
My first rule is simple: protect shutter speed before you worry about perfect exposure. For calm indoor portraits, I like to begin around 1/250 to 1/500 second. For playful dogs, excited cats, or any frame where paws leave the floor, I move toward 1/1000 second or faster. That is not a law, just the point where blur stops ruining otherwise good expressions.
Aperture controls how much of the scene stays sharp. Wide apertures such as f/1.8 or f/2.8 create a soft background, which is useful for portraits, but the depth of field gets thin quickly. Depth of field is the zone that looks acceptably sharp in the frame, and with pets that zone can be smaller than people expect. If I am photographing two animals together, or I want both the eyes and nose to stay crisp, I stop down a little rather than chasing the blur.| Subject | Good starting shutter speed | Aperture starting point | What I look for |
|---|---|---|---|
| Calm portrait | 1/250 - 1/500 sec | f/1.8 - f/4 | Sharp eyes, gentle background blur |
| Active play | 1/500 - 1/1000 sec | f/2.8 - f/5.6 | Frozen paws and ears without flattening motion |
| Running or jumping | 1/1000 - 1/2000 sec | f/2.8 - f/5.6 | No motion blur, even in messy light |
| Close detail shot | 1/125 - 1/250 sec | f/4 - f/8 | Whiskers, paws, or eyes with enough depth to hold shape |
Continuous autofocus, animal-eye AF, and burst mode help more than most beginners realize. Continuous autofocus keeps adjusting while the subject moves, animal-eye AF looks for the eye itself, and burst mode gives you a short run of frames so you can keep the strongest expression. On many modern cameras and phones, those tools are built in; I still test the first few frames manually so I know the camera is locking where I want it.
If you are shooting on a phone, the same logic applies. Tap to focus on the eye, use burst for movement, and brighten the image only enough to keep the face readable. Once the settings are stable, the real work becomes getting the pet to cooperate long enough for the shot.
Keep the pet relaxed and interested
I get better results when I stop trying to “make” a pose and start managing attention. Pets usually cooperate in very short windows, so I work in brief sessions, give them time to sniff the space, and let the owner stay close if that helps them settle. A 10-minute session with two short breaks often produces better images than a 30-minute struggle.
Treats, toys, and sounds can all help, but I use them with restraint. A treat held just above the lens can create eye contact without turning the shot into a staring contest. A toy works well when I want ears up and alert body language. If the animal is nervous, I slow down instead of adding more stimulation. That restraint matters: stressed pets give you stiff bodies, closed mouths, and eyes that look away from the camera.
I also pay attention to what the pet naturally does well. Some dogs settle beautifully on a couch. Some cats look best when they are half-curled on a chair and pretending not to care. The best pet photographers I know are good observers first and button-pushers second. Once the animal is comfortable, I can choose the right subject-specific approach.
Match the technique to the subject
Dogs, cats, and smaller animals ask for different working distances and different levels of patience. I think of them as separate subjects, not just different pets, because the same trick rarely works equally well for all three.
| Subject | What usually works best | What I avoid |
|---|---|---|
| Dogs | Eye-level framing, play-based prompts, burst mode for motion | Shouting, hovering too close, and stiff “sit still” posing |
| Cats | Quiet room, patience, window light, and treats or toys near the lens | Fast hand movements, loud shutter noise, and forcing contact |
| Rabbits and guinea pigs | Low camera angle, calm environment, close detail shots | Chasing, sudden repositioning, and cluttered setups |
| Birds and reptiles | More distance, clean background, careful focus, and minimal disturbance | Flash, crowding, or handling that makes the animal uneasy |
With dogs, I can usually build a session around movement, owner interaction, and reward. With cats, I do better when I let the cat set the rhythm and wait for a look, stretch, or pause that feels natural. Smaller pets often photograph best when I simplify everything around them, because one extra object in the frame can make the image feel busy very quickly. Once the subject is handled correctly, editing becomes a finishing step instead of a rescue mission.
Edit lightly so the animal still looks like itself
My editing goal is to clean up the frame, not to rewrite it. I start with crop and straighten, then fix exposure and white balance, because pet fur can fool both the eye and the camera. After that, I remove distractions such as stray leashes, bright toys in the background, or a corner of furniture that pulls attention away from the face.
I am careful with sharpening and noise reduction. A little sharpening on the eyes can help, but pushing it too far makes fur look crunchy and unnatural. The same goes for color: if the coat was cream, it should still look cream after editing. I would rather keep a small amount of grain than create a plastic-looking pet portrait that no longer feels true.
If I shot in RAW, I usually have more room to recover detail in black fur or bright white fur, both of which can clip easily in bad light. That is one of the reasons I prefer to get the exposure close in-camera and use editing only for refinement. From there, the final pass is all about checking the details that separate a decent image from one worth keeping.
The last checks I make before I call a pet photo finished
Before I export anything, I run through a short mental checklist. Are the eyes sharp? Is the background calm? Did I cut off paws, ears, or the tail by accident? Does the expression feel honest, or did I catch the pet in a half-blink that weakens the frame?
- I check the eye line first, because the viewer usually goes there before anywhere else.
- I look for distractions near the edges of the frame, especially light fixtures, bright toys, and leash tangles.
- I make sure the pose feels natural for that specific animal rather than copied from another session.
- I confirm that the crop gives the subject room to breathe, especially in action shots.
- I keep at least one frame that shows personality, not just technical sharpness.
The strongest pet images usually come from a simple equation: calm subject, clean light, and fast enough timing to catch a real expression. If I stay patient, work at the animal’s level, and choose the style that fits the subject, I do not need a complicated setup to get photographs that feel warm, accurate, and worth revisiting later.
