
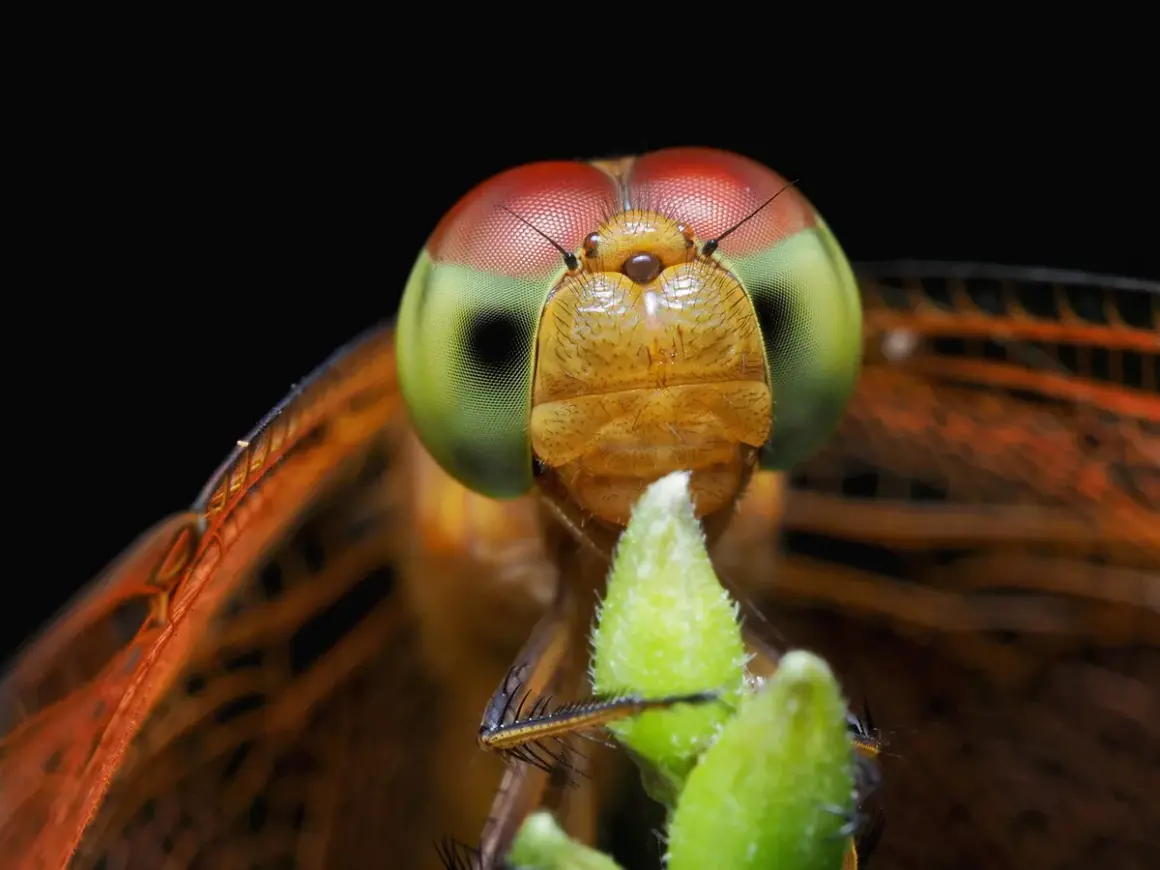
Insect photography sits at the point where patience, timing, and control matter more than expensive gear. I treat it less like chasing wildlife and more like a tiny portrait session with a moving subject, because the best frames usually come from reading the insect, choosing the right light, and controlling depth of field before the moment disappears.
This article focuses on the practical side: which subject style to choose, what gear genuinely helps, how I focus and light the scene, and how I edit the file so the result still looks real. The goal is simple, usable advice you can take into a garden, meadow, or backyard tomorrow.
What matters most before you chase tiny details
- Decide whether you want a portrait, a behavior shot, or a habitat frame before you leave home.
- A 90-105mm macro lens is the most versatile starting point for field work; longer options help with skittish subjects.
- Sharp close-ups come from stable movement, sensible aperture choice, and deliberate focus, not maximum magnification.
- Soft, directional light matters more than raw brightness if you want texture on wings, eyes, and hairs.
- In the U.S., early morning in gardens, native plant beds, and pond edges usually gives the best mix of calm insects and usable light.
- Clean editing should preserve detail and color; if the insect looks plastic, the post-processing went too far.
Choose the story before you chase the shot
Before I touch a camera, I decide what the image is supposed to say. That choice changes everything: the lens, the distance, the background, and how much patience I need to spend in one spot. In close-up work, the strongest frames usually come from a clear idea, not from random magnification.
Portraits of a single insect
This is the classic approach: a clean, readable view of one subject, usually with the eye and body texture doing most of the visual work. It works best when the insect is still, feeding, or perched in a stable place. If the background gets busy, I move, lower myself, or change angle until the frame feels simple again.
Behavior gives the image a pulse
A bee landing, a dragonfly hunting, a mantis turning its head, or a butterfly opening its wings all feel more alive than a static pose. These frames usually take longer, but they often feel more memorable because they show intent, not just anatomy. I will wait longer for behavior than for a perfect pose if the scene has character.
Read Also: Zoo Photography Tips - Capture Amazing Animal Shots!
Habitat frames tell the larger story
Less magnification and more environment can be the right answer when the goal is context. This style is useful for editorial work, social posts, and any layout that needs a little breathing room for text. It also reminds the viewer that the insect is part of an ecosystem, not a specimen floating in isolation.
Once the story is clear, the gear you carry becomes much easier to justify.
Choose gear that gives you working distance, not just magnification
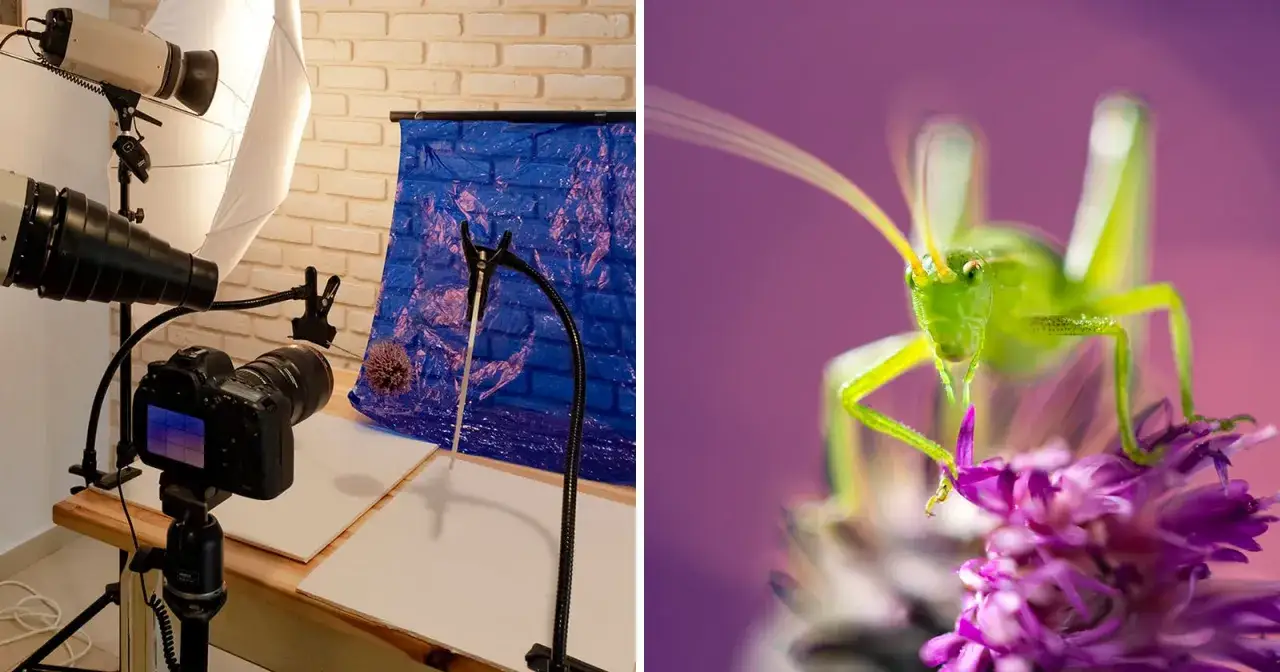
The common mistake is buying the strongest close-up lens available and then discovering that the working distance is too short. Working distance is the space between the front of the lens and the subject, and it matters because tiny subjects are easier to light, less likely to flee, and less likely to be shadowed when you are not right on top of them. A 1:1 macro lens simply means the subject is rendered life-size on the sensor.
| Setup | Typical U.S. 2026 price | Best for | Main tradeoff |
|---|---|---|---|
| 60mm macro | $250-$500 | Flowers, tame insects, tabletop close-ups | Short working distance |
| 90-105mm macro | $400-$1,200 | All-around field shooting | More expensive than entry-level lenses |
| 150-180mm macro | $900-$1,800 | Skittish insects, dragonflies, subjects you cannot approach | Heavier and pricier |
| Extension tubes | $20-$150 | Extra magnification on a budget | Less convenient, can slow autofocus |
| Ring or twin flash | $80-$600 | Freezing motion and shaping light | Can look harsh without diffusion |
| Diffuser or reflector | $20-$80 | Softening flash, filling shadows | Needs careful placement |
Once you are close enough, the next question is not what you own but how you keep the subject sharp.
Focus, framing, and motion control decide the keeper rate
At close range, depth of field is brutally thin, so I keep my expectations realistic. I usually start around f/8 to f/11 because that balance often gives me enough subject coverage without pushing diffraction too hard; on many cameras, stopping far beyond f/16 starts to soften fine detail. If I am using flash, I stay at or below the body’s sync speed, often around 1/200s to 1/250s, because the flash duration is what really freezes the motion.
| Situation | Best approach | Why it works |
|---|---|---|
| Windy flowers or active insects | Handheld | More responsive when the subject shifts position |
| Sleeping or cool insects | Tripod or body brace | Steadier framing and easier composition |
| Tiny subject with multiple planes of detail | Focus stacking | More usable sharpness from front to back |
- I focus by moving my body or camera a few millimeters instead of hunting blindly with autofocus.
- I put the eye in the sharpest plane whenever the insect has a visible one.
- I shoot from the subject’s eye level whenever possible, because a low angle makes the frame feel alive.
- For still subjects, I may shoot 5-20 frames for a focus stack, then blend the sharpest slices later.
Technique still fails if the light is fighting you, so that is the next variable I control.
Light for texture, not glare
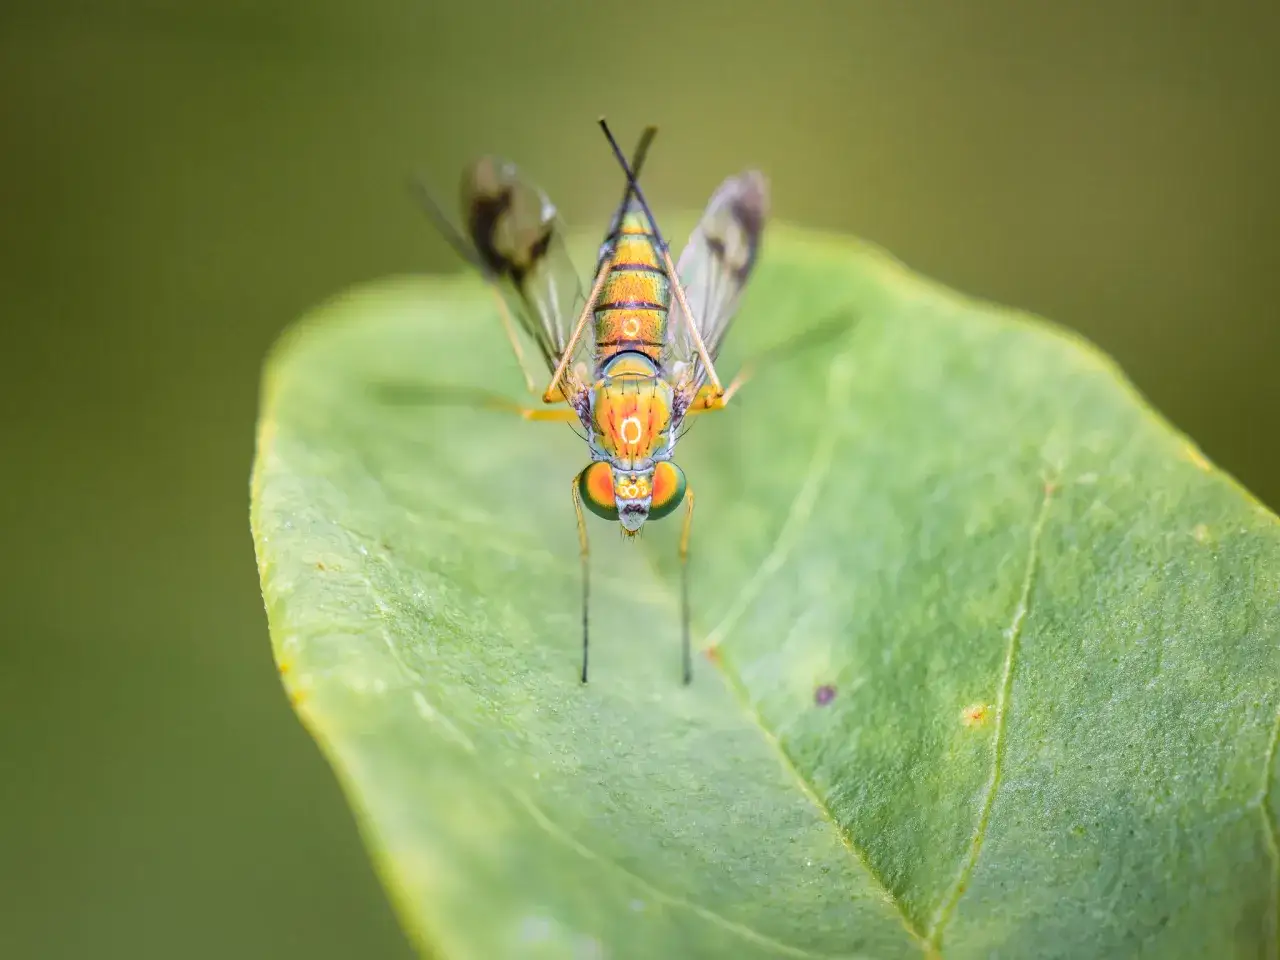
Light is where most close-up insect frames either come alive or turn flat. I usually want soft directional light, not a direct blast from the front. Side light reveals hair, wing veins, and body segments; front light tends to erase that structure and make shiny insects look plastic.
| Light source | Best use | Strengths | Limits |
|---|---|---|---|
| Morning natural light | Calm subjects, field work | Gentle, easy, flattering | Changes quickly with weather |
| Diffused flash | Crisp detail, consistent results | Freezes motion, strong control | Needs diffusion to avoid glare |
| Continuous LED | Video or slow, careful shooting | Easy to see what the light is doing | Can force high ISO or slower shutter |
| Reflector or white card | Fill shadows | Cheap and simple | Not enough as a main light |
I often aim the main light slightly off-axis and let the background fall darker than the subject. That separation makes the insect readable without turning it into a cutout. If the highlights on eyes or wings are too hard, I soften the source before I raise power.
Good light also depends on good behavior from the photographer, which is where ethics and field craft matter.
Work respectfully and stay out of the insect’s way
The cleanest images usually come from the least disruptive approach. I do not pin subjects, chill them, move them into awkward positions, or damage the plant they are standing on just to force a composition. If an insect keeps leaving, I treat that as a cue to back up or change angle rather than forcing the scene.
- Work slowly and avoid casting a sudden shadow over the subject.
- Keep hands clear of nests, larvae, and defensive species like wasps and hornets.
- Respect local rules in parks, refuges, and managed wildflower areas.
- Use a longer lens when you need space instead of crowding the subject.
In U.S. gardens, meadows, and pond edges, that usually means staying on paths, kneeling carefully, and leaving the habitat exactly as you found it. A better frame is never worth a stressed pollinator or a broken stem.
After the shoot, the last job is to edit in a way that keeps the image believable.
Edit for detail without making it look artificial
I keep the edit conservative. A strong close-up should look crisp, not crunchy; detailed, not over-sharpened; clean, not airbrushed. RAW files give me room to correct small color shifts from flash, foliage, and reflected sky without baking in a bad white balance.
- Correct white balance first, especially if flash or mixed green light shifted the color.
- Pull back highlights on wings, eyes, and shiny bodies before touching contrast.
- Use noise reduction lightly, because heavy smoothing kills fine hairs and segment texture.
- Sharpen selectively, usually on the eye and the main body plane, not the whole frame.
- Remove only obvious distractions like sensor dust, bright twigs, or stray blades of grass that steal attention.
If the insect starts to look gray, waxy, or cut out from the background, I know I have gone too far. The best processing usually disappears into the photograph instead of announcing itself.
That restraint is what lets a simple frame hold attention longer than a flashy one.
The frames that hold up are usually the simplest ones
When I review a day’s files, the strongest image is usually the one with the clearest gesture, the cleanest background, and the most believable light. The subject does not need to be rare; it needs to be legible.
- Is the eye sharp?
- Does the background help or distract?
- Is the insect doing something, or at least posed in a readable way?
- Can I step half a foot to improve the angle?
- Would this work better with less magnification and more context?
If you carry one habit into the next outing, make it this: choose one subject story, one light direction, and one clean background, then work patiently until the insect settles into that setup. That discipline does more for macro insect work than the next gear upgrade ever will.
