
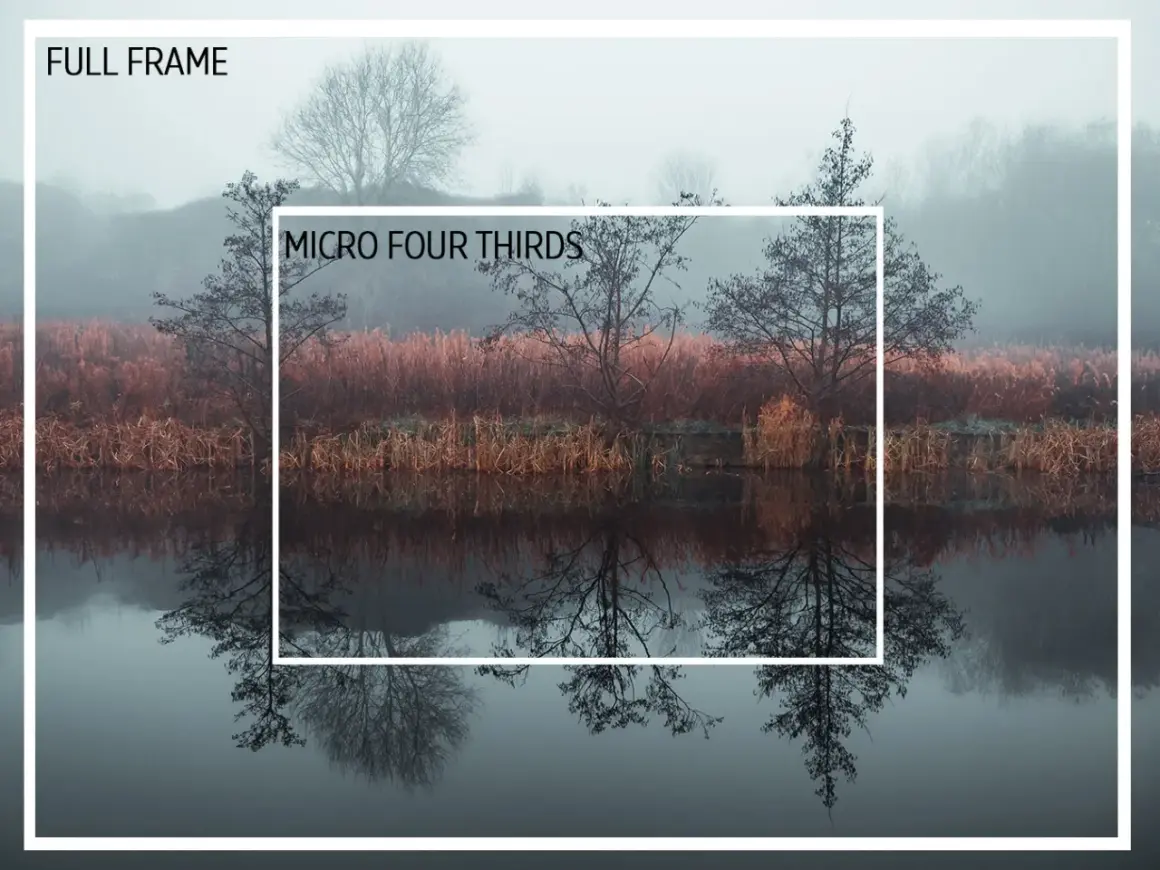
Here is the practical takeaway before you build your kit
- MFT uses a 2x field-of-view multiplier versus full frame, but the lens keeps its real focal length.
- A 12-60mm lens behaves like 24-120mm, a 25mm prime behaves like 50mm, and a 100-400mm zoom behaves like 200-800mm in framing.
- Depth of field is deeper for the same framing, so fast lenses matter if you want strong background blur.
- Filters are chosen by lens thread size, not by sensor size, so step-up rings and slim mounts can save money and reduce vignetting.
- For video, ND filters matter early because MFT is often used at natural shutter speeds such as 1/50 or 1/60.
I think of Micro Four Thirds as a framing system first and a sensor size second. The sensor measures 17.3 x 13.0 mm, which is why the angle of view is effectively cut in half compared with full frame; the lens keeps its real focal length, but the camera sees a tighter slice of the image circle.
That distinction matters. A 25mm lens is still a 25mm lens, but on an MFT body it behaves like a 50mm in terms of framing. The same logic turns a 12-60mm zoom into a 24-120mm equivalent, which is why the system feels so compact without giving up useful reach.
The practical takeaway is simple: choose lenses for the scene you want to capture, not for the number printed on the barrel. If you need a true wide view, you need a genuinely short focal length. If you want reach, MFT gives it to you with less bulk than larger formats, and that is where the system starts to make a lot of sense.
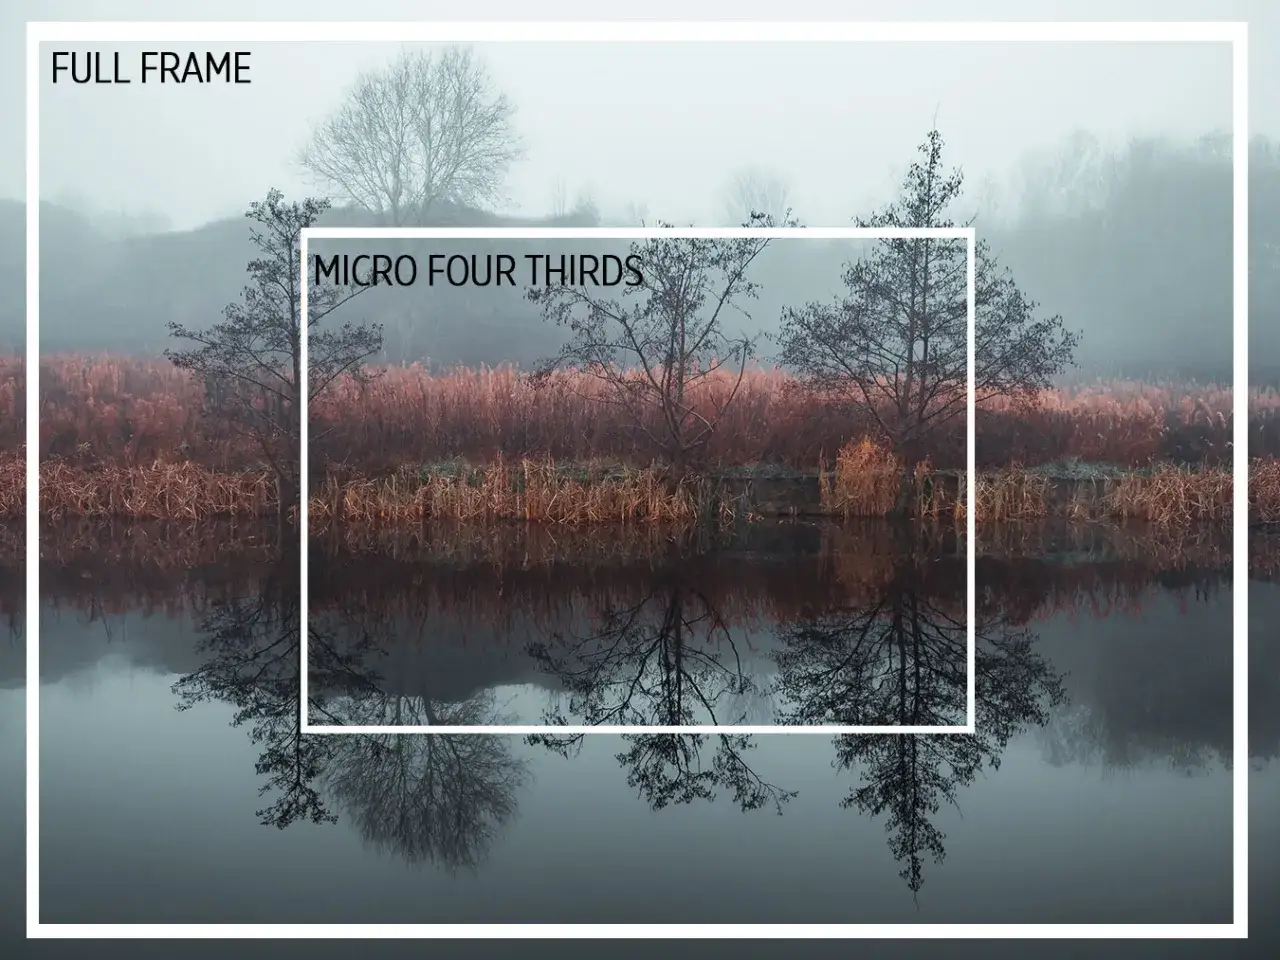
How common focal lengths translate into real lens choices
When I build an MFT kit, I do not start with specs. I start with jobs: interior video, portraits, product work, travel, or long-reach shooting. The table below shows how the most common focal lengths land in practice.
| MFT lens | Full-frame equivalent | Best use | What to watch |
|---|---|---|---|
| 7-14mm | 14-28mm | Cramped rooms, gimbal work, establishing shots | Great for space, but distortion and filter vignetting can show up fast |
| 12-35mm or 12-40mm | 24-70mm | Run-and-gun video, interviews, event coverage | The classic workhorse range, especially if you want one lens to stay on the camera |
| 25mm prime | 50mm | Natural perspective, everyday shooting, talking-head setups | Feels normal in the frame, not wide, not compressed |
| 42.5mm or 45mm | 85-90mm | Portraits, close interviews, subject separation | Flattering, but you need a bit more working distance |
| 60mm macro | 120mm | Product detail, food, jewelry, texture work | Excellent for close work, especially when you want to fill the frame without crowding the subject |
| 100-400mm | 200-800mm | Sports, wildlife, compressed landscapes | Reach is the win, but support and stability matter more as focal length climbs |
My rule of thumb is that MFT is strongest when you lean into compact, fast, and specialized lenses rather than trying to imitate full-frame focal lengths one-for-one. Once you see the lens range as a set of practical shooting tools, the depth-of-field question becomes much easier to judge.
Why depth of field changes, even when the aperture number does not
The f-number on the lens does not change, so f/2.8 is still f/2.8 for exposure. What changes is how much of the scene appears acceptably sharp for the same framing. In practical terms, a shot made on MFT at f/1.8 tends to resemble full-frame depth of field closer to f/3.6 when the camera position and framing are matched. That is approximate, but it is a useful working shortcut.
This is why background blur is possible on MFT, just not effortless. If I want a portrait to melt into the background, I need a fast prime, a longer focal length, or a subject positioned farther from the background. If I am shooting documentary or corporate video, the extra depth of field can actually help, because focus is easier to hold when I am moving quickly or working alone.
- Best case for MFT depth of field is run-and-gun video, travel, and anything where focus reliability matters more than extreme blur.
- Best case for shallow blur is portraits, close interviews, and product shots with a fast lens and controlled spacing.
- Common mistake is blaming the sensor when the real issue is a slow lens or a background that sits too close to the subject.
Once the blur question is clear, the filter conversation becomes much easier, because the same lens choices drive what fits on the front of the camera.
Why filters deserve as much planning as the lens itself
The crop factor does not decide whether you need ND, CPL, or diffusion. Your lens choices do. Micro Four Thirds kits often lean wider for video and more telephoto for reach, and that changes how filters behave on the front element.
A neutral density filter cuts light without changing color, which is what lets video shooters hold a natural shutter speed such as 1/50 or 1/60 outdoors. A circular polarizer reduces glare and deepens skies, but it can become uneven on very wide lenses. Diffusion softens highlights and gives a gentler highlight roll-off, which can help skin and product close-ups look less clinical.
I also pay attention to thread sizes. If you standardize on one larger filter diameter and use step-up rings, the whole kit becomes simpler and cheaper to maintain. That is usually a better move than buying several duplicate filters in smaller sizes. Step-down rings are the ones I avoid, because they are the quickest path to vignetting and frustration.
| Filter | When I use it | Main risk on MFT |
|---|---|---|
| ND | Outdoor video, shallow depth of field, controlled shutter speed | Cheap variable ND filters can shift color or create an X-pattern on wide lenses |
| CPL | Glass, water, cars, skies, reflective product shots | Uneven sky darkening and vignetting on ultrawides |
| Diffusion | Interviews, beauty work, editorial product scenes | Too much softness can erase detail quickly in sharp modern footage |
| Close-up diopter | Travel macro, flowers, food, small product details | Edge softness if the filter is stacked badly or used on the wrong lens |
That filter strategy pairs neatly with adapted lenses and teleconverters, where MFT's crop is either a gift or a trap depending on what you mount.
Where adapted lenses and teleconverters help, and where they do not
Adapted full-frame glass keeps its native focal length, so the crop only changes the field of view. A 50mm full-frame lens on MFT does not become a different lens; it simply frames like a 100mm equivalent. That is useful if you want a portrait look, but disappointing if you were hoping a 24mm wide-angle would stay dramatically wide.
This is the trap I see most often: people adapt wide lenses expecting a cheap ultra-wide solution, then discover that the crop pushes them back into normal-lens territory. Adapted long lenses are the opposite. A 200mm lens suddenly feels like a 400mm in framing, and a 400mm lens becomes serious reach for wildlife or sports without dragging a huge body around.
Teleconverters push that even further, but they also steal light and demand better optical quality. A 1.4x converter is usually the more forgiving option; a 2x converter is where you really start to pay for reach with aperture loss and stricter sharpness demands. On MFT, that can still be worth it, but only when the subject and the lens justify the compromise.
The rule is simple: adapt long, native short. If you need real wide-angle work, buy for the mount rather than trying to rescue full-frame glass with math.
The few buying rules that keep an MFT kit efficient
If I were building a practical lens-and-filter set for production work, I would keep it narrow on purpose. A wide zoom for interiors and video, a fast normal prime, and one longer lens cover most real jobs better than a bag full of overlapping optics.
- Buy for framing first and speed second. A lens that frames correctly but feels a stop too slow is still usable; a lens that misses the angle of view usually is not.
- Standardize filter sizes around the largest thread in the kit when possible. That reduces the number of filters you need and makes step-up rings a smart investment.
- Prioritize one good ND before buying specialty filters. For video, exposure control is often more important than subtle effects.
- Spend on fast glass before chasing blur with adapters. Native lenses usually give better control, cleaner edges, and fewer compromises.
- Use the crop factor to your advantage when you need reach or a compact travel setup. That is where MFT is genuinely hard to beat.
In practice, the biggest win is not memorizing conversion math. It is learning which focal lengths make your scenes easier to shoot, then building the front of the camera around that reality instead of around a spec sheet. That is the point where the system stops feeling technical and starts feeling useful.
