
The few decisions that change your hit rate fast
- Watch the animal first: posture, ear position, eye direction, and where it may move next.
- Use continuous autofocus, subject tracking, and a shutter speed that matches the subject’s speed.
- Let light, angle, and background separation do part of the storytelling.
- Match the approach to the subject instead of forcing one setup to work for everything.
- Keep your distance; if the animal changes behavior because of you, you are too close.
Read the animal before you reach for the shutter
I start with behavior, not settings. Ears, tail, head angle, breathing rhythm, and the direction of travel tell you whether the subject is alert, relaxed, feeding, or about to move. If you can predict the next two seconds, your odds go up immediately. In practice, that means waiting near edges, trails, water, or feeding zones, then choosing a position with a clean background and a safe exit path. The rule I trust most is simple: if the animal keeps looking at you, you are probably too close or too obvious.
- Look for repeated movement patterns before you raise the camera.
- Choose a position that gives the subject room to move into the frame.
- Avoid stepping into the open just to get a clearer view.
- Use quiet observation to anticipate turning, feeding, or flight.
Once you can read the subject, the camera becomes easier to use, and the next step is making sure the settings are ready when the moment arrives.
Set the camera for movement before the moment happens
For active wildlife, I prefer continuous autofocus and a subject-tracking mode that stays locked on the animal instead of the background. On modern mirrorless bodies, that often means animal eye AF or the broadest tracking mode that still behaves well; on older cameras, it may mean a smaller AF cluster and a little more manual discipline. I also use back-button focus when I can, because it separates focusing from the shutter and makes it easier to keep tracking without refocusing every time I press the camera.
| Situation | Starting point | Why I use it |
|---|---|---|
| Resting mammals | 1/250 to 1/500 sec, f/4 to f/6.3, AF-C, Auto ISO | Holds subtle motion without forcing the ISO higher than needed. |
| Walking or grazing animals | 1/500 to 1/1000 sec, f/5.6 to f/8, short burst of 3 to 5 frames | Keeps feet and ears crisp without filling the buffer too quickly. |
| Birds in flight | 1/1600 to 1/3200 sec, subject tracking, widest usable aperture | Freezes wing motion and gives autofocus the easiest target. |
| Low light or dusk | Manual exposure plus Auto ISO, image stabilization on, realistic ISO ceiling | Holds the sequence together while light changes quickly. |
I often cap Auto ISO at 6400 or 12800 on modern bodies if that is what keeps the shutter speed honest. I would rather clean up a slightly noisy file than lose sharpness to camera shake or motion blur. Exposure compensation matters too: white birds or bright fur often need +2/3 to +1 EV, while a dark animal against a bright sky may need a small negative adjustment. That is the kind of practical control that makes the rest of the frame easier to build.
When those settings are in place, the image starts to depend less on luck and more on light and composition, which is where the frame really takes shape.
Use light and composition to keep the frame clean
Light changes the whole story. Dawn and dusk bring lower contrast, softer shadows, and usually more active animals; harsh midday sun tends to flatten detail and create awkward shadows around the eyes. When the sun is strong, I look for side light, open shade, or a backlit edge that separates fur or feathers from the background. A little patience here usually beats trying to rescue the image later.
- Work toward eye level whenever possible; it usually makes the subject feel more present.
- Keep the background simple by changing your position, not just your aperture.
- Leave space in the direction of travel so the frame feels natural.
- Watch for branches, grass, or rocks that cut through the head or body.
- Use negative space when the animal is small in the frame or moving through the scene.
I also think the relationship between subject and background matters more than many beginners expect. A longer lens helps compression, but the real win often comes from moving a few feet so the animal separates from the clutter behind it. A clean frame usually looks more deliberate than an overprocessed one. Once the light and background are doing some of the work, the next question is which approach fits the species in front of you.
Match the technique to the subject you are photographing
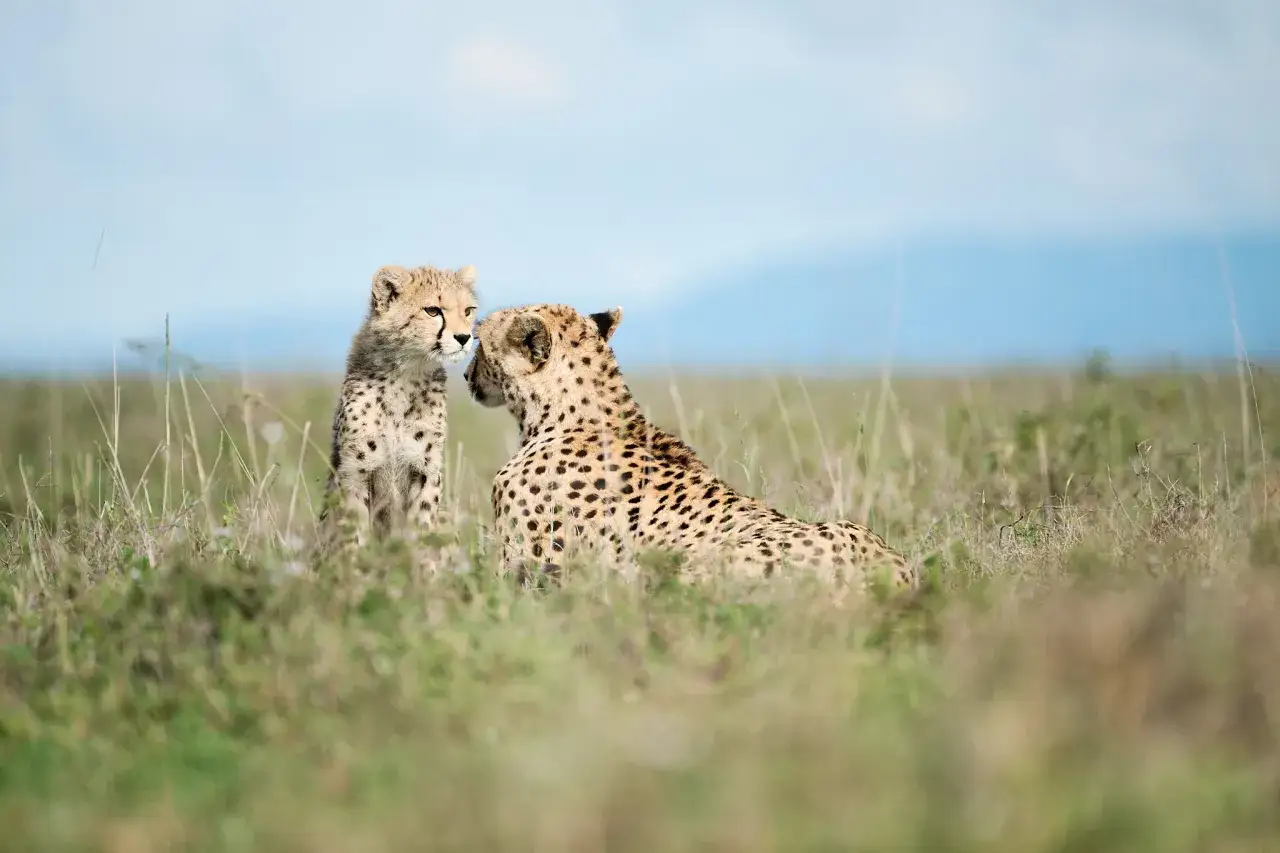
No single setup solves every subject. A perched eagle, a deer in a meadow, and a fox at twilight ask for different timing and different risk tolerance. I think about wildlife photography as a set of subject-specific tactics, not one universal preset. The good news is that once you know the pattern, the decisions get faster and cleaner.
Birds in flight
Birds are where tracking skills matter most. I start with continuous autofocus, the widest tracking area that still stays disciplined on the subject, and a shutter speed between 1/1600 and 1/3200 sec for larger, slower birds. For smaller, faster species, I push higher. The key is to acquire the bird early, keep both eyes open if that helps you, and pan smoothly from the torso rather than stabbing at the shutter the second the wings move. Short bursts help, but only if you are already locked on the eye or head. If the bird is crossing against a busy background, I wait for a cleaner section of sky or water instead of trying to rescue the frame later.
Mammals and ground animals
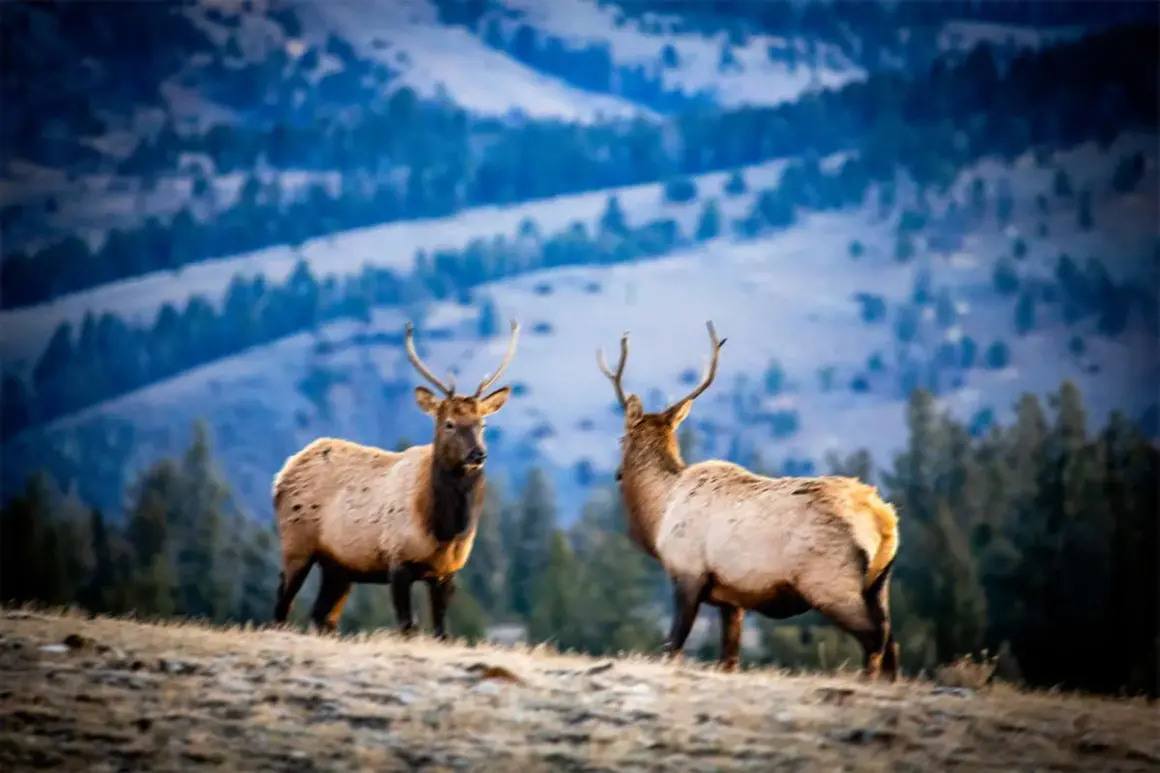
For deer, elk, foxes, coyotes, and similar subjects, I care more about stillness and angle than about extreme shutter speeds. A calm animal can look extraordinary at 1/500 sec if the posture is clean and the background is quiet. I usually work from a low position, keep the lens steady on a beanbag or monopod when the subject is distant, and avoid firing continuously when the animal is relaxed. If the animal starts feeding or walking, I shift to shorter bursts and keep space in front of its nose. This is the section where patience pays more than gear.
Small or nocturnal species
Small birds, reptiles, frogs, owls, and other low-light subjects reward restraint. Longer focal lengths help, but the real advantage is a steady position, careful focus placement, and respect for the scene. I avoid aggressive flash on wildlife, especially around nests or nocturnal species, because the shot is not worth turning the subject into a source of stress. When the light is low, I accept that some frames will be noisy and choose a camera that handles higher ISO cleanly enough to keep feather or fur detail. If the animal is tiny, depth of field becomes a real limitation, so I stop down a little more often than beginners expect.
Read Also: Bird Photography Guide - Capture Stunning Wildlife Shots
Behavior moments
Feeding, grooming, courtship, and interaction shots are often the strongest images in a series because they show something beyond pose. For these, I watch for repeated patterns and let the scene unfold instead of reacting to every twitch. The best frame is usually not the loudest action but the moment when posture, eye contact, and context line up. This is where you start thinking like a storyteller, which fits the way a strong wildlife image should read on a page or screen.
Once you know how to tailor the approach, the next question is what your kit can realistically support without making the process heavier than it needs to be.
Choose gear that helps, not gear that hides weak fieldwork
I do not think the longest lens wins by default. A 100-400mm zoom is often the most useful starting point in the U.S. because it covers small birds at the edge of a marsh, larger mammals on a trail, and anything that moves closer than expected. A 150-600mm zoom gives more reach for distant birds, but it asks more from your stability and your autofocus. Prime lenses in the 500mm to 600mm range are excellent when you already know your subject distance and want speed and subject separation, yet they are less forgiving in changing conditions.
- Zooms are the most flexible choice when you are learning local behavior.
- Primes make sense when reach and speed matter more than framing flexibility.
- Tripods and gimbals are best for hides, long waits, and large lenses.
- Beanbags are ideal for cars, rocks, fence posts, and low angles.
- Custom camera modes save time when you move from static animals to fast action.
Support matters too: a beanbag is underrated for roadside shooting, a monopod saves your back on long walks, and a gimbal head makes long-lens tracking much smoother from a tripod. None of that replaces fieldcraft; it just reduces the number of mistakes the camera can make. The last thing gear cannot do is compensate for work that disturbs the subject, which is where ethics and safety matter just as much as sharpness.
Keep the work ethical and safe enough to repeat
A good wildlife photographer leaves the animal behaving naturally. In U.S. parks, the National Park Service uses a simple rule of thumb: stay at least 25 yards from most wildlife and 100 yards from bears and wolves, unless a place-specific rule is stricter. That distance is not a loophole to work around; it is a baseline that protects both sides. I also avoid baiting, flushing, or changing habitat for a cleaner frame. Audubon’s guidance is blunt on this point: nests should not be disturbed, and attraction tactics that stress birds are the wrong trade.
- Use a telephoto lens, not your feet, to get closer.
- If the animal changes posture, vocalizes, or leaves because of you, back off.
- Avoid direct flash on owls and other nocturnal animals unless you know it is safe and permitted.
- Keep noise down, especially at dawn and around nesting sites.
- Check local rules in parks, refuges, and private reserves before you shoot.
Once safety and ethics are part of the process, the remaining work is repetition, which is where a simple routine helps turn good intentions into dependable results.
What I would lock in before the next sunrise
If I were building a personal system from scratch, I would spend less time chasing exotic gear and more time learning local behavior, cleaning up my autofocus setup, and practicing at eye level. The routine is simple on purpose: arrive early, set one mode for still subjects and one for action, watch the animal for a full behavior cycle before shooting, use short bursts instead of constant spraying, and review for eye sharpness rather than just exposure. That habit turns the whole process from reactive into repeatable.
- Arrive before the light gets hard and decide what subject type you are working.
- Set AF-C, subject tracking, burst mode, Auto ISO, and a realistic shutter speed.
- Check the background before the animal enters the frame.
- Take short bursts, then review one frame for sharpness and one for behavior.
- Leave while the subject still looks undisturbed.
The best results usually come from a simple mix of reading the animal, using the right focusing setup, and giving the subject enough room to behave naturally. That combination produces steadier images than any single trick, and it is the part of the craft that keeps rewarding patience every time I go back into the field.
