
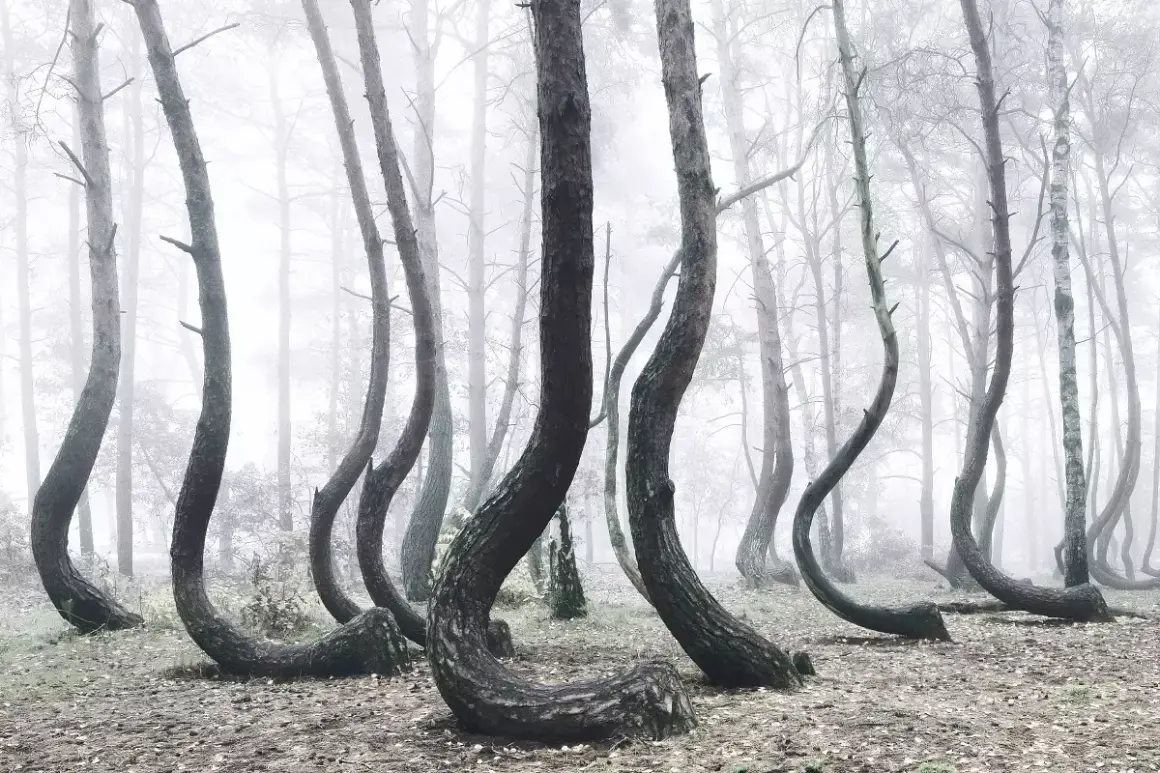
Photographing trees is a deceptively rich subject: tree photography works best when you treat each tree as a form, a texture, and a piece of landscape storytelling, not just a green object in the frame. In this article, I’ll break down the styles that work, the subjects worth isolating, the light and weather that change the result, and the camera choices that actually matter. I’ll also cover the mistakes that flatten tree images, because this is one of those subjects that rewards patience and punishes carelessness in equal measure.
The strongest tree images balance shape, light, and restraint
- Start with the silhouette. A clean outline usually matters more than expensive gear.
- Use the season deliberately. Blossom, full leaf, autumn color, and bare branches all tell different stories.
- Match the lens to the message. Wide lenses show context; telephotos isolate a single trunk or crown.
- Watch the background first. A messy skyline or bright distraction can ruin an otherwise strong frame.
- Edit with restraint. Trees need texture and natural color, not oversaturated greens.
Why trees work as photographic subjects
I like photographing trees because they sit in a sweet spot between landscape and portrait work. A single tree can be an object, a pattern, a symbol, or a whole environment depending on how I frame it. That flexibility is what makes the subject worth returning to over and over.
Technically, trees also give you a lot to work with: strong vertical lines, layered branches, repeating textures, and clear separation between trunk, canopy, and surrounding space. The trick is to decide what story you want the tree to tell before you press the shutter. Is it standing alone, reaching upward, showing age, or adding rhythm to a larger scene? Once that decision is clear, the rest of the image gets easier to control.
Choose the right style for the story you want
Not every tree photo should look like a postcard. Some work better as clean, minimal portraits; others need a wider environmental frame; others are strongest when they lean into texture or abstraction. I usually decide on style before I decide on settings, because style changes everything from focal length to editing.
| Style | What it emphasizes | Best use | Main challenge |
|---|---|---|---|
| Solitary tree portrait | Shape, symmetry, mood | One strong tree in open space | Keeping the background clean |
| Environmental landscape | Tree plus surroundings | Forests, hills, parks, roadside scenes | Avoiding clutter and visual noise |
| Textural detail | Bark, moss, leaves, roots | Close-up or macro work | Maintaining sharpness without overprocessing |
| Seasonal scene | Color and atmosphere | Blossoms, autumn foliage, snow, fog | Not letting color overwhelm the subject |
| Silhouette or backlit frame | Graphic shape and contrast | Sunrise, sunset, misty mornings | Preserving the tree’s outline |
| Abstract study | Pattern and repetition | Branches, bark, canopies, reflections | Making the frame feel intentional, not random |
That table is the part I wish more beginners saw early. If you know which style you want, you stop chasing every possible angle and start making deliberate choices. That alone improves the work.
Compose for shape, scale, and texture
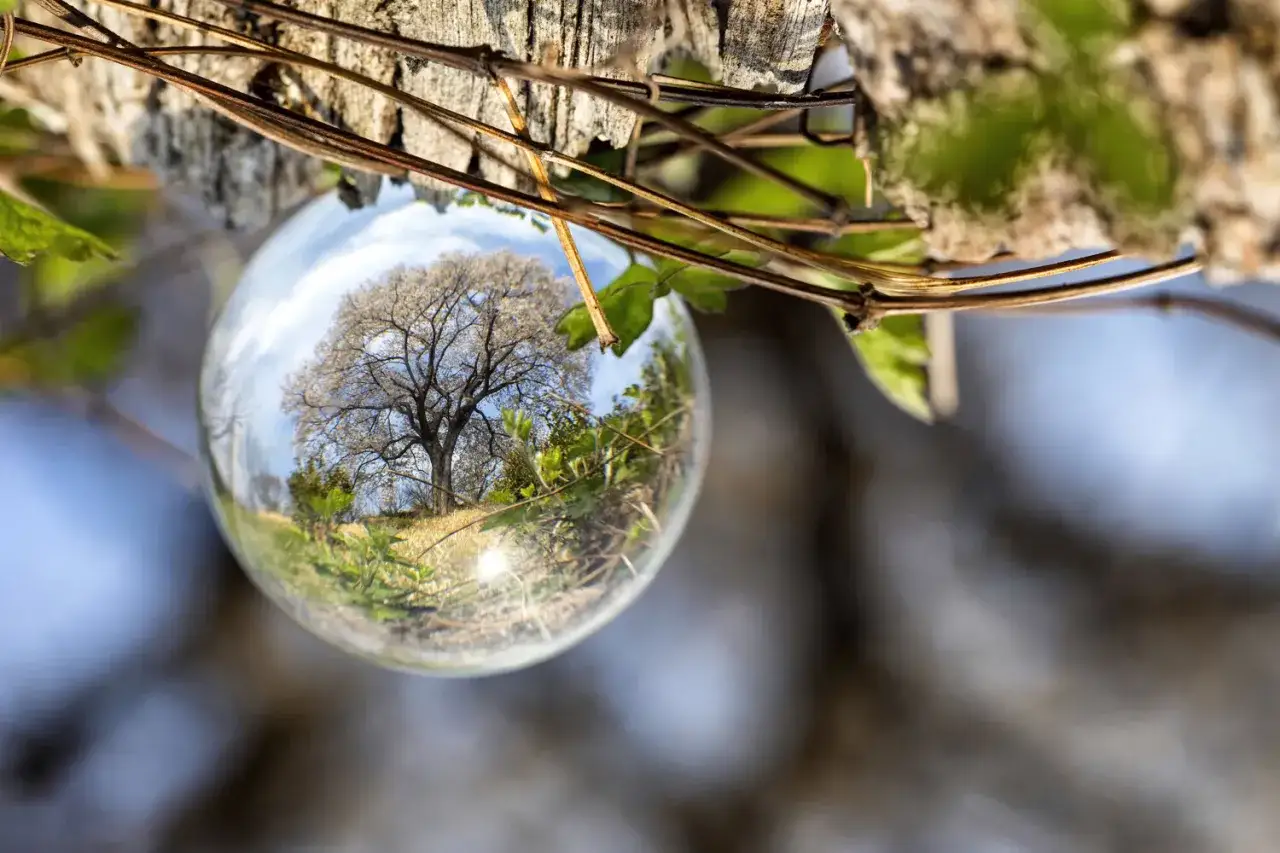
Composition is where tree images usually succeed or fail. A tree can look majestic, awkward, cramped, or anonymous depending on where the trunk sits, how the branches connect to the background, and whether the frame gives the subject room to breathe. I tend to think in three layers: the main form, the surrounding space, and the details that support the story.
Use negative space with intent
Negative space is the empty area around the subject, and with trees it can be more important than the tree itself. A lone tree against an open sky often feels stronger than the same tree buried in visual clutter. If the subject is small, give it room. If the scene is dense, simplify the frame until one branch, one trunk, or one canopy shape becomes dominant.
Let the trunk lead the frame
The trunk is usually the anchor. I often place it slightly off-center, especially when I want the image to feel natural instead of diagrammatic. That said, symmetry can work beautifully when the tree is straight, formal, or intentionally centered. The key is to choose centering on purpose, not by default.
Read Also: Interior Architecture Photography - Beyond Pretty Pictures
Include context only when it adds meaning
Roots, fences, paths, hills, and surrounding trees can help explain scale or mood. They can also ruin the photo if they distract from the main subject. A forest scene benefits from context; a bark close-up usually does not. The tighter the shot, the more ruthless I become about removing anything that does not support the image.
One practical test helps here: if you can crop away a distracting element without weakening the idea, it probably did not deserve to be in the frame in the first place. That rule saves a lot of mediocre compositions.
Light, weather, and season change everything
Trees are static, but the conditions around them are not. That is why the same subject can look dramatic at sunrise, flat at noon, and almost lyrical in fog. Light matters because it changes how bark reads, how leaves separate from the background, and how much depth the frame can hold.
Golden hour is useful when I want warm edges and long shadows. Overcast light is usually better for bark texture, moss, and subdued color because it reduces contrast and prevents highlights from blowing out. Backlight can turn leaves translucent and make branches glow. In the U.S., that matters even more because regional seasons are so different: spring blossoms in city parks, summer canopy in humid regions, autumn color in the Northeast and Appalachians, and winter silhouettes in colder states all create very different visual problems and opportunities.
Weather can do as much work as the lens. Fog compresses distance and simplifies busy forests. Rain deepens color and makes bark shine. Snow strips the scene down to shape and contrast. Wind is the one condition I treat cautiously; if leaves move too much, I either raise shutter speed or accept that motion blur is part of the image.
The gear and settings I actually reach for
You do not need a complicated kit for strong tree work, but the right tools do make certain images easier. I usually start with the lens and exposure choices that match the subject rather than trying to force every tree into the same setup.
- 24-70mm for general scenes, woodland context, and flexible framing.
- 70-200mm for isolating a single tree, compressing layers, or simplifying a messy background.
- 90-105mm macro for bark, moss, leaves, lichens, and root detail.
- f/2.8 to f/4 when I want separation from the background or a softer, more intimate feel.
- f/8 to f/11 for most tree portraits and landscape frames where I want reliable sharpness across the subject.
- f/16 only when depth matters more than maximum optical crispness; diffraction can soften fine detail, so I use it carefully.
- ISO 100 to 400 when I can work from a tripod or in bright light.
- 1/125 sec or faster for handheld work with moderate movement.
- 1/500 sec or faster if wind is moving leaves or small branches.
- 1/15 sec or slower on a tripod when I want motion blur in leaves, mist, or water around roots.
A circular polarizer is worth carrying if you shoot wet leaves, bark, or reflective surfaces, but I do not use it blindly. On a wide lens, it can darken the sky unevenly and make the frame feel patchy. A tripod, meanwhile, is less about luxury and more about control: it lets me compose more carefully, keep ISO low, and work with longer exposures when the scene needs them. For very shallow close-ups, focus stacking can help, which simply means blending multiple shots focused at different distances to keep the whole subject sharp.
Edit without turning the scene into plastic
Tree photos are easy to overedit because foliage hides bad decisions until the last step. The common failure mode is simple: too much contrast, too much clarity, too much green saturation, and a texture profile that makes bark look artificial. I edit trees more cautiously than many other subjects because nature already gives you enough detail.
- Pull back green saturation first. Leaves can turn neon fast, especially in direct sun.
- Protect highlights in pale bark and backlit foliage. Once those highlights clip, the scene starts to feel harsh.
- Use local dodge and burn. Small tonal adjustments help guide the eye toward the trunk or strongest branch pattern.
- Sharpen selectively. Bark can take detail; soft leaves usually cannot.
- Convert to black and white when shape matters more than color. That works especially well for winter trees, silhouettes, and textured bark.
If I am unsure whether a file needs heavy editing, I usually step back and ask one question: does the adjustment make the tree easier to read, or does it just make the file louder? That distinction keeps the work honest.
Common mistakes that flatten a tree photo
The biggest mistakes are not subtle. They usually come from moving too quickly, not from technical failure. I see the same problems over and over, and most of them are fixable in-camera.
- Leaving a bright distraction behind the trunk. A pale patch of sky or a branch intersection can pull attention away from the subject.
- Cutting through the trunk with the horizon. That creates a visual conflict unless you intended it.
- Shooting only at midday. Harsh overhead light often flattens bark and makes foliage look busy instead of dimensional.
- Using a wide aperture when the whole tree needs context. A beautiful blurred background is useless if the subject becomes unreadable.
- Overpacking the frame. Too many trunks, too many leaves, and too many tonal jumps make the image feel accidental.
- Editing for intensity instead of clarity. More contrast is not automatically more impact.
The fastest fix is usually to move your feet. One small step left or right can clean the background, separate the trunk from a bright patch, or reveal a stronger branch line. I would rather spend thirty seconds adjusting the viewpoint than ten minutes rescuing a compromised file later.
The three-frame approach I use on an ordinary tree walk
When a tree does not immediately look special, I do not force one grand shot out of it. I work in three passes. First, I make a wider frame that places the tree in its environment. Second, I isolate one strong composition with a tighter lens or a cleaner angle. Third, I move in close for bark, leaves, roots, or seasonal detail. That routine gives me options without turning the session into guesswork.
It also changes how I see the subject. The wide frame tells me what the tree means in space. The tighter frame tells me what its shape does to the eye. The detail shot tells me whether texture, age, or weather is carrying the story. Between those three views, I usually find the strongest image, even when the first impression was ordinary.
If I were building a tree photo set for a website, an editorial article, or a visual campaign, I would still start the same way: make one frame for context, one for form, and one for detail. That habit keeps the work focused, and it is the simplest way I know to turn a familiar subject into a photograph with real presence.
