
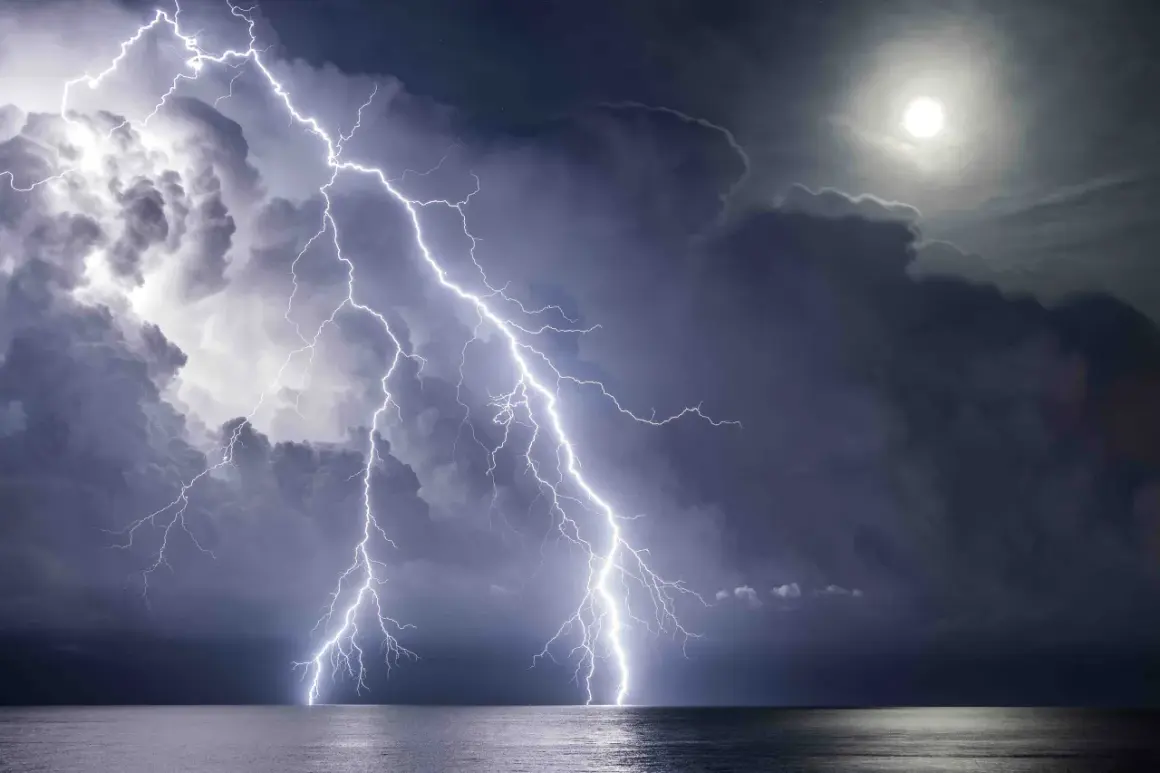
Lightning photography is a mix of patience, timing, and restraint. The strongest results usually come from long exposures, careful composition, and a serious respect for storm safety, not from chasing the brightest flash. In this article, I break down the gear, camera settings, field strategy, and editing choices that consistently improve storm images.
What matters most before the storm breaks
- Use a sturdy tripod, manual focus, RAW capture, and a remote release so the camera stays steady and repeatable.
- Start around ISO 100 to 200, f/5.6 to f/8, and 5 to 20 seconds, then adjust based on how active the storm is.
- Look for distant, repeated strikes and give the frame a foreground element that adds scale.
- If thunder is audible, stop shooting outside and move to proper shelter immediately.
- Edit conservatively so the bolt still looks real and the sky keeps its structure.
What makes storm shots different from ordinary night work
I treat this subject as part landscape photography, part timing exercise, and part weather reading. The subject appears and disappears in milliseconds, while the sky, rain curtain, and ambient light can change every minute, so the challenge is not just exposure control, but prediction.That is why a good frame is usually built from probability. I want repeated flashes, a stable camera position, and enough darkness in the scene that the bolt can register without wiping out the rest of the image. If the scene is too bright, you get a washed-out sky; if it is too dark, the frame can look empty even when the storm is active. The next step is choosing gear that keeps the process steady instead of complicated.
Gear that earns its place in the bag
You do not need the newest body to make strong storm images. You need predictable controls, RAW capture, and support gear that does not wobble the moment the wind picks up. I would rather own a modest camera on a good tripod than a flagship body on flimsy legs.
| Item | Why it matters | What I would prioritize | Typical budget band |
|---|---|---|---|
| Camera body | Manual control and clean RAW files | Any camera with manual exposure, bulb mode, and decent low-light performance | Use what you own first |
| Tripod | Prevents blur during long exposures | Rigid legs, solid head, and enough weight to stay planted in wind | Roughly $80 to $250 |
| Remote release or intervalometer | Lets you fire without touching the camera | Simple wired or wireless control with repeat shooting | Roughly $20 to $80 |
| Lens | Shapes the story of the sky | Wide-angle first, then standard zoom if you want tighter framing | Depends on what you already have |
| Weather protection | Rain and spray can end the session early | Rain cover, microfiber cloths, and a dry bag | Roughly $15 to $60 |
A wide-angle lens is usually the safest starting point because it gives you room to include sky structure, foreground, and multiple strikes. Nikon’s guidance to switch off autofocus is sound here, because the lens can hunt in low-contrast conditions; I prefer to focus manually on a distant light or another sharp reference before the storm reaches peak intensity. Once the kit is simple and stable, the camera settings become much easier to trust.
Camera settings that give you a real chance
The best starting point is a manual exposure you can repeat. I begin with ISO 100 to 200, an aperture around f/5.6 to f/8, and a shutter speed that matches the storm’s activity. If flashes are rare, I go longer; if the storm is active and bright, I shorten the exposure so the sky does not blow out.
| Scene | Aperture | Shutter | ISO | Why this works |
|---|---|---|---|---|
| Distant storm over a dark sky | f/5.6 to f/8 | 10 to 20 seconds | 100 | Gives enough time to catch occasional strikes without forcing a high ISO. |
| Frequent flashes near the horizon | f/8 | 2 to 8 seconds | 100 to 200 | Helps control bright bolts and keeps the frame from flattening out. |
| City glow or bright ambient light | f/8 to f/11 | 1 to 4 seconds | 100 | Protects highlight detail and keeps streetlights from overpowering the sky. |
| Storm with an important foreground | f/5.6 to f/8 | 5 to 15 seconds | 100 to 200 | Balances the sky with a silhouette, ridge, waterline, or building. |
I also keep the white balance fixed instead of leaving it on auto, because consistent color makes it easier to compare frames and edit a sequence later. If your camera offers long exposure noise reduction, test it before a real shoot; it can clean up hot pixels, but it also slows down the interval between frames, which matters when the storm is moving fast. Manual mode, fixed focus, and a remote release give you the most control, and control matters more than novelty in this kind of work.
How to compose a frame that feels intentional
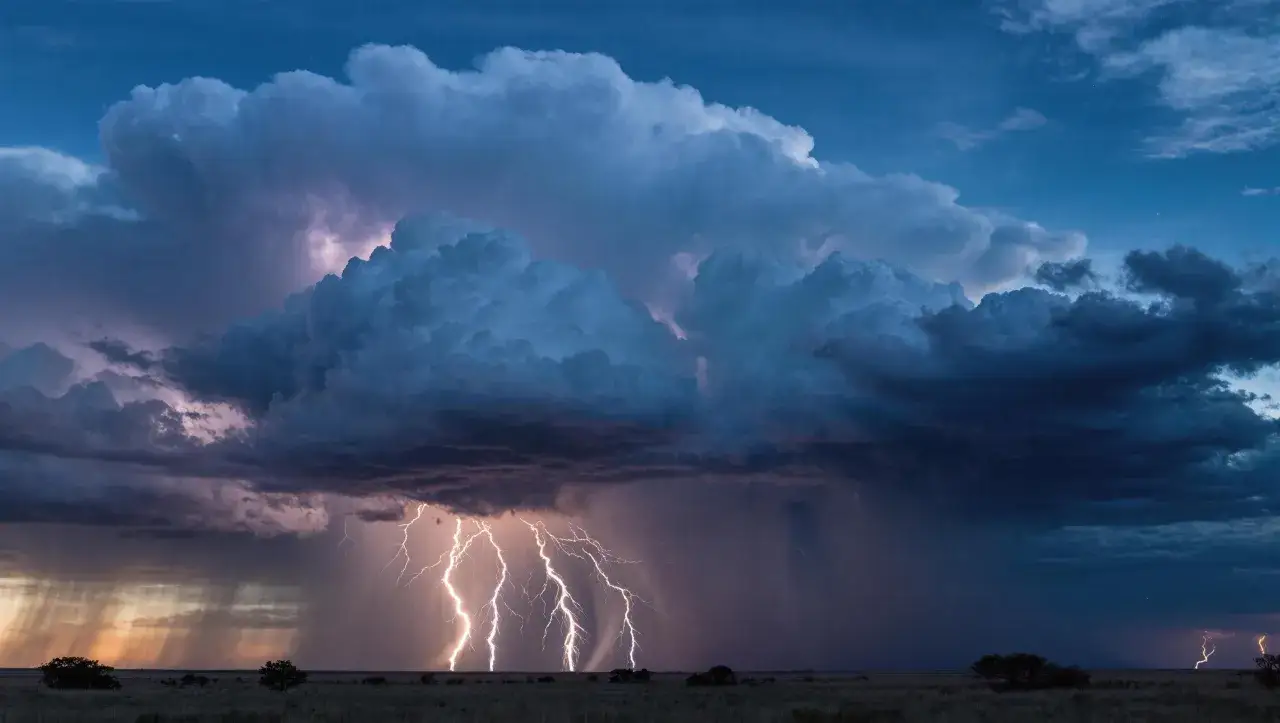
A bolt can be dramatic and still produce a weak photograph if the frame has no structure. I want the storm to feel placed in a scene, not pasted onto a blank sky, so I think about foreground, horizon, and negative space before I think about the strike itself.
Leave space for the bolt
Lightning rarely lands exactly where you expect it. I usually leave more open sky than I think I need, especially on the side where the storm core is active, because the composition should be able to absorb a bolt landing a little left or right of center. If every edge is crowded, the image looks tense in a bad way.
Use the foreground for scale
A dark tree line, a roofline, a lake, a highway, or even a field can give the storm scale. Without that anchor, the frame can become a bright flash on a black background, which is technically correct but visually flat. A foreground silhouette is often the difference between a record shot and an image someone remembers.
Read Also: Aquarium Photography Guide - Capture Stunning Fish Photos
Decide whether the storm is the subject or the backdrop
Sometimes the lightning is the whole story. Other times, I want the weather to support a larger scene, such as a coastal city, an empty plain, or a mountain ridge. Once you decide which role the storm is playing, your lens choice and framing become much clearer. That leads naturally into the next question, which is where and when the best opportunities usually appear.
Where and when the best opportunities usually appear
In the United States, the most reliable chances usually come during warm-season thunderstorms, especially when the air is unstable and the sky has enough depth for visible structure. Summer afternoons and evenings often work well, and so do monsoon buildups in the Southwest, passing squall lines along the Gulf Coast, and broad storm systems across the Plains and Midwest.
I look for three things before I set up: repeated flashes, a visible storm edge, and a position with an easy exit. A storm that fires every few minutes is far easier to work with than a single isolated bolt, because it gives you time to refine exposure and composition. I also prefer a location where I can see the cell from a distance instead of standing directly under it, because the photograph should never depend on bad judgment.
- Use radar and weather apps to find a cell with active lightning and a clear movement pattern.
- Pick a spot with a wide view, a dry place to retreat to, and no need to cross exposed ground at the last second.
- Favor storms with shape, such as anvil structure or a clean separation between rain core and sky, because they photograph better than featureless clutter.
Once you know how to read the scene, the final non-negotiable issue is safety, and that is the part people most often underestimate.
Safety rules that override every creative decision
The National Weather Service is very clear on this: if you can hear thunder, you are close enough to be at risk, and there is no safe place outside once a thunderstorm is in the area. That means the real professional habit is not trying to outsmart the storm; it is knowing when to stop, relocate, and come back another day.
- Get inside a substantial building or an enclosed vehicle as soon as thunder is audible.
- Avoid open fields, hilltops, beaches, ridges, and isolated tall objects.
- Do not count on crouching as protection, because it does not make you meaningfully safer outdoors.
- Plan your exit before you open the tripod, not after the rain starts.
- If visibility drops fast or hail begins, pack up immediately instead of waiting for one more frame.
I also tell people to make the safety decision before fatigue sets in. Storm chasing is full of false bargains, and the phrase “just one more shot” causes more bad decisions than any technical mistake. If the scene stops being safe, the correct response is to leave, not to improvise.
Editing storm frames without making them look fake
Storm images can be ruined in post faster than they are ruined in the field. My editing goal is simple: protect the bolt, keep the sky believable, and preserve the atmosphere that made the scene interesting in the first place.
- Pull back highlights and whites first, because lightning clips quickly and can take the cloud detail with it.
- Use moderate contrast and a careful dose of dehaze or clarity so the sky gains definition without turning crunchy.
- Reduce noise in the shadows, but do not blur away the texture that makes the storm feel real.
- Correct white balance just enough to keep the scene natural, especially if city light or mixed clouds shifted the color.
- If you stack multiple frames, keep the result honest to the scene and avoid overbuilding the bolt pattern until it looks staged.
I think the best edits are the ones that feel inevitable. You notice the weather first, then the light, then the bolt, which is exactly how the scene felt in person. Overprocessing does the opposite, and the image starts to look louder than the storm ever was.
A workflow I trust when a storm front is moving in
When I am preparing for a shoot, I follow the same sequence almost every time. It keeps the work calm, which is useful because storms are not calm at all.
- Check the forecast, radar, and local cloud movement, then choose a position with a clear view and an obvious exit.
- Mount the camera on a sturdy tripod, switch to manual exposure, and set the lens to manual focus before the light drops.
- Start with a conservative exposure, usually ISO 100, f/5.6 to f/8, and a shutter long enough to catch a strike without washing out the sky.
- Fire a few test frames, review the histogram, and adjust only one variable at a time.
- Keep shooting while the storm is active, but stop the moment thunder is close, visibility collapses, or the environment becomes unsafe.
That workflow is simple on purpose. It gives you a repeatable way to work under pressure, and repeatability is what turns a difficult weather event into a usable photograph. If you keep the setup stable, the exposure conservative, and the escape route obvious, you will get better results than the photographer who keeps gambling on one heroic frame.
