
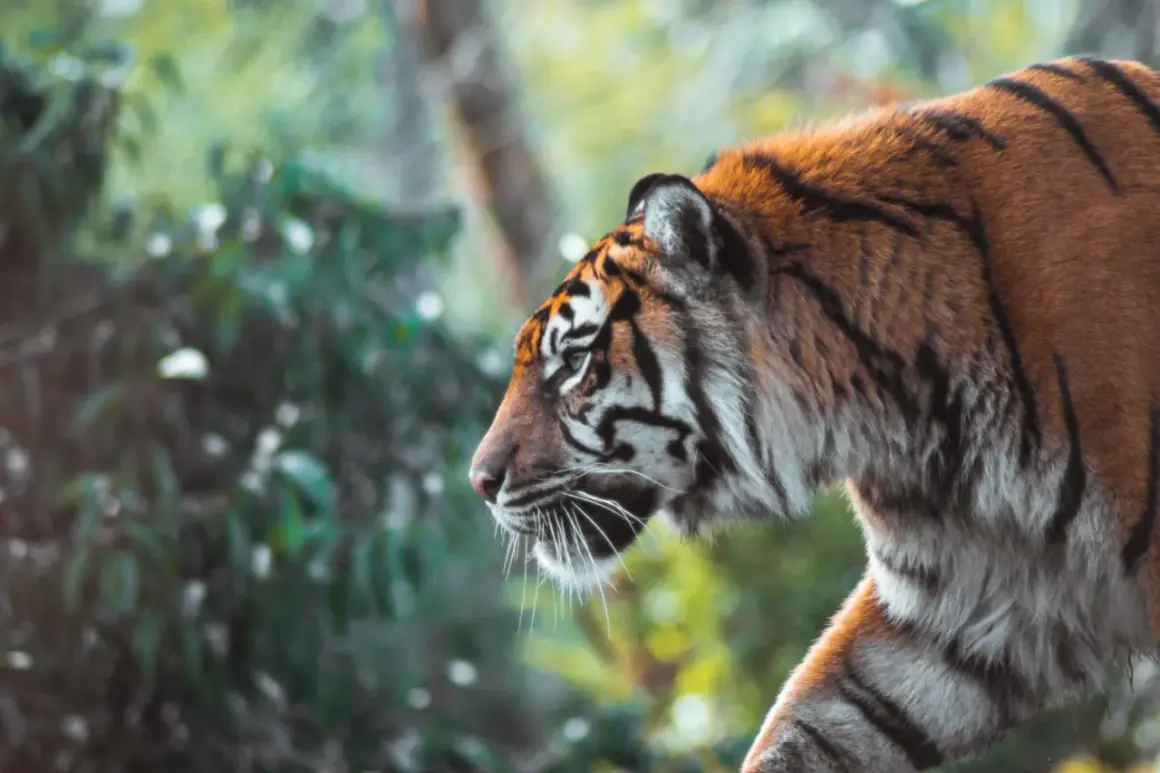
A thoughtful approach to zoo photography can turn a routine family outing into a set of images that feel deliberate, not accidental. The real work is learning how to handle glass, mesh, crowds, and changing light while still keeping the animal at the center of the frame. I focus on the subject styles that work best, the gear that helps, the settings that hold motion, and the etiquette that keeps the visit respectful.
The fastest way to stronger zoo images is to control subject, barrier, and light
- Choose a clear style first: portrait, behavior, environmental scene, or detail.
- Use a longer lens or get closer to the barrier so glass and mesh are less visible.
- Arrive early, stay late, or work on cloudy days for softer light and better animal activity.
- Use continuous autofocus, burst mode, and a shutter speed that matches the animal’s movement.
- Skip flash and respect the zoo’s rules; both usually improve the final image anyway.
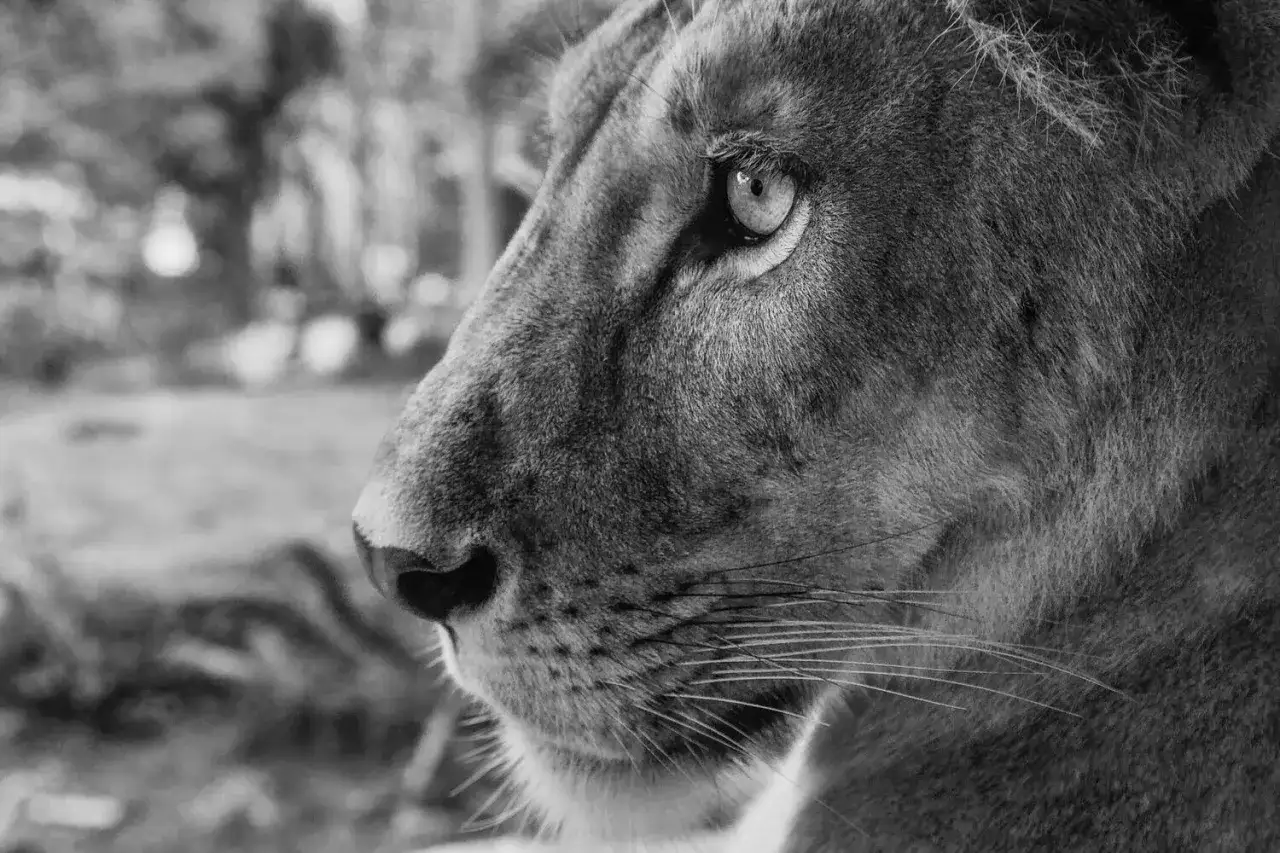
Start with the kind of image you want to make
I do not start with the lens. I start with the picture I want: a clean portrait, a behavior shot, or a wider scene that includes habitat context. That choice changes everything, because a close face, a climbing primate, and a sleeping big cat all reward different framing and different patience.
| Style | Best subjects | Why it works | How I shoot it |
|---|---|---|---|
| Portrait | Big cats, primates, rhinos, birds at rest | It gives you a direct, emotional image with a clear focal point | Use a longer lens, watch the eyes, and simplify the background |
| Behavior | Feeding, grooming, climbing, play, resting interactions | It shows personality and makes the image feel alive | Keep burst mode ready and wait for a gesture, not just a pose |
| Environmental | Animals in their habitat, near water, rocks, branches, or foliage | It tells a fuller story and gives scale | Include context only when the background supports the subject |
| Detail | Eyes, paws, feathers, fur, scales, textures | It adds variety and visual rhythm to a set | Move closer, focus carefully, and keep the frame clean |
| Silhouette or backlight | Giraffes, birds, large mammals near sunset | It creates a graphic, memorable look | Meter for the subject shape and protect the edges from flare |
I like mixing these styles on the same visit, because a strong set usually needs more than one visual voice. A portrait gives you a hero frame, behavior adds energy, and an environmental shot gives the viewer a sense of place. Once I know which look I am after, the next decision is whether my gear can actually isolate the subject instead of announcing every fence and reflection in the frame.
Use gear that helps you work past glass and mesh
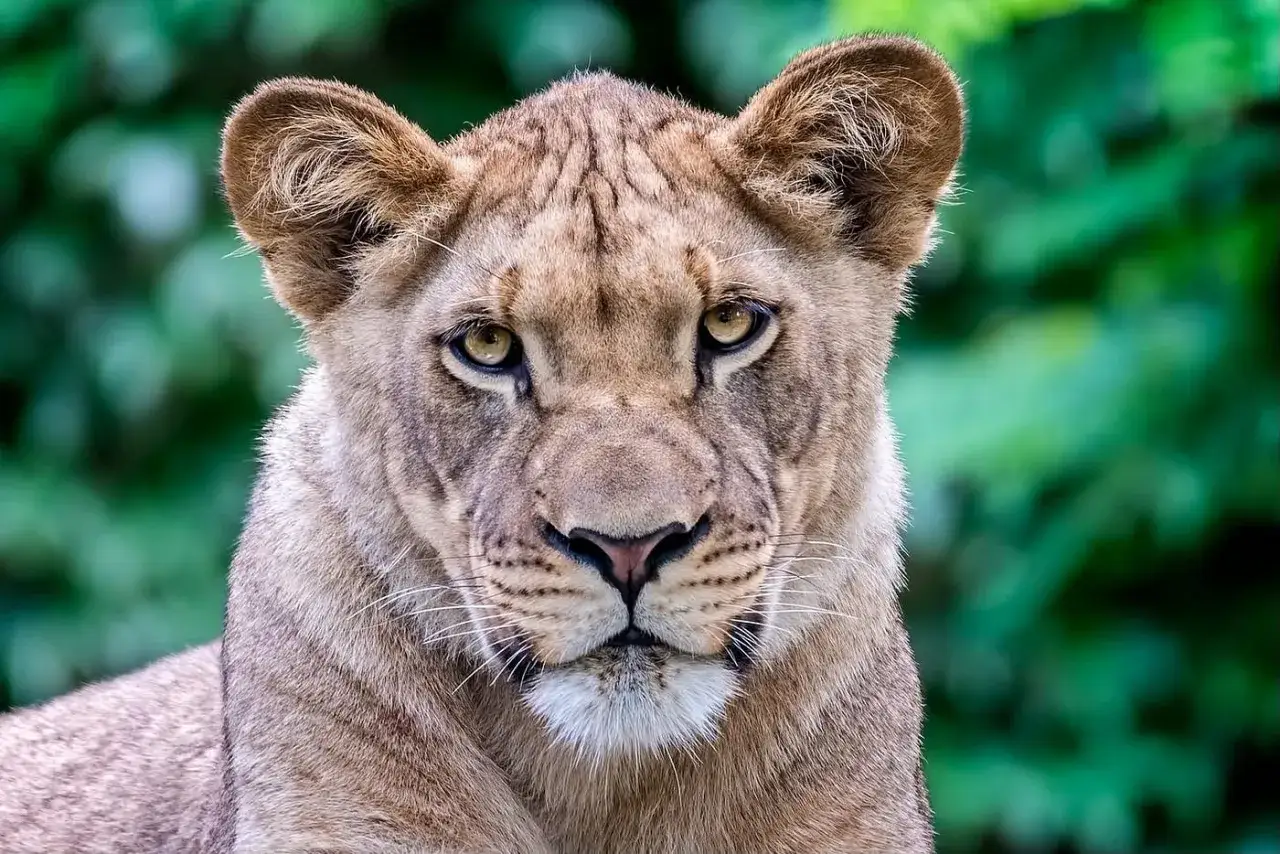
A longer lens is the most useful tool here, not because it magically improves the image, but because it lets me fill the frame and push barriers out of attention. A wide lens shows the enclosure, the crowd, the fence, and everything else. A telephoto lens, especially one in the 70-200 mm, 100-400 mm, or 150-600 mm range, gives me much more control over what disappears into blur.
| Gear | Why it helps | Main tradeoff |
|---|---|---|
| 70-200 mm zoom | Good for closer exhibits and clean portraits | May not reach shy animals or distant enclosures |
| 100-400 mm or 150-600 mm zoom | Makes mesh and fence lines less obvious and fills the frame more easily | Heavier and slower to handle all day |
| Smartphone | Useful for close viewing, quick documents, and detail shots | Digital zoom falls apart fast |
| Polarizing filter | Helps reduce glare on flat glass and deepens color in foliage | Costs light and is less useful on dirty, curved, or textured barriers |
| Lens hood or dark cloth | Blocks stray reflections and extra light around the lens | Works best when you can get close to the barrier |
If I am shooting through glass, I try to get the lens as close as the layout and rules allow. If I am shooting through mesh, I open the aperture and use enough focal length to blur the grid until it stops competing with the animal. And if I am carrying a heavy zoom, I think carefully about support: a monopod can save your arms, but only if the zoo allows it in the viewing area. With the kit sorted, the next variable is timing, because even good gear cannot fix harsh light or a sleepy subject.
Time the visit for movement and softer light
At many U.S. zoos, the first 60 to 90 minutes after opening and the last 60 to 90 minutes before closing are the most reliable windows for active behavior and cleaner light. Midday can still work, but the sun is usually harder, the shadows are less flattering, and the viewing areas are busier. I would rather shoot under overcast skies than in bright noon light if the exhibit has reflective glass or the animal is backlit.
Weekday mornings are often calmer than weekends, and that matters more than people expect. Fewer visitors means fewer reflections, fewer bodies blocking the viewing wall, and more room to move until the angle improves. Keeper talks, feeding moments, and enrichment sessions can be excellent too, because the animals tend to move more, but those schedules vary by facility, so I plan the day around the zoo’s rhythm instead of forcing my own.
One simple habit helps more than any other: I wait and watch. If the animal is grooming, shifting position, or interacting with another animal, I stay ready; if it is sleeping with no visible change, I move on and come back later. That patience pays off in the next step, because once the animal is active, composition becomes the difference between a usable frame and a frame worth keeping.
Compose so the barrier disappears instead of announcing itself
Most poor zoo images fail for the same reason: the barrier is louder than the subject. I try to fix that in-camera before I think about editing. Shooting square to flat glass usually reduces obvious reflections, while a long lens and a wider aperture help blur mesh into the background. If the barrier is scratched or smudged, changing position is usually faster than trying to rescue the shot later.
- Get close to the glass or mesh when the rules allow it, because distance makes reflections more obvious.
- Stand at the animal’s eye level whenever it is safe, because that angle feels more intimate and less like surveillance.
- Watch the background as carefully as the subject, because a branch, sign, or visitor can ruin an otherwise strong frame.
- Use negative space only when it helps the subject breathe; empty space should feel intentional, not accidental.
- Wait for the animal to turn into a cleaner plane if the first angle looks cluttered or flat.
- Use a dark shirt, lens hood, or your own body position to reduce stray reflections when the viewing area is bright.
I also pay attention to what the frame is saying. A tight portrait says one thing. A wider scene with foliage, rock, or water says another. Neither is automatically better, but each needs to look deliberate. Once the frame is clean, camera settings become the final control point that keeps the moment from falling apart.
Dial in settings that keep up with moving animals
My default is usually aperture priority or manual exposure with Auto ISO. Aperture priority is the mode where I choose the f-stop and let the camera handle shutter speed, which is useful when the light keeps changing as clouds move or animals shift through shade. If the subject is active, I switch to continuous autofocus, or AF-C, which keeps refocusing as the animal moves, and I use burst mode for brief actions like a head turn or a paw strike.| Situation | Starting point | Why I start there |
|---|---|---|
| Calm mammal portrait | f/2.8 to f/5.6, 1/500 sec minimum, Auto ISO | Enough shutter speed for small movement with room to blur the background |
| Playful primate or bird | 1/1000 sec or faster, continuous AF, burst mode | Helps freeze action and keep the eye sharp through sudden movement |
| Reptile or resting animal | 1/250 to 1/400 sec, lower ISO, single-point AF | Lets you protect image quality when the subject is not moving much |
| Indoor nocturnal house | Wide-open aperture, Auto ISO 1600 to 3200, steady hand position | Usually the only practical way to keep exposure usable without flash |
I check the histogram instead of trusting the rear screen, because bright fur, pale feathers, and sunlit glass can fool the eye. If the subject has strong contrast, I protect the highlights first and accept a slightly darker frame if needed. A noisy image is easier to clean up than a blown highlight on a white bird or a bright face. Technical control matters, but it should never override the animal’s comfort or the zoo’s rules.
Stay ethical and keep the visit comfortable for everyone
Many zoos discourage flash for a reason: it can bother animals, and it tends to make reflections worse rather than better. I also avoid tapping glass, leaning over barriers, or doing anything that changes the animal’s behavior just to get a reaction. If a subject starts watching me closely, flinching, pacing, or moving away because of my presence, I assume I have gone too far and back off.
- Stay on public paths and obey all posted signs.
- Do not feed, bait, or try to lure animals for a photograph.
- Skip flash unless the facility explicitly allows it and it will not disturb the subject.
- Do not block other visitors from the viewing area while you work a frame.
- Respect keeper instructions immediately, especially around enrichment, transfers, or restricted spaces.
- Accept that resting, sleeping, or hidden animals are not failures; they are part of the day.
Good behavior usually improves the photography too. Relaxed animals give you natural posture, better eye direction, and fewer stress-induced movements that ruin a frame. That is why I think of ethics as part of the craft, not a separate rulebook. With that in mind, I like to finish every visit by checking whether I have covered the three image types that make the outing feel complete.
The three frames I try to leave with before I head out
If I only get a short window, I try to leave with three images: one clean portrait, one behavior shot, and one wider frame that shows the habitat or setting. That combination gives me a small but complete story, which matters if the images will be used for a blog post, a social set, or a photo essay rather than a single standout frame.
When I have a little more time, I add one detail image as a bonus, usually a close look at fur, feathers, claws, or an expressive eye. Those images are easy to overlook, but they help an edit feel richer and less repetitive. The zoo does not need to be photographed as one long sequence of similar pictures; it works better when each frame serves a distinct role. If you walk out with those pieces in hand, the rest of the edit becomes much easier.
That is the part I keep coming back to: the best results come from matching subject, light, and behavior, then staying patient enough to let the scene reveal itself.
