
Choosing the best indoor lighting is less about buying a brighter bulb and more about matching light quality, placement, and control to the room. In practice, the right setup changes how a space feels, how well it supports work, and how comfortable it is to live in after dark. I’m going to break down what actually matters, which choices make sense for different rooms, and where people usually overspend or get the wrong result.
The fastest way to choose indoor lighting that feels right
- Start with LED fixtures or bulbs unless you have a specific reason not to; they are the default efficient option for most interiors.
- Use 2700K to 3600K as the safe range for most indoor spaces, then go cooler only when a task truly benefits from it.
- Look for CRI 80+ at minimum, and move to CRI 90+ in rooms where color accuracy matters.
- Build lighting in layers: ambient light for the room, task light for work, and accent light for depth.
- Put dimmers on the rooms you use most; they make lighting more adaptable and reduce the need to overlight a space.
- Match the fixture to the job, not the other way around. A beautiful fixture that throws glare is still bad lighting.
What good indoor lighting actually solves
Most people think lighting is mainly about brightness. I see it differently: good lighting solves visibility, comfort, and mood at the same time. The U.S. Department of Energy notes that more light is not automatically better, and that light quality matters as much as quantity. That is the right mental model for homes, offices, and mixed-use spaces.
There are four questions I ask first. Is the room bright enough for the activity? Does the light make colors look natural? Does it create glare on screens, countertops, or mirrors? And can the room shift from one use to another without feeling harsh? If the answer is no to any of those, the lighting still needs work.
For most interiors, I want three things to line up: a comfortable color temperature, decent color rendering, and light that lands where the task happens. That sounds simple, but it is where a lot of bad installs fall apart. A room can have plenty of lumens and still feel flat, cold, or hard to use. The next step is to build the room around layers instead of one overhead source.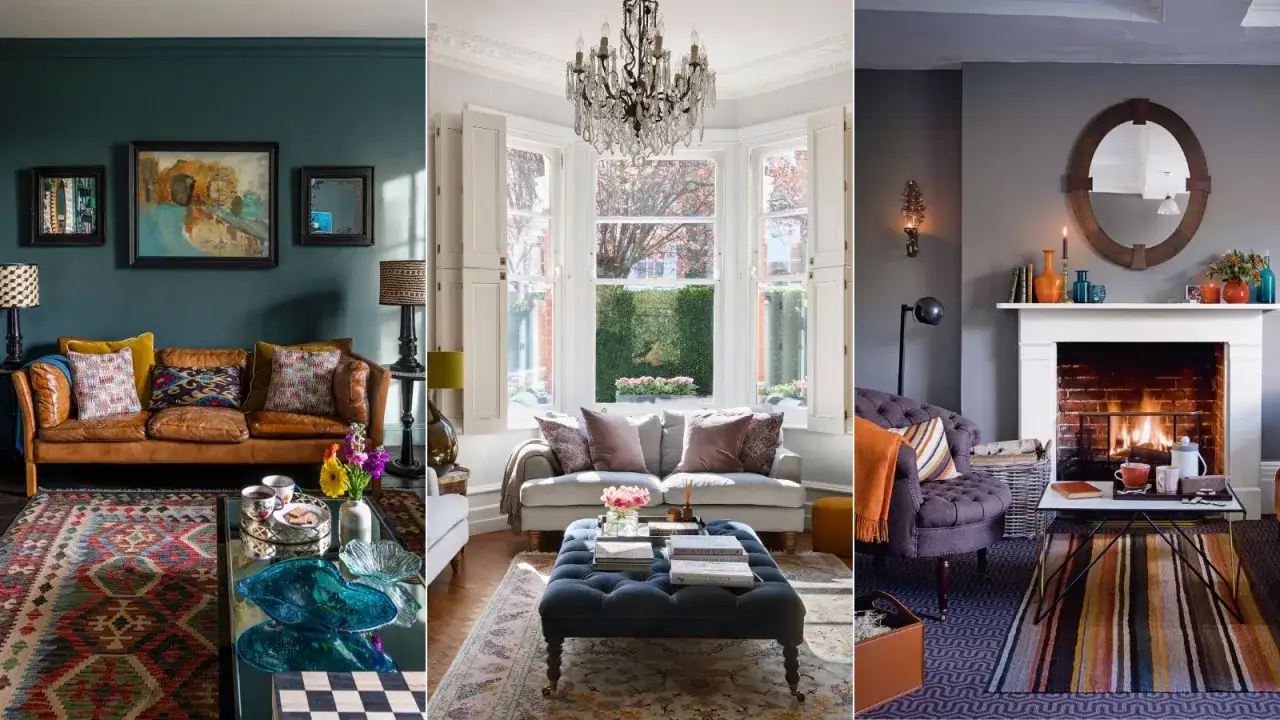
The layered setup I would use in most homes
When I design a practical interior, I start with a layered system instead of one central fixture. That usually means ambient light, task light, and accent light working together. This approach gives you flexibility, which is more valuable than raw output in almost every real room.
Ambient light
This is the general light that lets you move through the room comfortably. Ceiling fixtures, recessed lights, flush mounts, and some wall sconces can all do this job. I prefer soft, even ambient light over a single harsh source because it reduces shadows and makes the room feel less tense.
Task light
This is the light that supports reading, cooking, grooming, computer work, and other focused activity. Table lamps, under-cabinet strips, pendant lights over counters, and vanity fixtures are common examples. The Department of Energy says 30 to 50 footcandles is sufficient for most home and office work, while detailed work may need 200 footcandles or more. In other words, the room itself does not have to be blinding; the work zone does.
Read Also: Soft Key Lighting Guide - Master Portraits, Interviews & Products
Accent light
Accent lighting is optional, but it is what gives a room depth. It highlights shelves, art, textured walls, plants, or architectural details. I use it to keep a space from looking like a spreadsheet of brightness levels. Even a modest accent layer can make a room feel more intentional, especially in living rooms and entry areas.If you only remember one rule from this section, make it this: spread the light across the room instead of forcing everything out of one source. Once that framework is in place, choosing bulbs and fixtures becomes much easier.
How to choose bulbs and fixtures without overbuying
The smart move is usually to start with LED. According to the U.S. Department of Energy, residential LEDs use at least 75% less energy and last up to 25 times longer than incandescent bulbs. That alone makes them the default choice for most homes in 2026. What matters next is how the LED is built and how it behaves in the room.
For interior work, I look at three specifications before I look at style: color temperature, CRI, and dimmability. Color temperature tells you whether the light feels warm or cool. CRI, or color rendering index, tells you how accurately the light shows color. Dimmability tells you whether the same fixture can serve more than one mood or task.
| Option | Best use | What I like about it | Tradeoff |
|---|---|---|---|
| Replaceable LED bulbs | Existing lamps, ceiling fixtures, simple upgrades | Cheap to change, easy to test, widely available | Fixture quality still matters, and some lamps hide the bulb poorly |
| Integrated LED fixtures | Kitchen, hallway, bathroom, frequent-use rooms | Clean output, often more efficient, usually better optics | Less flexible if the light source fails or the style changes |
| Dimmable LED lamps | Living rooms, bedrooms, multipurpose spaces | Best balance of comfort and control | Must be paired with a compatible dimmer |
| Tunable white fixtures | Home offices, studios, shared workspaces | Can shift from warm to cooler light during the day | Costs more and only makes sense if you will actually adjust it |
For most rooms, I would not go below CRI 80. If the room is used for makeup, product work, photography, or anything where color accuracy matters, I would push for CRI 90+. That is especially relevant for content spaces, because bad color rendering makes skin tones and product colors look off even when the room is technically bright enough.
The Department of Energy’s lighting guidance also points to 2700K to 3600K as the practical range for most indoor general and task lighting. I treat that as the safe default. Cooler light can help in work zones, but if you use it everywhere, the room starts to feel clinical fast. Warmth is usually better for living spaces; cooler light makes more sense when contrast and detail matter.
Room-by-room lighting priorities that work in practice
The right answer changes by room, because the job changes by room. A bedroom should not be lit like a workshop, and a kitchen should not feel like a lounge. Here is the practical version I use most often.
| Room | Best starting point | Color temperature | What to watch for |
|---|---|---|---|
| Living room | Layered lamps, low-glare ceiling light, a dimmer | 2700K to 3000K | Flat overhead light that kills depth and makes the room feel sterile |
| Kitchen | Bright ambient light plus under-cabinet task lighting | 3000K to 3500K | Shadows over counters and glare from glossy finishes |
| Bedroom | Soft ambient light and bedside lamps | 2700K to 3000K | Overly cool light that fights relaxation |
| Home office | Task lamp, even ambient light, glare control | 3000K to 4000K | Screen reflections and uneven brightness across the desk |
| Bathroom | Even mirror lighting plus general room light | 3000K to 3500K | Top-down shadows on the face and poor color rendering |
| Hallway or stair | Low-level ambient lighting or motion-activated fixtures | 2700K to 3000K | Too much brightness at night, which feels harsh and unnecessary |
There is one extra case worth calling out: if a room doubles as a filming, streaming, or video-call space, I would be stricter about consistency. Keep the bulbs on the same color temperature, avoid mixed daylight and warm bulbs in the same frame, and choose diffused sources that do not blow out the camera. That is where a visually good room can still photograph badly.
My practical rule is simple: the more precise the activity, the more important the task light becomes. The more relaxed the room, the more important warmth and dimming become. That leads straight into the mistakes that undo otherwise decent setups.
Mistakes that make a room feel harsh or flat
Most bad indoor lighting problems come from a few repeat offenders. I see them often enough that I treat them as a checklist of things to avoid before anything else.
- Using only one overhead light. It flattens the room, creates shadows under the eyes, and makes the space feel more functional than livable.
- Going too cool everywhere. A crisp white light can help at a desk, but it usually feels cold in bedrooms and living areas.
- Ignoring glare. A bright bulb aimed at a TV, mirror, monitor, or glossy tabletop is still bad lighting even if the lumen count looks impressive.
- Skipping dimmers. Fixed-output lighting forces one mood on the room. That is rarely the right answer in a house.
- Choosing low-CRI bulbs. Colors become muddy, skin tones look lifeless, and the whole room reads as cheaper than it is.
- Mixing random color temperatures. Warm and cool sources can work together, but only when that contrast is deliberate. Otherwise the room feels disjointed.
- Buying for style before output. A decorative fixture can still be a poor performer if it throws light in the wrong direction or leaves the room patchy.
The main theme here is restraint. More output, more fixtures, and more brightness do not automatically improve the experience. Often the fix is smaller and more deliberate: lower the glare, add one task source, or swap a harsh lamp for one with better diffusion. Once those basics are in place, you can think about upgrades in the right order.
The upgrade order I would use in 2026 homes
If I were improving a home room by room, I would not start with the fanciest fixture. I would start with the biggest functional gap. That usually gives the fastest improvement for the least money and avoids buying around the wrong problem.
- Replace the worst bulbs with dimmable LEDs in the rooms you use every day.
- Bring task light closer to the work surface, especially in kitchens, bathrooms, and desks.
- Add dimmers to living rooms, bedrooms, and any space that shifts between activity and rest.
- Fix color quality next, aiming for CRI 90+ in color-sensitive rooms and camera-facing spaces.
- Only after that, choose decorative fixtures or smart controls that refine the experience rather than rescue it.
That order keeps you focused on how the room behaves, not just how the fixture looks in a shopping cart. It also tends to save money because you do not overbuy high-output products to compensate for poor placement. In the end, the best indoor lighting is the one you can tune to the room, the task, and the time of day. If you get the layering, color quality, and control right, even a simple setup will feel far more polished than an expensive but mismatched one.
