
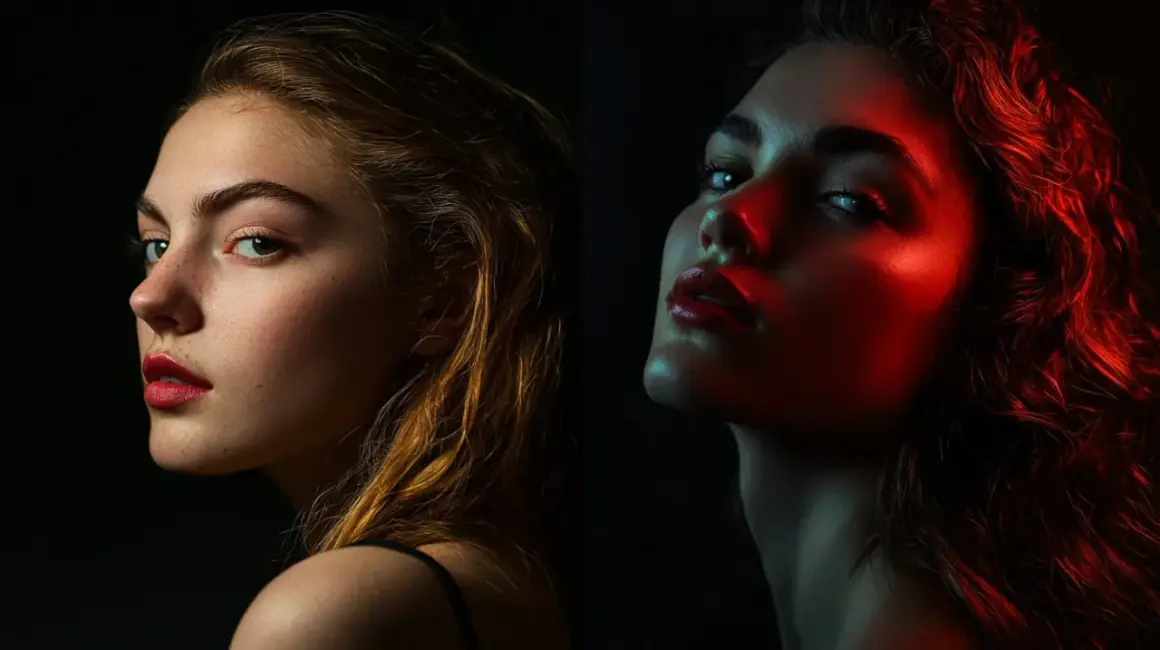
Getting comfortable with how to light a photo shoot starts with one idea: decide the mood first, then build the setup around it. A clean headshot, a fashion frame, and a moody editorial portrait all want different contrast, shadow shape, and color. In this guide, I focus on the practical choices that matter on set: which light to pick, where to place it, how to soften or harden it, and how to avoid the mistakes that make a session look flat or inconsistent.
The fastest way to get a clean setup
- Start with one key light and solve one problem at a time.
- Use the largest practical modifier close to the subject for softer light.
- Keep your color sources consistent, or shoot RAW and set white balance carefully.
- Use a reflector or fill light only after the key light is already working.
- Move the subject relative to the light before you start chasing camera settings.
Start with the look you want, not the gear
I usually begin by deciding whether the final image should feel soft, crisp, dramatic, or neutral. That choice tells me how much shadow I want, how visible skin texture should be, and whether the background should merge into the scene or stay separate.
For a corporate headshot or a catalog image, I want clean, even light with only a hint of shadow. For fashion or a character portrait, I lean harder on direction and contrast because the shape of the light becomes part of the story. Once that decision is made, the equipment choices get much simpler, because the light source is serving a purpose instead of decorating the set. The next step is choosing the source that can actually deliver that look in the room you have.
Choose the light source that matches the job
For a small shoot, I think in terms of control, power, and convenience. Window light is free and flattering, LED panels are easy to see in real time, speedlights travel well, and strobes give you the most room to shape the frame once you start using larger modifiers.
| Option | What it gives you | Limits | Typical US budget |
|---|---|---|---|
| Window light | Soft, natural, fast to use | Depends on weather, direction, and time of day | $20-$80 for a reflector or simple flag |
| Speedlight | Portable, affordable, good for off-camera flash | Small bare source unless modified | $70-$300 per flash |
| Continuous LED | Easy to preview, good for photo and video | Less power at distance | $100-$800 per panel or small kit |
| Strobe or monolight | Strong output, easier with big modifiers, very consistent | More setup and usually more weight | $250-$1,500+ per light |
If I only had to build one beginner-friendly kit, I would rather have one decent light with a modifier than a pile of weak accessories. A light you can shape is more useful than raw power alone. Whichever source you pick, placement matters more than wattage, so I move next to the key light.
Place the key light before you add anything else
The most reliable starting point is a single key light slightly above eye level and a little off to the side. That angle gives the face dimension, lets the nose shadow behave naturally, and keeps the eyes from looking dead. If the subject wears glasses, I adjust the height and tilt before I touch exposure, because glare is usually a placement problem, not a power problem.
- Put the subject a few feet in front of the background, not against it.
- Set the key light about 30 to 45 degrees to one side of the camera.
- Raise the light just above eye level and tilt it down.
- Take a test frame and check for a clean catchlight and a natural nose shadow.
- Move the subject before moving the light when you want more or less background separation.
From there, I choose the pattern that fits the face. Loop light is the safest everyday option, Rembrandt gives more sculpted drama, butterfly light works well for beauty work, and short light is my go-to when I want the face to feel leaner and more cinematic. The pattern is not the goal; it is simply the result of where the light lives relative to the camera and the subject. Once the key is behaving, softness becomes the next lever.
Shape softness with modifiers and distance
A larger apparent light source gives softer edges, and bringing that source closer usually makes it feel even softer. That is why a 36-inch umbrella can look gentler than a small bare bulb, and why a big softbox placed too far away can still read as relatively hard. The inverse square law matters here too: when the light is close, it falls off faster across the scene, which helps separate the subject from the background; when it is farther back, the scene evens out.
- Softbox gives the cleanest control when I need predictable softness and less spill.
- Umbrella is faster and cheaper, but it is harder to control if the room is small.
- Reflector is the simplest fill tool when the key light is already doing most of the work.
- Scrim or diffusion frame is the right answer for harsh window light or direct sun.
- Black flag or V-flat adds negative fill, which means it absorbs light and deepens shadows instead of bouncing them back.
I also watch how the modifier changes the texture of the skin and the background. A beauty dish, for example, gives a crisper falloff than a big softbox, which can be useful when I want shape without going fully hard. A reflector can be enough for fill on a headshot, and that is often the better call than adding another light just because the stand is already there. Once the shape is under control, the real test is balancing key, fill, and background so the frame stays readable.
Balance key, fill, background, and white balance
For most portrait work, I keep fill about 1 stop under the key light when I want a clean commercial feel, and about 2 stops under when I want more mood. A reflector gives me softer fill than a second light, which is often enough for headshots and interviews. If the background starts competing with the subject, I either move the subject farther from it or flag the light so spill does not wash everything evenly.
- Clean headshot: keep fill close to the key and let the shadows stay gentle.
- Editorial portrait: allow deeper shadows and use contrast as part of the style.
- E-commerce look: keep the subject and background closer in brightness and watch color consistency.
Color is the part people underestimate. Daylight is often around 5600K, tungsten practicals run warmer, and some fluorescents push green, so mixed rooms can turn a simple setup into a color correction problem. I shoot RAW, set white balance with intention, and use a gray card when consistency matters across a whole set. If I want the warm lamp in the room to stay warm, I keep it; if I want a neutral frame, I either match the sources or remove the stray one. That leads directly to when I trust ambient light and when I override it with flash.
Adapt the setup for window light, flash, and mixed rooms
Window light is easiest when the window behaves like one giant softbox. I place the subject at an angle to it, not flat to it, and use curtains, diffusion, or a reflector to keep the shadow side from going dead. This is often the fastest path for lifestyle portraits, but it only works if the light stays stable long enough to shoot.
- Window light works best when the window is large and the room is not full of competing practical lights.
- Speedlights are portable and ideal when I need motion freeze or have to move around a location.
- Continuous LEDs help when I need to see the effect before I shoot or when the session also includes video.
- Strobes are the strongest choice when I want more power, bigger modifiers, and tighter control over ambient light.
If the room has daylight from one side and tungsten or fluorescent from another, I either gel the flash or turn something off. Mixing sources blindly usually creates more editing than the image deserves. I would rather make one color decision on set than fix three conflicting ones later. Even with the right source and color, a few recurring mistakes can still flatten the frame, so I keep an eye on those last.
Avoid the mistakes that flatten a session
- Putting the light too high and leaving the eyes in shadow.
- Choosing a small source and expecting soft light from a long distance.
- Adding fill before the key light is already working.
- Mixing daylight, tungsten, and fluorescent without a plan.
- Lighting the background as brightly as the subject when you want separation.
- Forgetting to check reflections in glasses, glossy skin, or jewelry.
When something looks off, I start with position, not power. If the face looks flat, I move the light. If the shadows feel too busy, I add negative fill or bring the subject away from the background. If the skin looks muddy or the image feels inconsistent from frame to frame, I check color first and exposure second. That habit saves more time than any flashy lighting trick. With those mistakes out of the way, a simple repeatable recipe is usually enough for a whole session.
The first setup I reach for on a dependable portrait shoot
- Place the subject 4 to 6 feet from the background.
- Set one large softbox or umbrella 30 to 45 degrees from camera and slightly above eye level.
- Start with a reflector on the shadow side instead of adding a second light.
- Check the histogram and the eyes before changing power.
- Lock white balance, shoot RAW, and keep the background one or two stops darker if you want shape.
If I need more mood, I move the light closer and let the falloff do more of the work. If I need a cleaner commercial result, I move the source farther back and reduce contrast. That flexibility is the real answer to how to light a photo shoot: build one controlled base setup, then change only the variable that serves the image. When that mindset clicks, the rest of lighting stops feeling random and starts feeling repeatable.
