
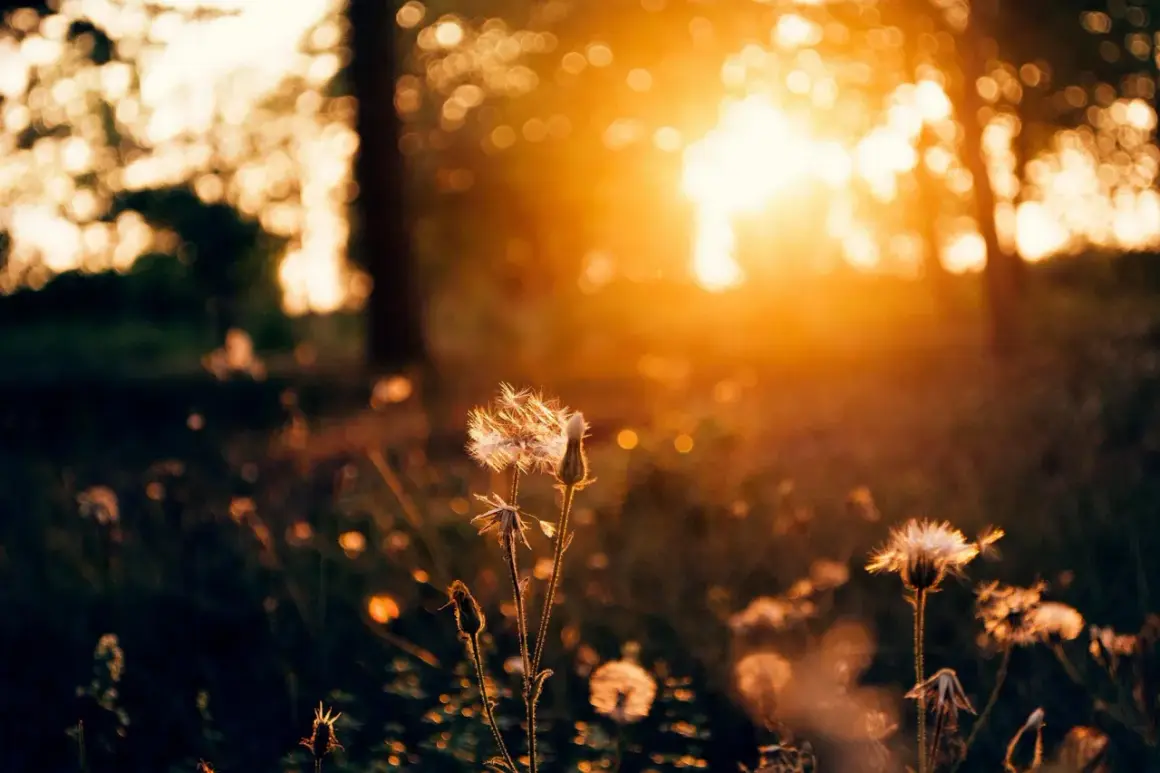
In plain terms, what is ambient light in photography? It is the existing light in the scene before any flash, strobe, or LED is added. I’ll show you how to recognize it, how it changes mood and color, and how to expose for it without flattening the image.
Key points at a glance
- Ambient light is the light already in the scene, whether it comes from the sun, the sky, a window, or practical fixtures.
- Its direction, softness, and color temperature shape the look of the photo more than many beginners expect.
- Aperture, shutter speed, ISO, and white balance all affect how ambient light reads in the final image.
- When you add flash, the ambient exposure usually sets the background while flash shapes the subject.
- Overcast skies, window light, and dusk are easy starting points because they offer softer, more controllable light.
Ambient light is the light that already exists
I treat ambient light as the baseline illumination of a frame. In a home, that might be window light plus a lamp on the table; on a street, it may be daylight, shop signs, and spill from nearby buildings. The source can be natural or practical, but the key idea is the same: it is already there before you introduce your own light.
That distinction matters because ambient light sets the first exposure decision and often the first emotional read. If it is soft, the image feels gentle; if it is hard, the frame gets more contrast and tension. Once you can name the source, the next question is how that light behaves, because brightness alone never tells the full story.
How ambient light behaves in real scenes
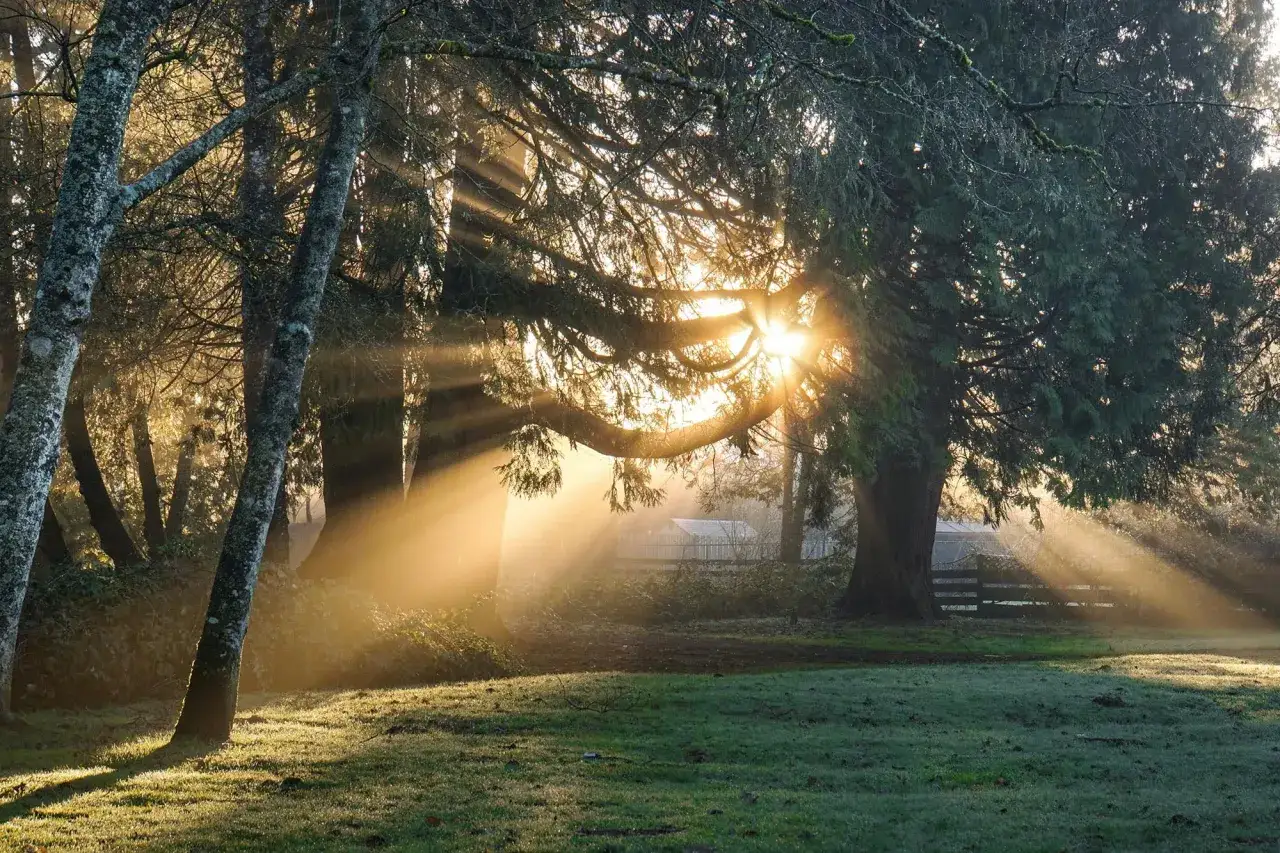
The quality of ambient light is what changes the photo, not just the amount of it. I look at three things first: direction, softness, and color temperature. A scene with 5,500K daylight and a clean window source behaves very differently from a room lit by 2,700K bulbs or a sky that is bright but fully overcast.
| Scene | Typical look | What it means for the image |
|---|---|---|
| Direct midday sun | Hard shadows, bright highlights, strong contrast | Great when you want energy, but unforgiving on skin and reflective surfaces |
| Open shade | Soft, even, lower contrast | Flattering for portraits, though it can feel flat if you ignore the background |
| Window light | Directional and clean | Excellent for portraits and products, but the far side of the subject can fall off fast |
| Overcast sky | Broad, diffused, gentle transitions | Easier to expose, but sometimes muted unless you add shape or separation |
| Golden hour or dusk | Warm, low, and increasingly dim | Beautiful color and depth, but the light level drops quickly and motion blur becomes a risk |
| Warm practicals and streetlights | Orange or mixed color | Mood-heavy and cinematic, but white balance needs more attention |
Soft light means the shadow edges are gradual; hard light means they are crisp. A window and an overcast sky often act like giant diffusers, which is why they feel easier to shoot than direct sun even when the scene is not especially bright. I rarely judge ambient light by brightness alone. I judge it by the shadows it draws and the color it leaves behind, and that habit leads naturally into exposure control.
How I expose for ambient light without losing the scene
Ambient exposure is where most beginners lose the mood. The meter may give you a technically valid frame, but it will not protect the look you actually want. I usually think in terms of four controls, each with a different job.
| Control | What it changes | Why I care |
|---|---|---|
| Shutter speed | Changes how much existing light is recorded; with flash, it mostly shifts the background until sync speed | Useful for bright windows, city lights, and motion control |
| Aperture | Changes how much light reaches the sensor and how shallow the focus plane feels | Useful when I want ambient light to look soft and subject separation to feel intentional |
| ISO | Raises sensitivity and also raises noise | Useful when I need a handheld speed or the room is too dim for the aperture I want |
| White balance | Changes color, not brightness | Useful for keeping skin tones believable under daylight, tungsten, or mixed light |
As a practical starting point, I keep ISO as low as the scene allows, open the aperture to the depth of field I need, and then adjust shutter speed to place the ambient where I want it. For people, 1/125 s is a safer handheld floor in many situations; for still subjects, 1/30 s to 1/60 s can work if the camera is steady. If the scene includes flash, I still expose for the room first and then decide how much subject lift I want.
If you know these controls, you can shape the scene instead of just accepting whatever the camera gives you. Once the exposure is under control, the real decision is whether ambient light should carry the image alone or work with added light.
When ambient light should lead and when flash should support it
I reach for ambient-only when the environment is part of the story and I want the frame to feel immediate. I add flash when the subject needs separation, the room is too dark, or the lighting is so mixed that the color casts start to fight each other. In other words, I do not choose flash because ambient light is bad; I choose it because the image needs a different kind of control.
| Scenario | Let ambient lead | Add flash |
|---|---|---|
| Documentary or street work | Yes, when you want atmosphere and a candid feel | Only if faces disappear into shadow or motion blur becomes a problem |
| Window portrait | Yes, for a soft and natural look | When the window is weak, the subject needs fill, or the background is too bright |
| Night street or city scene | Yes, to preserve signage, contrast, and mood | If the subject gets lost against the background |
| Product or brand content | Yes, if you want an editorial or textured feel | When you need repeatable color, cleaner detail, or a brighter presentation |
| Events and receptions | Yes, to keep the room believable | When the venue is too dark or the action moves too fast |
That approach keeps the scene believable. If I want flash to disappear into the shot, I build the ambient exposure first and then add just enough light to shape the subject, not overpower the room. A small amount of fill, meaning extra light used to lift shadows instead of replace the scene, is often enough. That balance is where ambient light becomes a creative tool rather than a constraint.
The mistakes that make ambient-light photos fall apart
The most common mistakes are less about gear and more about reading the room badly.
- Ignoring direction - Bright light from the wrong angle can carve harsh shadows across a face or product.
- Trusting auto white balance blindly - It works often enough to be tempting, but mixed daylight and tungsten can still create ugly skin tones.
- Underexposing too aggressively - Lifting shadows later can increase noise and make the image feel thin.
- Shooting moving people too slowly - The ambient may look fine, but motion blur will quietly ruin the frame.
- Chasing a brighter histogram than the scene needs - If the light is naturally subdued, forcing it up can erase the atmosphere.
The cleanest fix is usually to slow down for ten seconds and ask what the light is already doing before you try to improve it. That small pause leads straight into the field check I use on location.
The field check I use before I commit to the shot
Before I make the frame, I run a quick mental checklist.
- Where is the strongest source coming from, and is it soft or hard?
- What color is the dominant light, and do I want to keep it or neutralize it?
- Which part of the frame should feel brightest, and which part can stay quiet?
- Do I want the background to be realistic, dramatic, or secondary to the subject?
If I can answer those four questions, I usually know whether ambient light is enough on its own, whether I should bounce a little fill, or whether I need a flash to save the shot. That habit is simple, but it is also the difference between merely recording a scene and shaping it with intent.
