
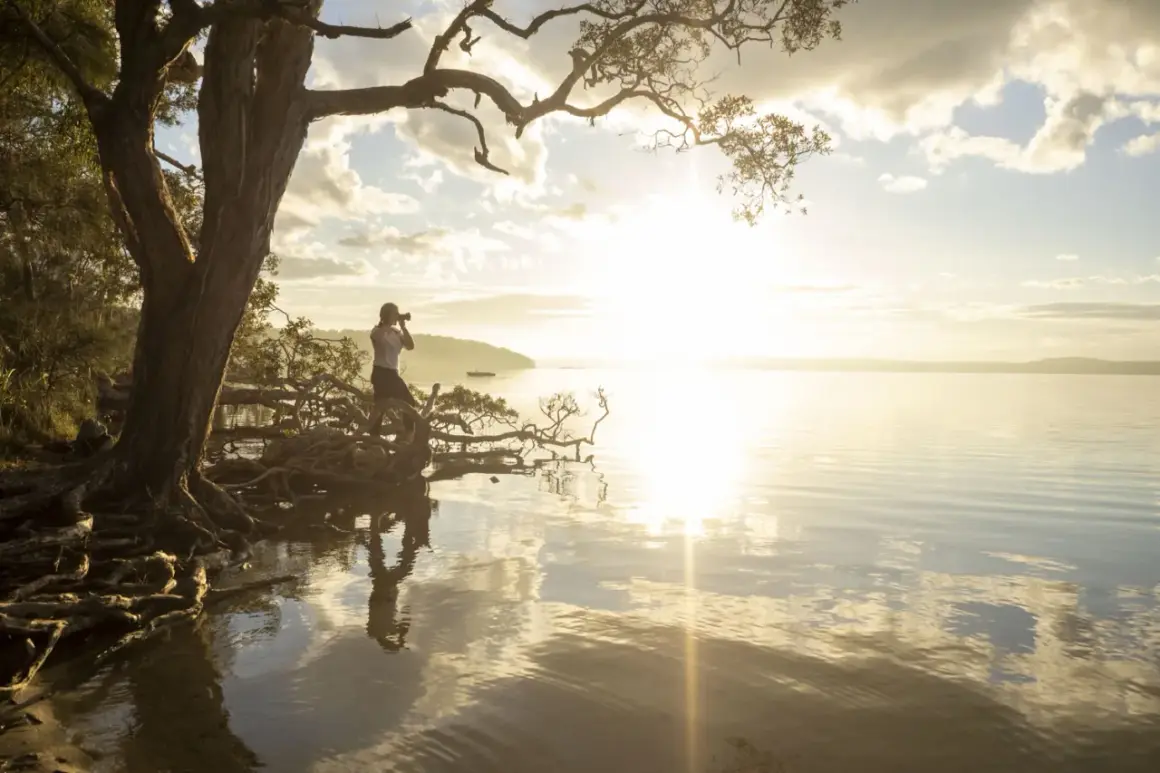
Golden hour gives you something most daylight never does: soft contrast, a warm color cast, and shadows that actually help the image instead of fighting it. I rarely think of it as a mood effect; I think of it as a short lighting problem with unusually good results when you prepare for it. In this article, I break down what changes in that light, how to plan around its narrow window, which settings protect your highlights, and where photographers still waste the opportunity.
The essentials before the light disappears
- The light is softer and more directional, so contrast drops and shapes read better.
- The usable window is not fixed; it often lasts about 40 to 90 minutes depending on season and latitude.
- Expose for the brightest part of the frame first, then recover shadows if needed.
- Backlight, side light, and rim light are your strongest tools in this window.
- A reflector or subtle fill flash can save facial detail without killing the mood.
- The best results come from planning the location before the light arrives, not improvising during the peak.
Why this light looks so flattering
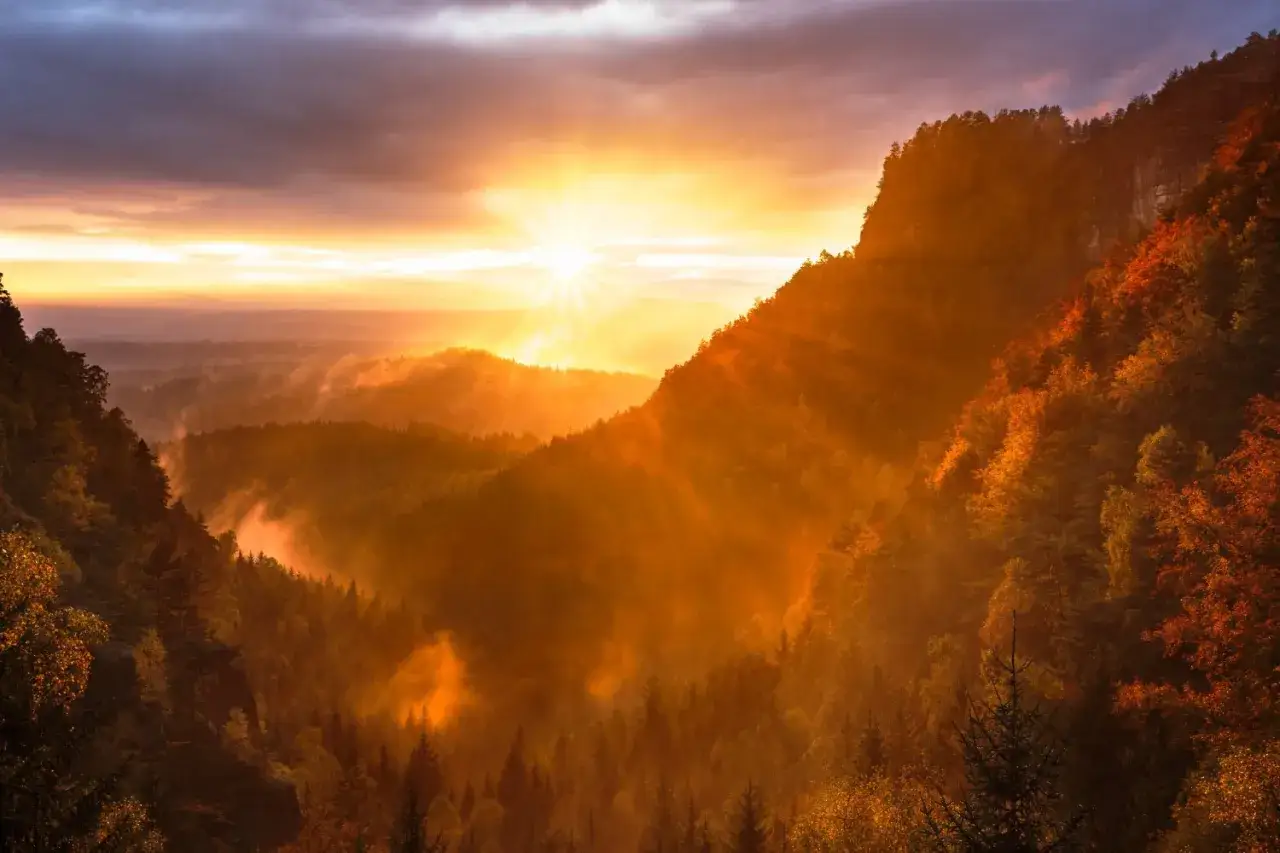
When the sun sits low, its rays travel through more atmosphere before they reach your subject. That softens the light, reduces harsh contrast, and pushes the color toward warmer tones that tend to be kinder to skin and cleaner on textured surfaces like sand, stone, fabric, and hair. I use this light because it creates separation and shape without the hard, overhead shadow pattern that midday sun throws everywhere.
The part people often miss is that golden-hour light is not only warm, it is directional. That direction gives you rim light, side light, and backlight without extra gear, which is why a simple scene can suddenly feel polished. The catch is that a warm color cast does not automatically make the composition strong; if the background is cluttered, the light only makes the clutter look prettier. That is also why the next decision matters so much: sunrise or sunset.
Sunrise or sunset and which one I choose
Both ends of the day can produce excellent results, but they do not feel identical. Sunrise is usually calmer, cooler at first, and easier to control because locations are less crowded. Sunset tends to deliver richer warmth and a more cinematic look, but it can be busier and more compressed if you are juggling people, traffic, or a production schedule.
| Factor | Sunrise | Sunset | My take |
|---|---|---|---|
| Color mood | Cleaner, cooler, then quickly warming | Usually richer and warmer right away | Use sunrise for minimal or quiet scenes; use sunset for emotional, cinematic frames |
| Crowds | Fewer people and less movement | More people in popular locations | Sunrise gives you more control |
| Atmosphere | Often clearer air and softer distractions | Haze and dust can deepen color, but also flatten detail | Pick sunrise for crispness, sunset for mood |
| Logistics | Harder to schedule, easier to stay focused | Easier to plan around work, family, or a client call | Choose the one you can actually arrive early for |
In the United States, latitude changes the timing more than many people expect, so the window in Miami, Denver, and Seattle will not behave the same way. If I am shooting brand content, I usually pick sunrise when I need a cleaner set and sunset when I want warmer color and a more relaxed production rhythm. Once you choose the window, the next job is to stop treating it like a fixed hour and start treating it like a moving target.
How I plan around a window that keeps changing
The name is misleading: the useful light rarely lasts exactly one hour. Depending on season and latitude, it can be closer to 40 minutes in some places or stretch well past an hour in others. In practical terms, that means I do not plan around the clock alone; I plan around the sun’s position, the direction of the subject, and how fast I can move once the light peaks.
- I check sunrise or sunset time for the exact location, then confirm the sun’s direction relative to my scene.
- I scout the background in daylight or the day before, so I am not wasting the good light on composition decisions.
- I arrive 30 to 45 minutes early and set the frame before the color and contrast start changing.
- I build a fallback angle in case buildings, trees, or hills block the horizon sooner than expected.
- If I am working with people, I tell them the strongest light may last only a few minutes, not the entire session.
Weather matters too. Thin cloud can soften the light in a helpful way, while thick cloud can erase the warm glow entirely and turn the whole shoot into flat overcast work. That is not a failure, but it does change the strategy, which is why camera settings become the next practical problem.
Settings that protect the highlights
I keep my approach simple: shoot in RAW, protect the brightest area first, and let the shadows fall where they may. RAW gives me room to adjust white balance later, which matters because the warmth of the scene can shift minute by minute. Aperture priority is often the fastest way to work when the light is changing quickly, but manual exposure is just as useful if the scene stays consistent and I want tighter control.
Start with exposure for the brightest part of the frame
When the sky is glowing, I usually bias exposure slightly downward rather than let the highlights clip. A starting point of about -1/3 to -1 stop is often enough for general scenes, while silhouettes or very bright skies may need more deliberate underexposure. I would rather lift shadows later than lose color in the sky forever.
Match shutter speed to the subject, not to the light
For still landscapes, a tripod lets me slow down safely. For portraits or any moving subject, I try to stay at 1/250 second or faster, and I will go higher if the subject is active or the wind is moving hair and clothing. Motion blur is one of the easiest ways to ruin an otherwise excellent golden-hour frame.
Use white balance as a creative decision, not a guess
Auto white balance is fine if you are shooting RAW and plan to adjust later. If you want to preserve warmth in camera, I keep the scene a little warmer than neutral instead of correcting it too aggressively. The mistake I see most often is photographers trying to make the frame look like noon, which removes the very color they came for.
| Scene | Good starting point | Why it helps |
|---|---|---|
| Portraits | Aperture priority, f/1.8 to f/4, auto ISO, 1/250 second minimum | Keeps the subject sharp while softening the background |
| Landscapes | Manual or aperture priority, f/8 to f/11, ISO 100, tripod if the shutter drops | Protects depth, detail, and edge clarity |
| Silhouettes and strong backlight | Spot meter on the sky or underexpose by about 2/3 to 1 stop | Preserves outline and sky color instead of flattening the frame |
Once the exposure is under control, the image starts to live or die by composition, which is where the direction of the light matters even more than the color.
Composing with low-angle light instead of fighting it
Backlight is the most dramatic option because it creates a rim around hair, grass, steam, fabric, or dust. Side light is the most honest option because it reveals texture on skin, walls, sand, and anything with a surface worth seeing. Front light is the safest option, but it usually gives you less depth and less personality unless the scene itself is doing more of the work.
- Turn a portrait subject 30 to 45 degrees away from the sun if you want shape without harsh shadow loss.
- Use the sun behind the subject when you want separation, glow, or a silhouette.
- Place long shadows so they lead the eye into the frame instead of cutting across it randomly.
- Use a lens hood, a hand, or a slight shift in angle if flare starts washing out important detail.
- For brand or lifestyle content, watch reflective surfaces closely because glass, metal, and glossy packaging can blow out fast.
For portrait work, I often let the sun sit just outside the frame and use the edge of the light rather than pointing everything directly at it. For product or campaign imagery, I am more cautious, because a beautiful glow on a face can become an unusable highlight on packaging in a second. That leads straight to the mistakes I see most often.
The mistakes that usually waste the best light
I see more missed shots from poor planning than from bad gear. The light is rarely the real problem; the problem is usually that the photographer arrives too late, chooses the wrong angle, or starts guessing instead of executing a plan.
- Arriving at the exact minute the light peaks, which leaves no time for setup or adjustment.
- Exposing for the subject and clipping the sky, or preserving the sky and turning the face into a dark patch.
- Ignoring the background because the foreground looks warm and flattering.
- Treating every frame like a sunset portrait, even when the scene would benefit more from texture or negative space.
- Forgetting that a reflector or a very small amount of fill flash can save detail without flattening the mood.
- Assuming the same settings work in every season, every city, and every weather pattern.
The fix is not complicated: respect the timing, protect the highlights, and stop expecting the light to rescue a weak frame. When I want the session to run cleanly, I use a short checklist before I leave for the location.
The pre-shoot routine I trust when time is tight
- Confirm the exact sunrise or sunset time for the location, not just the city.
- Check the sun’s direction so I know where the strongest backlight or side light will fall.
- Clean the lens, charge the batteries, and clear the card before I head out.
- Pack a reflector, lens hood, and small flash so I can correct shadow problems quickly.
- Set RAW capture, a base ISO, and a realistic exposure-compensation starting point.
- Choose a fallback framing option in case clouds, buildings, or trees block the light early.
- Tell the subject or team that the best light may last only 10 to 15 minutes.
