
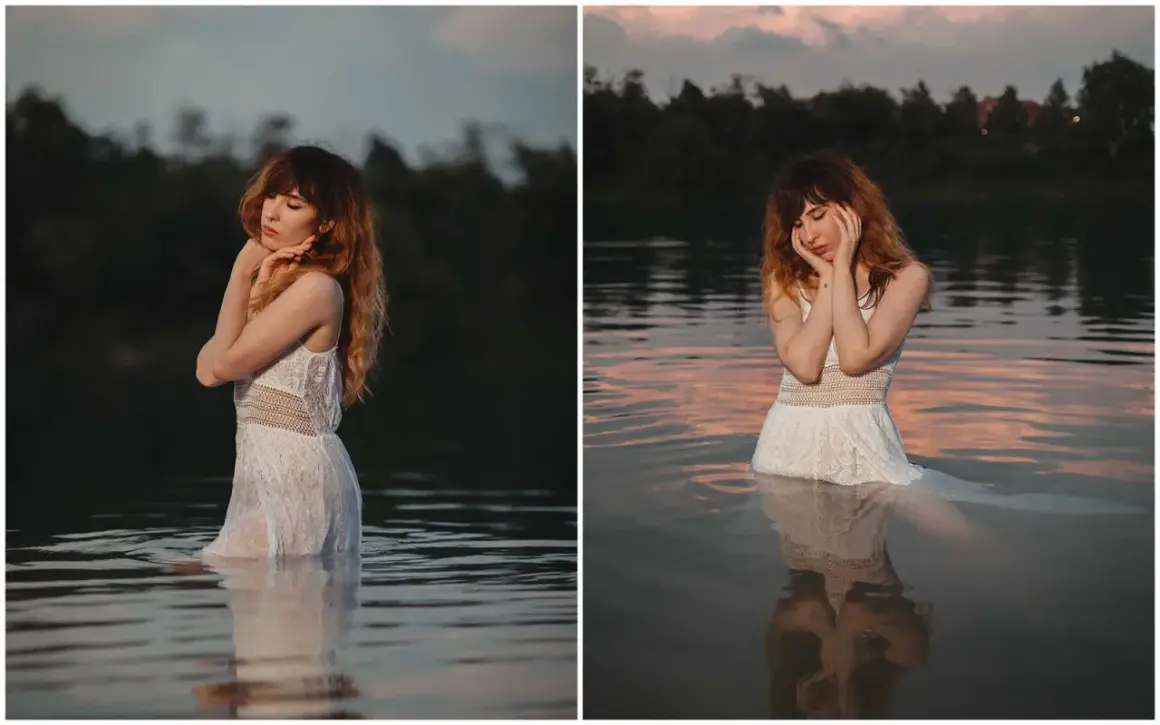
Outdoor photography gets easier once you stop chasing the brightest light and start looking for the most usable one. The best light for outdoor photos is usually soft, directional, and easy to shape, which is why golden hour, open shade, and a little fill light beat harsh overhead sun in most real-world shoots. In this article, I break down what that means in practice, when each lighting condition works, and how to choose the right setup for portraits, lifestyle scenes, landscapes, and quick on-location work.
The simplest rule is to favor soft, directional light
- Golden hour is usually the most flattering outdoor light for people and lifestyle scenes.
- Open shade and overcast skies are the best backups when you cannot shoot near sunrise or sunset.
- Harsh midday sun is only useful when you want bold contrast or a deliberately graphic look.
- A reflector can fix shadows fast, and flash can help when you need more control.
- The right choice depends on the subject, the background, and how much contrast you can tolerate.
Why soft natural light usually wins
When I am choosing outdoor light, I care less about the source itself and more about how that light reaches the subject. Direct midday sun is small, hard, and unforgiving, so it throws deep shadows under the eyes, nose, and chin while also pushing highlights toward clipping. That is why skin can look shiny, backgrounds can look washed out, and people start squinting the moment the frame gets brighter.
Soft light behaves differently. It wraps, spreads, and reduces the jump between shadows and highlights, which gives you cleaner skin tones, more detail in bright clothing, and far less work in post-production. If you want a simple rule, this is the one I trust: look for light that has been softened by angle, clouds, or shade before you look for intensity.
That basic idea leads straight into the most dependable outdoor condition of all: the low sun near sunrise or sunset.
Why golden hour gives you the most forgiving light
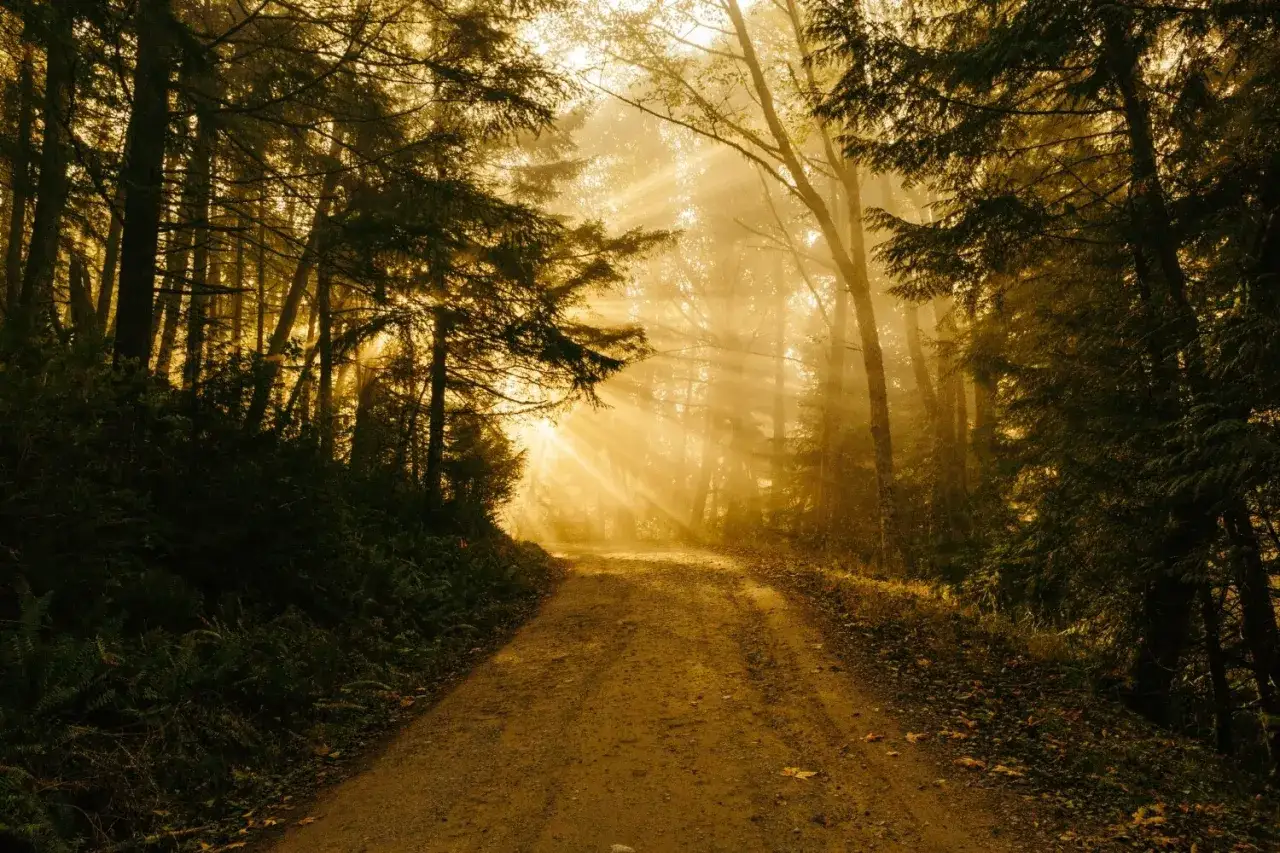
Golden hour is the easiest win because the sun sits low, the light travels through more atmosphere, and the scene becomes warmer and more directional. You get longer shadows, more shape on the face, and a color palette that feels flattering without much correction. It is also one of the few times when you can shoot into the light and still get a beautiful rim around hair, shoulders, or edges of a jacket.
For portraits, couples, family work, and travel scenes, this is usually the strongest answer to the question of what makes the most flattering outdoor light. The trick is to treat the window as limited. It is not really “an hour” in a strict sense; it depends on season, latitude, and how low the sun gets in your location. In the United States, that means the usable window can feel generous on some summer evenings and very brief in winter.
When I shoot in golden hour, I still think in layers. I place the subject so the background stays clean, then turn the face toward open sky or a reflector if the shadows get too deep. If the sun is behind the subject, I keep an eye on exposure so the highlights do not vanish while I try to save the face.
Golden hour is also where a little restraint matters. If you chase the sun too aggressively, you can lose the subject in flare or create a scene that looks more romantic than readable. The best version of this light is controlled, not accidental.
What to do when the sun is too high
Not every shoot gets a sunset window, and that is where a lot of photographers waste time fighting conditions that could have been solved in ten seconds. If the sun is high, I usually stop trying to “make it work” and move the subject into a softer environment instead.
Open shade is the fastest fallback
Open shade means the subject is out of direct sun but still lit by a broad patch of bright sky. Think of the edge of a building, the side of a wall, a covered porch, or a tree line that does not block all the ambient light. The important detail is that the subject should still “see” the sky; that is what keeps the light even and usable.
This is the most reliable option for portraits when the sun is harsh. It gives me a neutral starting point, protects skin from hard contrast, and makes it much easier to expose for both the face and the background. If a frame feels flat in open shade, I usually solve that with composition or a reflector, not by pushing the subject back into full sun.
Overcast skies act like a giant softbox
Cloud cover turns the sky into a large diffuser, which is why overcast weather can be excellent for outdoor photography. The light becomes soft from every direction, so faces look smoother and shadows nearly disappear. That makes it especially useful for group photos, product shots, and detail-heavy scenes where even coverage matters more than dramatic direction.
The tradeoff is that overcast light can feel a little too even if the scene has no shape. When that happens, I add depth with a darker background, a stronger pose, or a touch of sidelight from the open sky. The light is safe; the image still needs intention.
Read Also: LED Light Color Meaning - Decode Any Device's Signal
Diffusers and scrims give you control
When there is no shade nearby, a diffuser or scrim lets you create your own softer light by placing translucent material between the sun and the subject. This is especially useful for portrait sessions, food photography, and product work outdoors, where harsh spots on skin or reflective surfaces can ruin an otherwise good frame.
The limitation is practical: a scrim usually needs an assistant, a stand, or at least careful positioning. It is not as convenient as finding a wall of shade, but it gives you a level of control that open sunlight cannot match.
Once you understand these fallback conditions, the next question becomes whether you should shape the light with gear instead of just moving your subject.
When reflectors and flash improve the shot
I reach for gear only after I have chosen the best available natural light. That order matters. A reflector or flash is most useful when the scene is already close to right and you just need to fix one problem: deep shadows, a dark eye line, or a subject that has fallen too far below the brightness of the background.
| Tool | Best use | What it fixes | Main downside |
|---|---|---|---|
| White reflector | Portraits, open shade, casual lifestyle work | Soft shadow fill without obvious glare | Can be too subtle in strong sun |
| Silver reflector | Bright outdoor scenes that need more punch | Deeper shadow recovery and stronger bounce | Can look specular and a little harsh |
| Gold reflector | Warm portraits near sunset | Extra warmth and lift on skin | Easy to overdo and make skin look unnatural |
| Fill flash | Backlit portraits, bright backgrounds, events | Balances face exposure against a stronger sky or sun | Can look fake if it is too strong or too frontal |
For portraits, I usually prefer a white reflector first because it keeps the result believable. Silver has more power, but it can get flashy fast. Flash is more flexible when the scene is changing quickly, especially if I am dealing with backlight or mixed shade and sun. Used lightly, it does not announce itself; it just makes the file easier to edit and the subject easier to read.
That same logic changes slightly depending on what you are photographing, which is why subject type matters more than most beginners expect.
Match the light to the subject
The right outdoor light is not identical for every scene. A portrait, a landscape, and a product shot each need a different balance of softness, direction, and contrast. I think about it this way: the light should support the subject instead of forcing the subject to compete with it.
| Subject | Best light choice | Why it works |
|---|---|---|
| Portraits | Golden hour or open shade | Flattering skin tones, smoother shadows, easier eye detail |
| Group photos | Open shade or overcast light | Even exposure across multiple faces with fewer hot spots |
| Products and food | Open shade, diffuser, or overcast conditions | Preserves texture, color, and small details without glare |
| Landscapes | Sunrise, sunset, or side light | Adds texture, depth, and separation in the scene |
| Action and events | Bright open shade with fill flash if needed | Keeps motion usable while preventing harsh facial shadows |
For landscapes, I am often happier with stronger direction than I am for portraits. Side light can pull texture out of rocks, fields, and architecture in a way flat light cannot. For products or food outside, though, I almost always want the softness first, because the job is to reveal detail cleanly, not to dramatize it.
So if there is one mental shortcut worth keeping, it is this: portrait work usually wants softer light, while landscape work can handle more structure and contrast. The scene tells you which version of outdoor light makes sense.
The outdoor setup I would use first
If I had to build a reliable outdoor lighting routine from scratch, I would keep it simple and repeatable. First, I would check whether I can shoot near sunrise or sunset. If not, I would look for open shade. If the shade is flat, I would add a reflector before I touched flash. Only after that would I bring in fill flash or a scrim.
The sequence matters because it saves time and keeps the image natural. The best light for outdoor photos is rarely the most dramatic one at first glance; it is the light that gives you detail, shape, and enough control to finish the shot without fighting the scene.
That is the standard I use on real jobs, and it holds up well because it respects both the subject and the environment. If the light feels easy to work with, the rest of the frame usually follows.
