
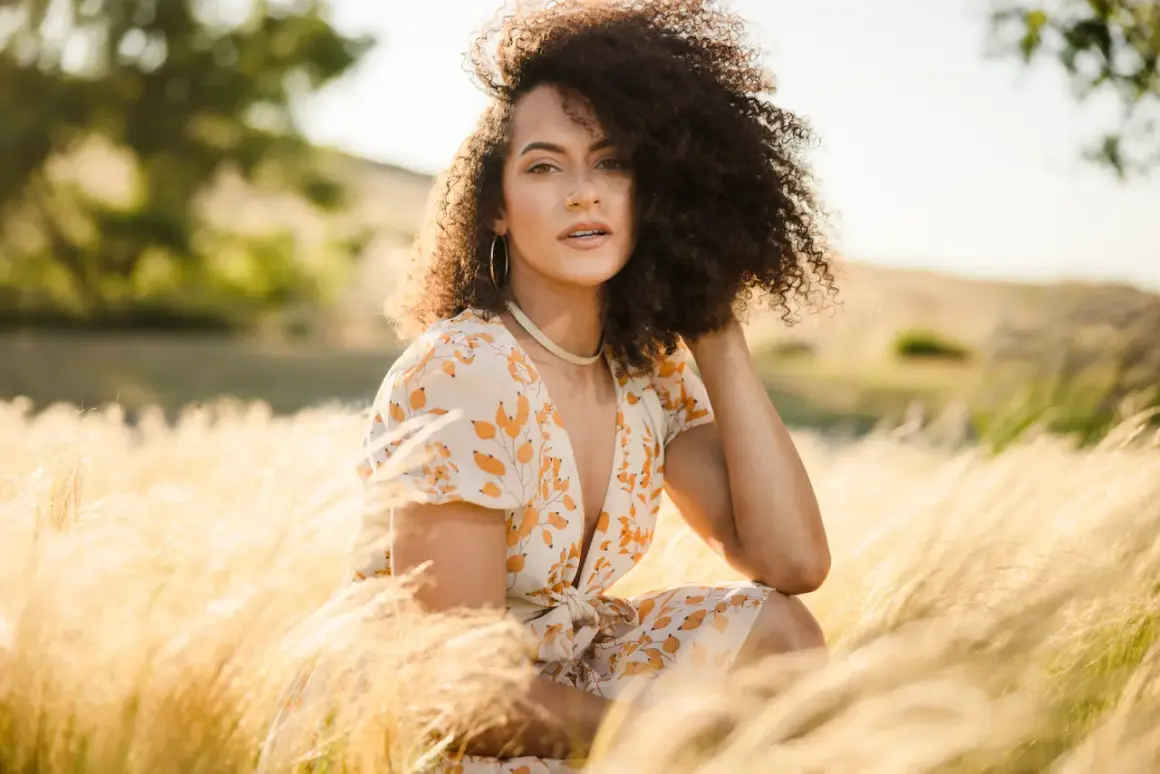
Flash can rescue a dark room, tame backlight, or give a portrait more shape, but only if it is used with intention. Learning how to shoot with a flash is really about deciding what role the light should play, then choosing the right mix of shutter speed, aperture, ISO, and flash power. In this guide, I cover the settings, techniques, and mistakes that matter most in real shoots.
The quickest path to natural-looking flash photos
- Keep shutter speed at or below your camera’s native sync speed unless you turn on HSS.
- Use flash as fill when you want to preserve ambient light, or as the key light when the scene is dark.
- Use TTL for fast-changing scenes and manual power for repeatable results.
- Bounce the flash or diffuse it whenever the room gives you a usable surface.
- Balance background exposure first, then add flash until the subject sits naturally in the frame.
Decide what the flash is supposed to do
Before I touch any settings, I decide whether the flash is meant to fill shadows, become the main light, or just add a subtle lift. That choice changes everything else. If the room already has usable light, I usually treat flash as fill and protect the atmosphere of the scene. If the room is dead dark or the subject needs to stand out cleanly, I let flash carry more of the exposure.
Here is the simplest way I think about the job flash is doing:
| Flash role | What it does | When I use it |
|---|---|---|
| Fill light | Lifts shadows without flattening the entire frame | Backlit portraits, outdoor daylight, window light, event candids |
| Main light | Becomes the primary exposure source on the subject | Dark interiors, product shots, controlled portraits, low-light scenes |
| Creative accent | Adds separation, rim light, motion freeze, or drama | Editorial work, off-camera setups, mixed-light scenes, stylized portraits |
Once that role is clear, the rest of the setup becomes much more logical. The next step is controlling the camera so the flash can actually do what you want.
Set the camera so flash has room to work
Flash exposure and ambient exposure do not behave the same way, and that is the part people usually feel first. On most systems, native flash sync lands around 1/200 to 1/250 second, though the exact limit depends on the body. If you go faster than that without High-Speed Sync, the shutter curtains can block part of the flash exposure and you will get dark bands or partial coverage.
I start with manual exposure mode more often than not, because it gives me a clean baseline. Shutter speed mostly controls how much ambient light shows up, while aperture and ISO affect both ambient and flash. That means I can shape the background with shutter speed and then fine-tune the subject with flash power or flash exposure compensation.
| Setting | What it changes most | How I use it |
|---|---|---|
| Shutter speed | Ambient light and motion blur | Keep it at or below sync speed unless I use HSS |
| Aperture | Flash exposure and depth of field | Use it to set how bright the flash-lit subject looks |
| ISO | Overall sensitivity and noise | Raise it only as much as needed to keep flash power reasonable |
| Flash exposure compensation | Flash output in TTL | Trim the flash up or down without rebuilding the exposure |
High-Speed Sync is useful when you need a wider aperture or a faster shutter outdoors, especially in bright sun. The tradeoff is real: flash power drops, recycle time slows, and you often need to move the light closer. That is still worth it when the alternative is overexposing the background or crushing your depth of field.
Once the camera is stable, the next decision is whether I want the flash to think for itself or not.
Choose TTL or manual based on how predictable the scene is
I use TTL when subject distance changes fast, like at events, receptions, or casual portraits where people keep moving. TTL measures the scene through the lens and adjusts flash output automatically, which saves time when the framing keeps changing. I use manual flash when I want the same look frame after frame, such as product work, posed portraits, or any setup where the subject stays in roughly the same place.
| Mode | Best for | Strengths | Tradeoffs |
|---|---|---|---|
| TTL | Events, fast candids, moving subjects | Quick, adaptive, less setup | Can overreact to dark clothing, bright backgrounds, or changing distances |
| Manual | Portraits, products, repeatable setups | Consistent, precise, easy to duplicate | Slower to dial in and less forgiving when distance changes |
When TTL looks too aggressive, I usually start by dialing in a little negative flash exposure compensation rather than abandoning the mode entirely. A modest adjustment of -0.3 to -1.0 EV is often enough to stop hot faces, blown highlights, or the classic “flash did all the work” look. Manual mode gives me even more control, but TTL is often the smarter tool when speed matters more than perfect repeatability.
Shape the light before you worry about power
The biggest jump in flash quality usually comes from changing direction, not adding more power. Straight-on flash is harsh because the light source is tiny relative to the subject and comes from the same axis as the lens. That creates flat faces, bright foreheads, and shadows that fall directly behind the subject.
My first move is usually to bounce the flash off a white ceiling or wall. That instantly turns a small source into a larger one, which softens shadow edges and makes the light feel more natural. If the ceiling is too high, dark, or tinted, bounce can do more harm than good. In that case, I prefer an off-camera flash, a small softbox, or a simple umbrella rather than forcing the light to travel through a bad surface.
- White ceiling works best for indoor portraits and casual event work.
- White side wall creates more directional light and gives the face shape.
- Diffuser helps a little when you cannot bounce, but it is not magic.
- Off-camera placement gives the cleanest control over shadow direction and depth.
I also pay attention to distance. Flash falloff is steep, which means moving the light even a small amount can change the look more than a major power adjustment. That is why a flash that is too strong is often better solved by stepping back a little, bouncing the light, or changing angle instead of just turning the power down.
Once the light has shape, the last big technical piece is making it sit naturally with the room or location around it.
Balance flash with ambient light instead of erasing it
The best flash photos usually still feel like they belong to the place where they were taken. That means I almost always set the background first, then introduce flash to lift the subject. If I let the flash overpower everything, the image turns into a cutout: the subject looks bright, but the room looks dead.
For indoor scenes, I often slow the shutter enough to let the ambient light show up in the background, then use flash to clean up the subject. That technique is sometimes called dragging the shutter, and it is useful when I want a little motion blur or a warmer sense of atmosphere. If the subject is moving and I want the flash to freeze the moment, I keep the shutter in a safe sync range and let the flash do the heavy lifting.
| Scene | Ambient strategy | Flash strategy |
|---|---|---|
| Dim indoor room | Expose the room first so it does not go black | Use TTL or manual flash to bring the subject up cleanly |
| Golden-hour portrait | Hold detail in the sky and background | Add flash as fill, often with HSS if I need a wider aperture |
| Bright midday exterior | Reduce subject-to-background contrast | Use flash as controlled fill, close enough to matter |
| Event dance floor | Keep the room visible enough to feel alive | Use flash to freeze faces and gestures without killing the mood |
Rear-curtain sync can help when there is motion blur in the frame, because the flash fires at the end of the exposure instead of the beginning. That makes light trails feel more natural. I do not use it on every shot, but it is one of those small tools that can save a moving scene from looking awkward.
Watch the mistakes that make flash look obvious
I see the same problems over and over, and none of them are subtle once you know what to look for. The good news is that most of them are fixable in minutes, not hours.
- Direct pop-up flash usually produces flat light and ugly shadows unless you truly have no other option.
- Ignoring sync speed creates partial exposures or black bands when the shutter is too fast for the system.
- Trusting TTL blindly can overexpose faces when the background is very dark or very bright.
- Mixing bad color temperatures makes the flash look disconnected from the room light.
- Standing too far away wastes flash power and makes the light less flattering.
- Not waiting for recycle time leads to inconsistent exposures, especially in bursty event work.
There is one more thing I watch closely: shiny surfaces. Skin, glass, chrome, and polished products reveal flash mistakes faster than anything else. If highlights are burning out or reflections are distracting, I do not just lower power. I change the angle, soften the source, or move the flash so the reflection falls somewhere harmless.
Those fixes matter even more when I switch between different kinds of shoots, because the same flash setup rarely works equally well everywhere.
Use a different starting point for portraits, events, and product shots
Flash is flexible, but I do not start from scratch every time. I keep a few mental presets and adjust from there.
Portraits
For portraits, I usually want soft edges, believable skin, and a clear sense of direction. If the light is indoors, I bounce first and keep the flash just strong enough to separate the subject from the background. A practical starting point is manual exposure, ISO 100-400, aperture around f/4 to f/5.6, and shutter speed at or below sync speed. Outdoors, I may add HSS if I want to shoot wide open without blowing out the background.
Events
At events, speed matters more than perfection. I lean on TTL, bounce when the venue allows it, and keep my camera ready for changing distance and framing. I also watch recycle time more carefully than people expect; when the flash is lagging, the photos get erratic fast. If the room has decent ambient light, I let some of it stay visible so the scene feels like the actual event, not a forced flash snapshot.
Read Also: Ring Light vs. Panel Light - Which Is Best For You?
Product shots
For products, I want consistency above all else. Manual flash is usually the better choice, and I often shoot from a tripod so the framing stays locked. Small apertures such as f/8 to f/11 help keep detail across the product, while the flash power is tuned to the subject rather than the room. If the item is reflective, I spend more time controlling angles and reflections than I do increasing power.
That kind of repeatable workflow is what makes flash feel easy over time. The final difference comes from a few habits that turn technical control into reliable results.
The habits that keep flash looking deliberate
Flash stops feeling mysterious once I treat it as a light source I can shape, not a last-resort burst from the camera. I keep notes on what worked, especially in venues I revisit, because ceiling color, wall color, and room distance change the result more than many people expect. I also shoot RAW when I can, since it gives me room to fine-tune white balance and highlight detail later.
- Make one test frame with the subject still and read the shadows before you commit.
- Watch catchlights and skin highlights, not only the histogram.
- Use gels or custom white balance when the flash and room light do not match.
- Keep a small set of starting points for indoor bounce, outdoor fill, and product work.
- Adjust the flash first, then only change camera settings when the whole balance needs to move.
That approach keeps the light intentional. Instead of asking the flash to save a bad exposure, I use it to finish the image, and that is usually the point where the photos start looking polished rather than merely lit.
