
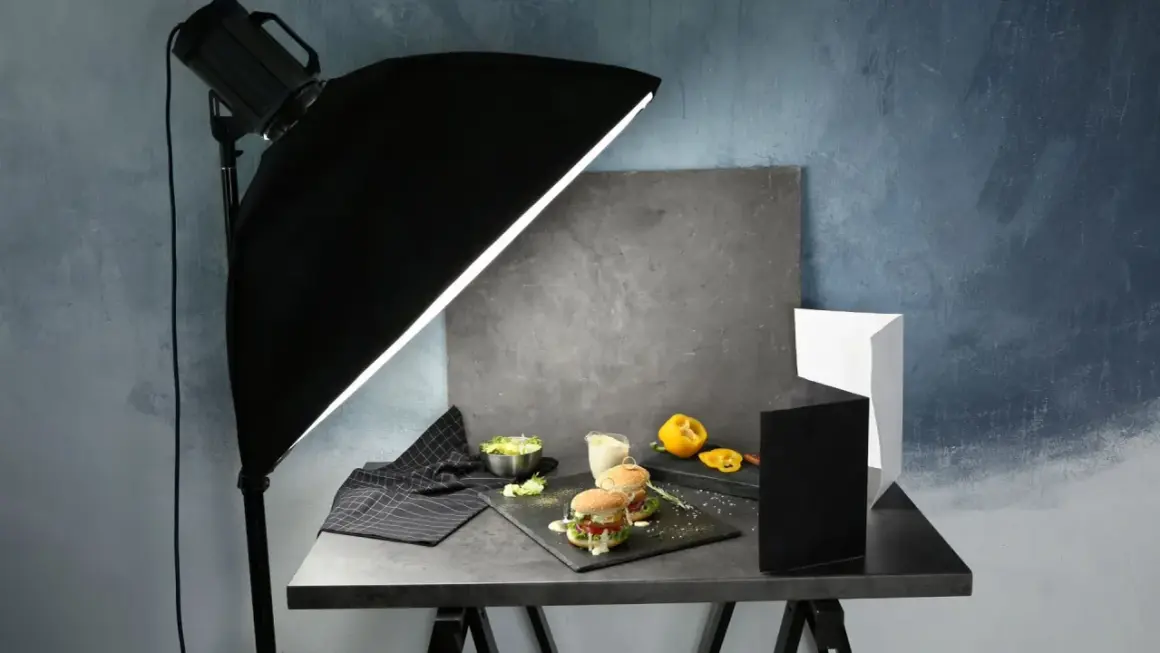
Good lighting does more for an image than a more expensive camera ever will. Homemade setups let me control softness, direction, and color without locking into studio gear, and that matters whether I’m shooting portraits, products, or short-form video. In this guide, I’ll show what DIY photography lighting needs to do, which low-cost builds are worth making, and how to avoid the traps that make budget light look cheap.
The fastest way to get usable light at home
- Start with one controllable light source and one large white surface for bounce; that solves most beginner problems.
- Soft light comes from a larger apparent source, not from expensive gear, so diffusion and distance matter more than brand names.
- A clamp light, daylight-balanced bulb, foam board, parchment paper, and tape can get you usable results for well under $50 if you already own a few basics.
- For portraits, place the light close and use fill on the shadow side; for products, keep reflections under control with angle changes.
- Color consistency matters: choose bulbs or LEDs in the 5000K-5600K range and avoid mixing wildly different light sources.
What DIY photography lighting really needs to do
I treat homemade lighting as a control problem, not a gear problem. The point is to shape four things: source size, direction, intensity, and color. If you can control those four pieces, even a bedroom corner or kitchen table can produce clean, professional-looking frames.
Source size is the biggest concept most beginners miss. A bare bulb is small, so it creates hard shadows. Put that same bulb behind a curtain, through tracing paper, or into a cardboard softbox and the light becomes larger relative to the subject, which softens shadow edges. That is why a cheap diffuser often matters more than a more powerful lamp.
Direction decides whether the image feels flat or dimensional. Side light adds shape, front light flattens texture, and backlight separates the subject from the background. I usually start by placing the light slightly above and to one side, then adjust from there.
Intensity is not just brightness. It is also distance. Move the light closer and it gets softer and stronger at the same time; move it back and it gets harder and weaker. That tradeoff is useful once you understand it, but it can also waste time if you are trying to fix softness by simply turning the lamp up.
Color matters because mixed light sources ruin consistency fast. A daylight-balanced LED in the 5000K-5600K range is usually the safest starting point for indoor stills. If you care about color accuracy, I look for LEDs with high CRI, ideally 90+, so skin tones, product whites, and brand colors stay believable.
Once those basics are clear, the actual builds become much easier to choose, because you are not shopping for a miracle light source. You are shopping for a way to control those four variables.
The simplest homemade setups that actually hold up
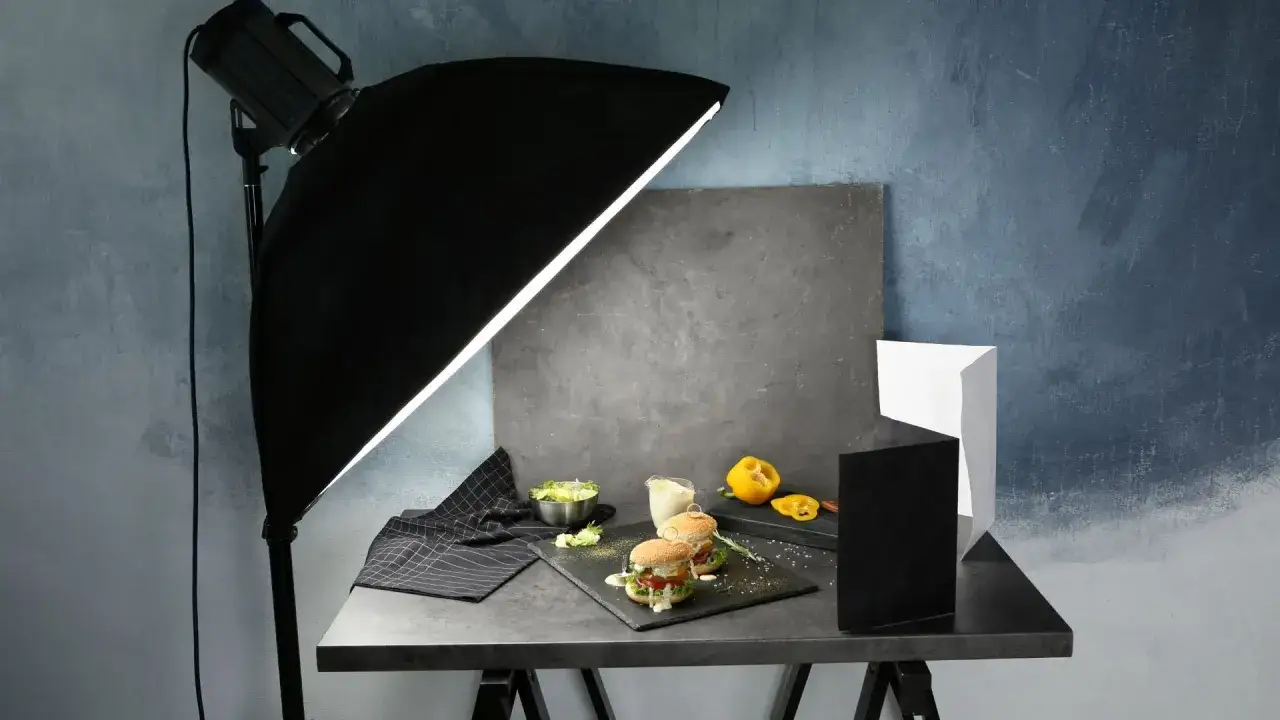
| Setup | Typical cost in the US | Best for | Why it works | Limitations |
|---|---|---|---|---|
| Window light plus foam board | $5-$20 | Portraits, food, simple product shots | Free light source, easy bounce, natural falloff | Depends on time of day and weather |
| Clamp light with daylight LED bulb and diffuser | $15-$40 | Tabletop work, video, quick indoor stills | Cheap, portable, easy to aim | Needs diffusion to avoid harsh shadows |
| Cardboard softbox or light box | $10-$35 | Small products, e-commerce, flat lays | Creates large even light with little setup | Poor for larger subjects and moving people |
| LED panel with a white sheet or shower-curtain diffuser | $40-$120 | Hybrid photo and video work | Continuous, predictable, easier to repeat | Cheaper panels can be weak or color-inconsistent |
For most people, the best place to start is either window light plus bounce or a clamp light with diffusion. Those two setups teach the same principles you will later use with softboxes, strobes, or branded studio lights, but without forcing you to spend money before you understand what the light is doing.
My rule is simple: if the subject is stationary and you already have a decent window, use it first. If you need repeatability, shoot at night, or want a small controlled setup for product work, build your own artificial light source.
How I would build a one-light setup step by step
The cleanest entry setup is usually one light, one diffuser, and one reflector. That may sound almost too simple, but simplicity is an advantage when you are learning. You can always add complexity later. Here is the version I would build first:
- Pick a stable light source. For photos, a clamp light with a daylight LED bulb is enough. For video, choose an LED that does not flicker and offers adjustable brightness.
- Enlarge the source. Tape parchment paper, tracing paper, or a translucent shower curtain in front of the light, but keep enough distance that heat is not an issue. I avoid placing paper directly against hot incandescent bulbs.
- Place the light close to the subject. Closer light creates softer transitions and gives you more shape without needing extra power.
- Add bounce on the shadow side. White foam board, poster board, or a reflector card can lift dark areas without flattening the whole frame.
- Set exposure after the light is positioned. I prefer to lock in lighting first, then adjust camera settings instead of chasing brightness with ISO.
If you are photographing products, position the light slightly above and to the side so the reflections are controlled rather than random. If you are shooting portraits, watch the eyes first; catchlights tell you very quickly whether the light is placed well or not.
The main reason this one-light method works is that it forces you to think about light placement instead of relying on more gear. Once that muscle starts working, the modifiers become much easier to use intelligently.
How to shape the light without buying more gear
Most of the “pro look” comes from shaping, not from buying a bigger fixture. I can usually get a better result from a lamp and a foam board than from a cheap two-light kit that is set up poorly. The trick is to use simple modifiers with intent.
Diffusion
Diffusion softens edges and reduces harsh shadow lines. A bedsheet, shower curtain, tracing paper, or translucent fabric can work as a homemade diffuser as long as it stays safely away from heat. The more diffusion you add, the softer the light becomes, but the more output you lose, so do not stack layers unless you really need the softness.
Bounce
Bounce is the easiest way to control shadow density. A white foam board on the opposite side of the light reflects just enough illumination to keep detail in faces, clothes, and product surfaces. If you want slightly stronger fill, switch to a silver reflector or aluminum-covered card, but use that more carefully because it can get too bright and shiny fast.
Negative fill
Negative fill sounds technical, but it is just a black surface used to absorb light and deepen shadows. I use it when a homemade setup starts looking too flat. A black poster board or a dark curtain on the shadow side can add shape back into portraits and product images without adding another lamp.
Read Also: Continuous Light vs. Flash - Which Is Right For You?
Color control
If your light is too warm or too cool, the frame starts to feel cheap even when the exposure is fine. For most home setups, I would rather use one consistent daylight source and correct the white balance in camera than mix a warm desk lamp with a cool LED panel. If you want creative color, gels are better than accidental color shifts.
These four tools are enough to solve most indoor lighting problems. Once you can control softness, fill, shadow, and color, the next question becomes which setup fits the subject best.
Which setup fits portraits, products, and video best
| Use case | Best homemade approach | What to watch | Why it matters |
|---|---|---|---|
| Portraits | One diffused light placed close to the face with white bounce on the opposite side | Catchlights, skin texture, and shadow shape | Portraits fail when the light is too small or too frontal |
| Product photography | Light box, sweep background, and black cards for reflection control | Specular highlights, edge definition, and background seams | E-commerce images need clean edges and predictable reflections |
| Food and tabletop content | Window light or one LED bounced through diffusion | Color cast, shine on glossy surfaces, and unwanted shadows | Food usually looks better with soft side light and gentle fill |
| Short-form video | Continuous LED with soft diffusion and stable color temperature | Flicker, brightness consistency, and shadow drift | Video punishes inconsistent light more than still photography does |
For portraits, I prefer a bigger light source close to the subject because it flatters skin and makes the eye highlights look natural. For products, especially reflective ones like bottles, watches, or electronics, I spend more time controlling what the surface reflects than trying to blast it with more light.
For video, color and flicker matter more than almost anything else. A cheap lamp can sometimes look fine in a still frame, then reveal ugly banding once the camera starts rolling. That is why a reliable continuous LED is often a better long-term purchase than a stack of fragile improvisations.
The mistakes that make budget light look amateur
Most weak DIY setups fail for the same few reasons, and they are fixable. I see these mistakes over and over:
- Using a bare bulb too far from the subject, which creates hard shadows and makes the scene feel harsh.
- Adding so much diffusion that the light becomes weak and muddy instead of soft and controlled.
- Mixing daylight and tungsten sources, which creates color shifts that are hard to fix later.
- Ignoring the background, so the subject looks isolated in a space that still feels messy.
- Pointing light straight at shiny surfaces and then wondering why the reflections dominate the frame.
- Using materials too close to hot bulbs, which is a safety issue and a workflow issue at the same time.
If I had to pick the most expensive mistake, it is probably the tendency to solve every problem by making the light brighter. Brightness is only useful when softness, direction, and color are already under control. Otherwise you are just making the same problem more visible.
The better habit is to evaluate the image in this order: shape first, then exposure, then color. That sequence keeps the setup purposeful, and it tells you exactly what to change next.
What I would upgrade first after the basics
Once the first simple setup works, I do not rush into a full studio. I would upgrade in this order because each step solves a real problem instead of adding clutter:
- A second identical light, so I can create fill, separation, or a background accent without improvising.
- A decent reflector or two-sided foam board, because fill is often more useful than a whole extra lamp.
- A sturdy light stand, since keeping the source exactly where you want it matters more than people expect.
- A real softbox or umbrella if I need a faster setup with more repeatability than a handmade diffuser can offer.
- A standard mount system, such as Bowens-compatible gear, because it keeps future modifiers cheaper and easier to swap.
Budget also matters here. A reflector is usually the cheapest and most impactful purchase, often around the price of a casual dinner. A sturdier stand or a proper softbox costs more, but it saves time every time you shoot. That is a better investment than buying a random light because it was on sale.
I would only move beyond that starter kit when I knew which limitation was bothering me most. That discipline keeps the setup lean and makes every new purchase easier to justify.
The smallest kit I would keep using
If I were starting from zero and wanted a home setup that could handle portraits, product work, and basic video, I would build around one daylight-balanced clamp light, one diffuser, one white foam board, and one black card. That combination gives me softness, fill, and negative fill without depending on perfect weather or a dedicated studio.
The real advantage of this kind of setup is that it teaches you how light behaves in a way no shortcut does. Once you understand that, you can use a window, a desk lamp, a cheap LED panel, or a full studio strobe with the same logic and get more consistent results from all of them.
That is why homemade lighting is not a compromise in the practical sense. It is a controlled way to learn what actually shapes an image, and that knowledge stays useful long after you outgrow the first build.
