
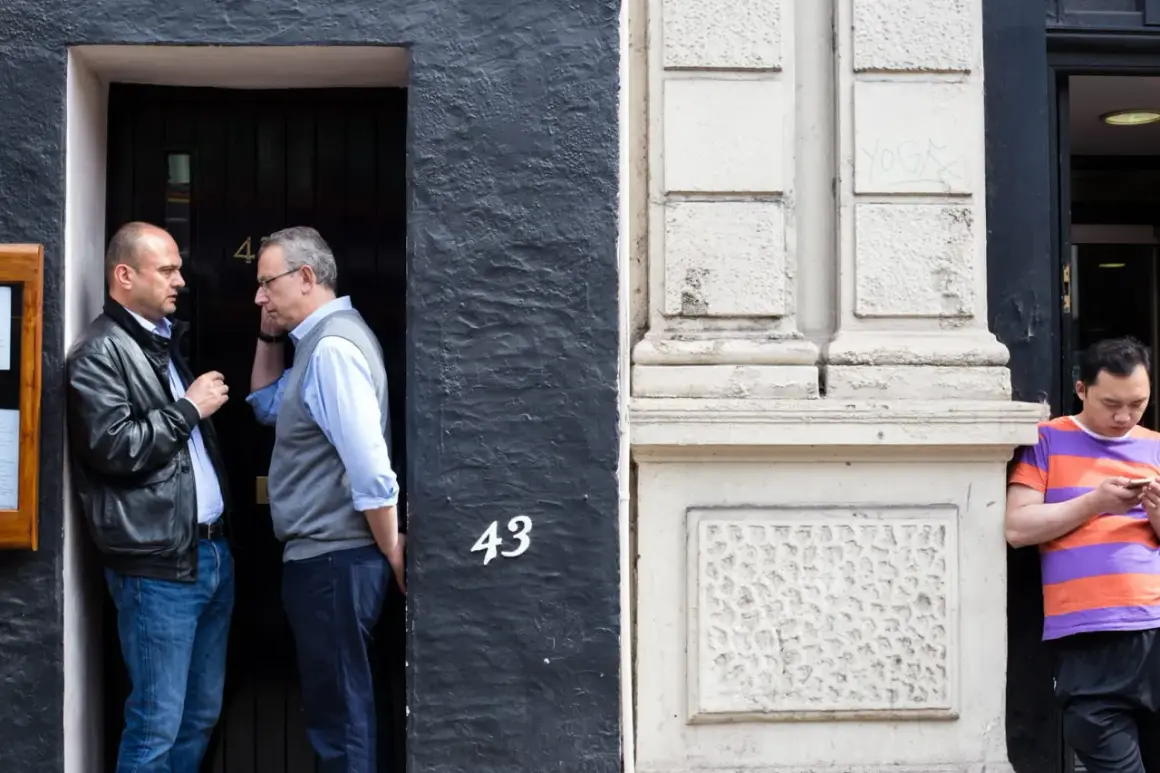
Key things to know before you take the lens outside
- A 50mm lens gives a natural perspective on full-frame bodies and a tighter view on crop sensors, so distance matters more than with wider glass.
- The cleanest street frames usually come from moving your feet, simplifying the background, and waiting for the right gesture instead of spraying frames.
- For moving subjects, I start around f/5.6 to f/8 in daylight and raise shutter speed to at least 1/250 s, often 1/500 s when people are in motion.
- Zone focusing is fast, but it is less forgiving on a 50mm lens than on 35mm, so your aperture choice matters.
- A slim protective filter and a lens hood are the only accessories I would call close to default; polarizers, ND filters, and diffusion are situational.
- This focal length is strongest when you want tighter storytelling, cleaner separation, and a more intimate relationship with the scene.
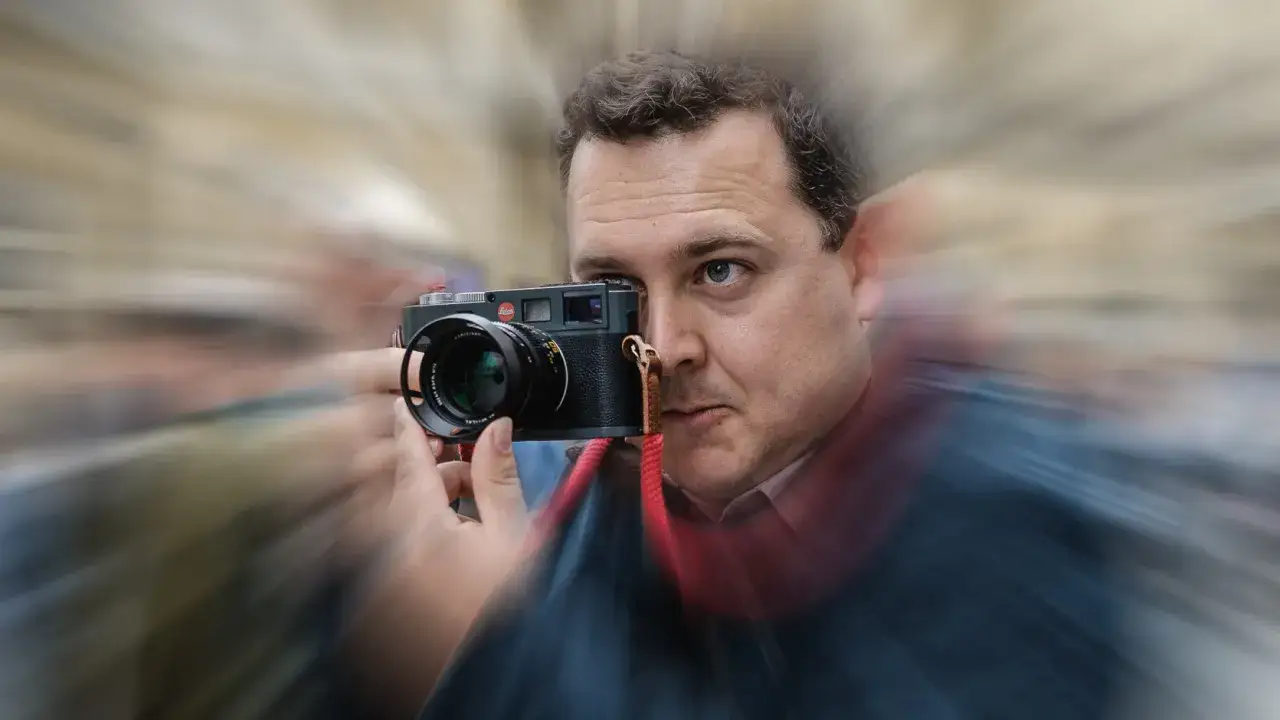
Why the 50mm view changes how you read a scene
A 50mm lens forces a different pace. You are no longer building images by standing far away and zooming in; you are deciding whether the subject, the background, and the light are all worth the physical effort of being in the right place. That small shift changes the entire rhythm of the walk.
On full-frame, 50mm sits in a balanced middle ground. It shows enough of the environment to keep a street image grounded, but it still gives you enough subject separation to isolate a face, a gesture, or a meaningful detail. On APS-C, it behaves more like a 75mm lens, and on Micro Four Thirds it feels closer to 100mm. That tighter view can be excellent for candids and compressed layers, but it is less forgiving in cramped streets, trains, cafes, and markets.
| Focal length | What it does on the street | Best use | Main compromise |
|---|---|---|---|
| 35mm | Shows more context and gives you more room to react | Environmental scenes, crowded spaces, closer interaction | Less subject isolation |
| 50mm | Balances context and separation without feeling too flat | Single subjects, small groups, layered frames, details | Less forgiving when you are too far away or too slow |
| 85mm | Compresses background and isolates a subject more aggressively | Portrait-like candids, distance shooting, selective framing | Slower handling and less environmental context |
I think of 50mm as a lens that edits the scene a little for you, but not so much that the street loses its character. Once you understand that working distance, the next step is learning how to compose without getting lazy about it.
How to compose tighter frames without losing the moment
A 50mm frame rewards intention. Because the field of view is narrower than a 35mm lens, small mistakes in framing show up fast: a bright sign sitting on someone’s head, a pole cutting through a face, a cluttered edge that steals attention from the subject. I look for one clean anchor first, then build the rest of the frame around it.
The easiest way to think about this is to treat the background as part of the subject. If the background is weak, the image usually is too. I often wait for a person to walk through a patch of clean light, a line of shadow, a reflected storefront, or a piece of street geometry that gives the frame structure. That patience matters more with a 50mm lens than with wider glass, because you have less room to rescue the shot later.
- Place the strongest visual element first, then let the rest of the frame support it.
- Use foreground objects like door frames, signs, bikes, or reflections to create depth.
- Watch the edges of the frame as carefully as the center; a 50mm lens punishes sloppy borders.
- Use vertical framing for individual subjects and horizontal framing when the background story matters.
- Take two or three frames when the gesture peaks, then move on; long bursts usually add clutter, not quality.
Small camera movements matter more here than people expect. With a 50mm lens, a few inches can turn a clean composition into a mess, so I am constantly shifting my position rather than assuming I can crop my way out of a problem. That discipline becomes even more useful once focus starts to matter.
Focus strategies that keep the lens fast
Street work gets easier when focus becomes a habit instead of a decision. I do not want to be rethinking focus for every frame, especially in scenes where the subject is walking, turning, or interacting with something unexpected. The right method depends on how much movement is in the scene and how predictable the distance is.
| Focus method | Best use | Main drawback |
|---|---|---|
| Single-point autofocus | Clear subjects, deliberate framing, face-focused moments | Can hunt in cluttered scenes |
| Continuous autofocus | People moving toward you or crossing the frame | Less predictable, especially in busy backgrounds |
| Zone focusing | Repeatable distances, fast reactions, street scenes with movement | Less forgiving than on a wider lens |
| Manual pre-focus | Static positions, low-light setups, controlled candids | Needs practice and a clear sense of distance |
Zone focusing is the method most people talk about because it fits the street so well, but it also asks for honesty. With a 50mm lens, the focus zone is narrower than it is with 35mm, so your aperture choice really matters. I usually stop down more than I would with wider glass. At around f/8, a pre-set distance in the neighborhood of 2 to 3 meters can cover a lot of walking subjects, though the exact depth of field depends on sensor size and the lens itself.
That is why I treat zone focusing as a repeatable system, not a magical shortcut. I pre-focus, I know roughly where the usable zone begins and ends, and I keep my movement simple enough that I stay inside it. When the scene is more chaotic, single-point autofocus or continuous autofocus is usually the safer choice. Once focus is under control, the next job is exposure, because that is where many otherwise strong street frames fall apart.
Exposure settings that hold up from noon to night
For a 50mm street setup, I want exposure settings that keep my attention on timing instead of technical housekeeping. Aperture priority with Auto ISO is still the most practical starting point for most walks because it lets me choose depth of field while the camera protects shutter speed. Manual exposure makes sense when the light is stable or when I want all frames in a sequence to match closely.
- Bright daylight - f/5.6 to f/8, Auto ISO, minimum shutter around 1/250 s.
- Fast movement or decisive gestures - keep shutter speed closer to 1/500 s if you want cleaner freeze.
- Overcast or open shade - f/2.8 to f/4 can help, but watch how quickly the background starts to compete with the subject.
- Night or mixed artificial light - f/1.8 to f/2.8, Auto ISO, and a floor around 1/125 s for people who are walking.
I often dial a small negative exposure compensation, roughly -0.3 to -1 EV, when the scene contains bright windows, reflective cars, or hard sunlight on white walls. That protects highlights better than recovering them later. If the camera has a very usable high-ISO mode, I would rather raise ISO than let shutter speed sink too low and turn movement into mush.
There is also a creative side to this. A 50mm lens can isolate a subject beautifully wide open, but at f/1.4 or f/1.8 the margin for error gets thin fast. If the lens is not especially sharp wide open, or if autofocus is inconsistent, stopping down to f/2.8 or f/4 often improves keepers more than the extra blur helps the image. Once exposure is predictable, the front of the lens becomes the next decision: what belongs there, and what does not.
Which lenses and filters belong on the lens
I would start with the lens itself before thinking about creative filters. A compact 50mm prime is easier to carry, less tiring to point, and less intimidating in the street than a larger zoom or a heavily accessorized setup. The biggest practical decision is whether you want the speed and size of a small f/1.8 or the extra light and shallower depth of field of an f/1.4. For most street work, the smaller lens is usually the better everyday tool unless you know you need the extra stop.
| Accessory | When I use it | What it changes | Why it may not fit street work |
|---|---|---|---|
| Slim protective filter | Rain, dust, sea spray, crowded shooting, travel days | Protects the front element from scratches and fingerprints | Adds another glass surface and can increase flare if the coating is poor |
| Lens hood | Almost always, especially in strong side light | Reduces stray light and helps protect the front element | Adds bulk, which can make the setup slightly less discreet |
| Circular polarizer | Reflections on glass, wet pavement, cars, or windows | Reduces glare and can deepen contrast | Costs roughly 1 to 2 stops of light and slows you down |
| Neutral density filter | Wide-open shooting in bright sun or deliberate motion blur | Lets you keep a wider aperture or slower shutter speed | Unnecessary for most everyday street walks |
| Diffusion or black mist filter | Night scenes, neon, moodier work, softer highlights | Softens contrast and glow around bright sources | Can make documentary scenes look too hazy if you overuse it |
My default is simple: hood on, no creative filter unless the scene justifies it, and a protective filter only if the shooting conditions make sense for one. If you own multiple lenses with different thread sizes, a step-up ring can keep one high-quality filter useful across the kit, which is usually a better move than stacking cheaper filters and hoping for the best. On the street, every extra layer of glass should earn its place.
Polarizers are the most situational of the bunch. They can be excellent in urban scenes with glass storefronts, shiny cars, and wet asphalt, but they also eat light and can slow your reaction time. That trade-off matters. If your scene depends on speed, I would rather have a clean lens and a fast shutter than a dramatic reflection effect that misses the moment.
When 50mm shines and when another focal length is easier
The 50mm look is not universally better. It is simply better for certain kinds of seeing. If I am photographing a single person, a pair walking together, a layered reflection, or a scene where I want the background to support the subject instead of swallowing it, this focal length is ideal. It gives me enough context to tell a story without forcing me to include everything.
| Situation | 50mm usually helps | A wider or longer lens may be easier |
|---|---|---|
| Narrow sidewalk or crowded interior | Only if you can move freely and wait for clean spacing | 35mm or 28mm gives you more breathing room |
| Single subject against signs, windows, or layered backgrounds | Yes, because the frame stays controlled and natural | 35mm may include more environment, but often with more clutter |
| Fast-moving crowd from a distance | Possible, but the tighter view leaves less forgiveness | 85mm can isolate better if you want to stay back |
| Environmental storytelling | Works when the background is clean and intentional | 35mm usually makes the scene easier to read |
If I am in a narrow market, on a packed train platform, or trying to cover a scene where the environment itself is the point, I often prefer a wider lens. If I want to stay farther away and compress the background, a longer lens wins. On crop sensors, the same 50mm lens can become very tight very quickly, so it is worth checking whether your city actually gives you enough working room for that field of view.
The strongest results usually come when the focal length matches the story. That is the part people skip when they treat lens choice like a spec sheet instead of a visual decision.
A compact field routine that keeps the setup honest
When I want this lens to perform well, I keep the routine tight. The goal is not to make the camera invisible; it is to make the camera predictable enough that I can pay attention to the street instead of the menu system.
- Start with the hood attached and decide whether a protective filter is actually needed for the conditions.
- Set aperture priority with Auto ISO and a minimum shutter speed around 1/250 s for general walking scenes.
- Choose one focus approach for the session so you are not changing methods every five minutes.
- Walk until you find a background that can hold the frame, then wait for the subject to enter it.
- Shoot a short sequence when the gesture peaks, not a long burst that only changes the edit later.
- Review in short pauses, not after every frame, so you keep your attention on the next scene.
The mistakes are usually the same: standing too far away and hoping to crop later, shooting every frame wide open, stacking filters that add flare, and expecting autofocus to solve weak composition. None of those problems come from the lens itself. They come from using a 50mm lens without accepting what it asks for in return.
My practical rule is simple: keep the setup lean, use a hood, add only the filter that solves a real problem, and let the lens push you closer to the scene. If you build your 50mm street photography around clear backgrounds, predictable focus, and a working shutter speed, the focal length stops feeling restrictive and starts acting like a very honest editing tool in-camera.
