
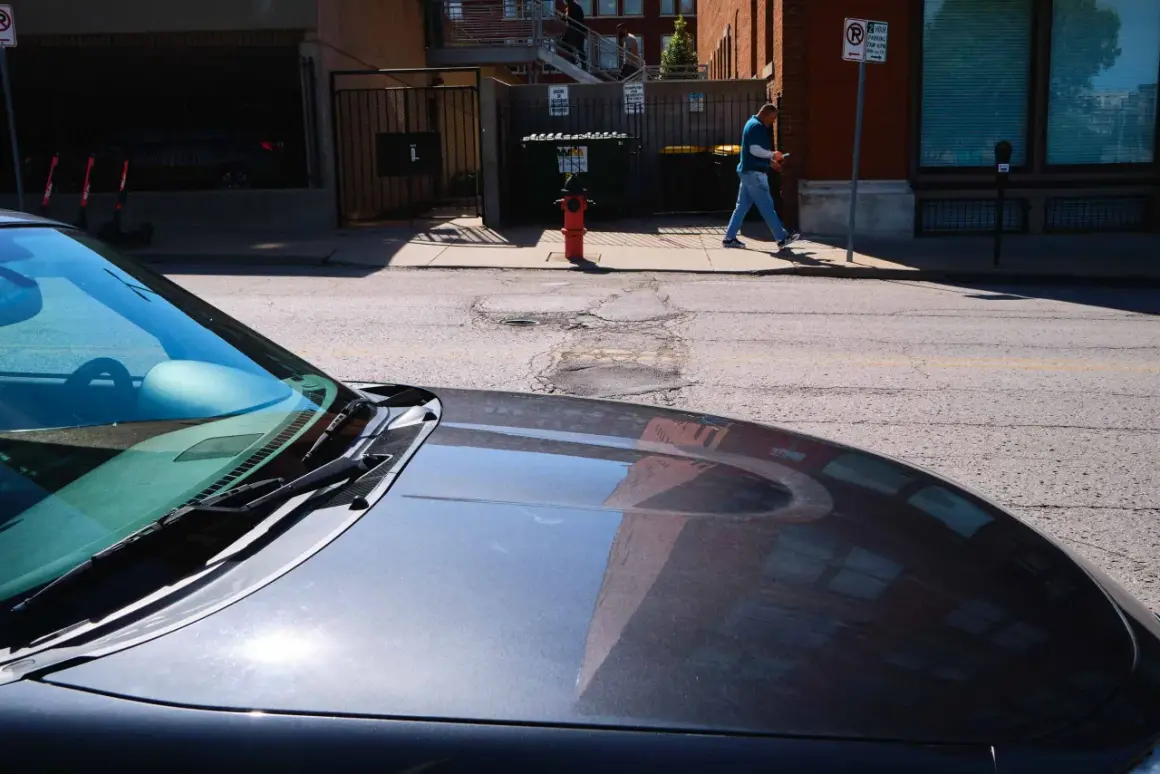
A 40mm lens gives street work a rare balance: it keeps enough of the city in view to show context, but it does not feel as wide or chaotic as the usual wide-angle choice. I like it for candid urban scenes because it encourages me to stay engaged without turning every frame into a crowd of distractions. This guide breaks down when the focal length shines, how I frame with it, which filters are actually useful, and what settings make it easier to move fast.
The short version is that 40mm rewards balanced framing, fast handling, and selective use of filters
- On full frame, 40mm is a true middle ground; on APS-C and Micro Four Thirds, check the equivalent field of view before buying.
- The look depends more on your shooting distance than the focal length alone, so where you stand still matters.
- A clear filter protects the front element, a polarizer helps with glass and reflections, and an ND filter matters only when you need slower shutter speeds in daylight.
- For most candid urban work, f/4 to f/8 and 1/250s or faster are safe starting points.
- The best lens is compact, reliable, and quick enough that it never slows your walk.
Why this focal length feels so natural on the street
40mm sits in a useful pocket because it gives me enough breathing room to include sidewalks, signage, and gesture without letting the frame drift into visual clutter. It is less aggressive than 35mm, so subjects feel a little more separated from the background, which helps when the street is already busy.
The important technical point is that perspective comes from where I stand, not from the focal length itself. What 40mm changes is how much of the scene I can hold while staying at a comfortable distance, and that often makes people act more naturally. In crowded neighborhoods, transit stations, and mixed-light storefronts, that balance is what keeps the frame readable.
It is not a magic focal length, though. In tight interiors or on sidewalks packed edge to edge, I can run out of room quickly, and that is where a wider lens still has a real job to do. Once you understand that tradeoff, framing becomes the next skill to sharpen.
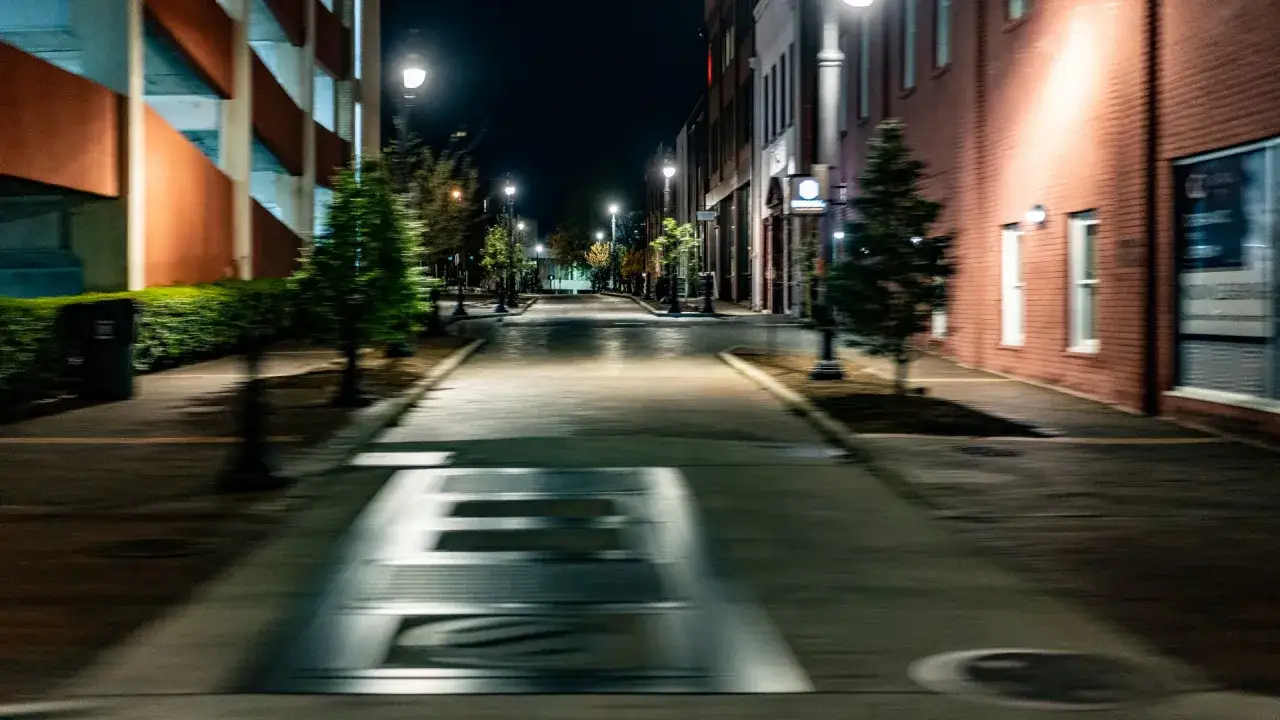
How I frame candid scenes without crowding the frame
With 40mm, I try to build the image around one clear action and one supporting layer. That might mean a passerby in the foreground, a reflective shop window behind them, and a traffic signal or street sign that quietly explains the location. If the frame does not have a reason for each element, it starts to feel random fast.
- Use edges deliberately. A cropped sign or half-visible doorway can add context, but only if it feels intentional.
- Work slightly off-center. Center framing can make urban scenes feel static unless symmetry is the point.
- Watch the background before you raise the camera. At 40mm, a small distraction can still dominate the shot.
- Step closer for hands, faces, or gestures, then step back when you need architecture or street texture to matter.
- Prefer a clean horizontal frame when the story is about movement, and a vertical frame when the city stack of layers is the real subject.
I also lean on pre-visualization here. If I know a corner has strong light, I wait for a subject to pass through it instead of forcing a frame around whatever happens to be there. That is how the focal length starts working like a tool rather than a compromise, and it leads directly into choosing the lens itself.
Choosing the right lens version for your camera
Not every 40mm setup gives the same field of view. On a full-frame body, a 40mm prime is exactly what it sounds like. On APS-C and Micro Four Thirds, the equivalent framing changes, and that matters a lot if you want the classic feel rather than a tighter documentary look.
| Camera system | What gives you a roughly 40mm full-frame view | What that means in practice |
|---|---|---|
| Full frame | 40mm | The native look: balanced context, moderate subject separation, easy to live with on long walks. |
| APS-C | About 26-27mm | A 40mm lens behaves more like a short telephoto, which can be useful for tighter framing but is not the same street feel. |
| Micro Four Thirds | About 20mm | Again, you need a much wider lens to match the angle of view; a 40mm lens becomes far more portrait-like. |
When I shop for a 40mm prime, I care about three things more than the spec sheet: how compact it is, how quickly it focuses, and whether the front element takes filters cleanly. A fast aperture is useful, but I would rather have a lens that I trust at f/2.8 than a bigger lens I only like in theory. If the lens itself slows me down, the city will move on without me.
A minimum focus distance around 0.3m is a bonus because it lets me isolate hands, signs, coffee cups, and layered details without changing lenses. If you prefer manual focus, a smooth focus ring and a visible distance scale matter more to me than exotic glass formulas. Those details become important once filters enter the picture, because street shooting is mostly about keeping the setup simple.
Which filters are worth carrying and which are not
I treat filters as problem-solvers, not decorations. For candid urban work, the only ones I reach for regularly are a slim clear filter, a circular polarizer, and, less often, a neutral density filter. Anything more specialized needs a very specific reason, because every extra layer can lower contrast, slow focus, or add flare.
| Filter | Best use | Tradeoff | Typical price range in the US |
|---|---|---|---|
| Clear or protective | Rain, dust, crowded sidewalks, general front-element protection | Can add glare if the coating is poor | $20-$80 |
| Circular polarizer | Store windows, car glass, wet pavement, reflections you want to control | Usually costs 1.5-2 stops of light and can slow your response | $40-$150 |
| 3-stop ND | Slower shutter speeds in bright daylight or wider apertures under strong sun | Darkens the view and adds another step to the process | $40-$120 |
| Variable ND | Flexible control when light changes quickly | Cheaper versions can soften detail or create uneven color | $60-$250 |
My default is simple: I start without a filter, add a clear filter only if I want protection, and carry a polarizer when the city is full of glass and reflections. The ND only comes out when I deliberately want motion blur or need to hold a wide aperture in harsh daylight. I rarely stack filters on a compact street lens, because once the front of the lens gets busy, the image usually suffers before the light does.
One more practical note: a lens hood often does more for contrast than people expect, and it adds some physical protection without changing the look of the image. If I am deciding between a hood and another piece of glass, I usually take the hood.
Camera settings that keep pace with real life
Street moments do not wait for perfect exposure math, so I prefer settings that are fast to trust. Aperture priority with Auto ISO is my usual starting point, because it lets me control depth of field while the camera handles the changing light. On bright streets I often sit around f/5.6 to f/8; in softer light I open to f/2 or f/2.8 when I want separation.
| Situation | Good starting point | Why it works |
|---|---|---|
| Bright midday | f/5.6, 1/500s, Auto ISO | Enough speed for walkers, bikes, and quick gestures. |
| Overcast or shaded streets | f/2.8-f/4, 1/250s, Auto ISO | Keeps the scene flexible without letting depth of field collapse. |
| Night or mixed storefront light | f/2-f/2.8, 1/320s or faster if possible | Preserves candid timing while still gathering usable light. |
| Intentional motion blur | f/8, 1/15s-1/60s, ND if needed | Lets pedestrians or traffic turn into streaks while the city stays readable. |
If my camera focuses slowly, I pre-focus around the distance where people usually pass, often somewhere around 2 to 3 meters, and I keep moving instead of waiting for perfection. I also like a slight negative exposure compensation, usually around -1/3 to -2/3 EV, when the scene has bright signs or sunlit faces that can clip easily. That small restraint tends to preserve more detail than trying to rescue a blown highlight later.
Silent electronic shutters are useful for discretion, but I do not rely on them blindly because some city lighting can create banding or odd motion artifacts. For me, the best setting is the one that lets me react without thinking, which is why the next comparison matters when you are choosing your focal length.
How 40mm stacks up against 35mm and 50mm
People often treat these focal lengths as if one of them has to win. I do not see it that way. Each one changes how close I work, how much clutter I tolerate, and how much the background contributes to the frame.
| Focal length | What it feels like | Best for | Main limitation |
|---|---|---|---|
| 35mm | More open and environmental | Busy streets, architecture, layered scenes, closer storytelling | Can invite extra clutter if the background is messy |
| 40mm | Balanced and disciplined | Daily walkaround shooting, candid gestures, scenes where context still matters | Can feel a little tight in cramped spaces |
| 50mm | Tighter and more selective | Details, portraits, subtle compression, isolating a subject from the crowd | Less forgiving when you cannot step back |
If I am spending a day in a dense city and want one lens that does not force a strong bias in either direction, I usually land on 40mm. If I expect cramped interiors or wide architectural scenes, 35mm gives me more room. If I want a quieter, more selective look, 50mm wins. The right answer is not theoretical; it depends on how close you like to work and how much of the street you want in the frame.
What I would pack for a long city walk
For this kind of shooting, I keep the kit short. A compact 40mm prime, one clean filter choice, a spare battery, and a microfiber cloth cover almost every practical problem I run into on the street. If the forecast is wet or the sidewalks are dusty, I add a slim protective filter; if the city is full of mirrored glass and traffic reflections, I carry the CPL instead.
- Keep the lens small enough that you will actually take it with you.
- Use filters only when they solve a visible issue, not because they feel like required accessories.
- Favor quick, repeatable settings over perfectionist adjustments.
- Let the frame breathe by leaving some negative space when the scene needs it.
The real strength of a 40mm setup is that it lets you stay present: close enough to feel the street, but not so wide that every frame turns into visual noise. If you build the lens and filter choices around that idea, the camera becomes easier to trust, and your attention stays on timing, light, and the people moving through it.
