
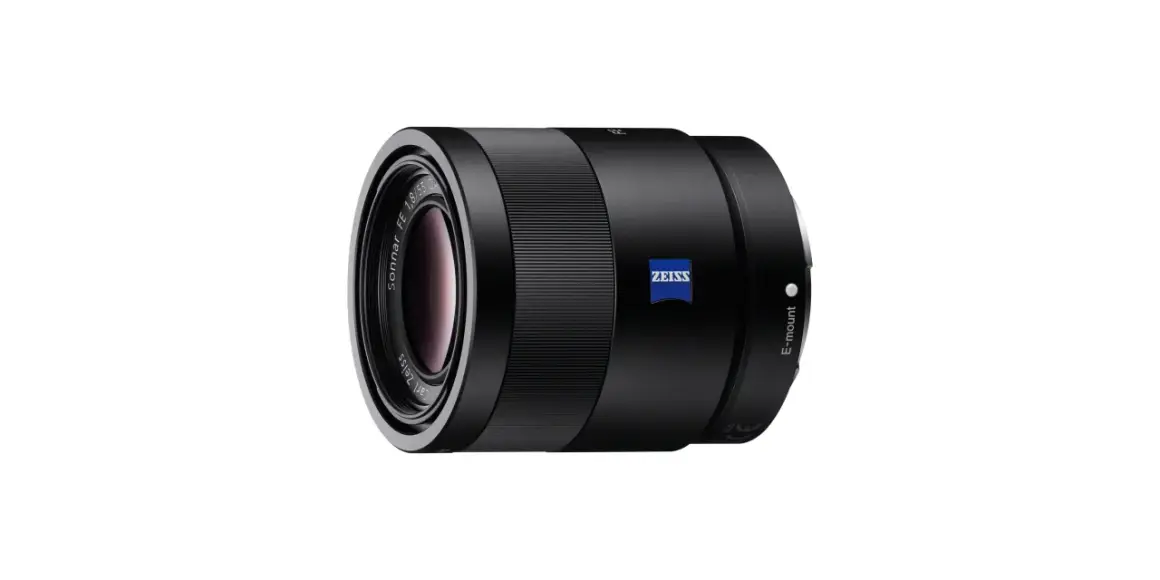
A Sonnar lens at f/8 is one of those practical combinations that rewards discipline more than gear obsession. In practice, sonnar 8 usually means a Sonnar lens being used at f/8, and that is the easiest useful way to read the phrase: a classic optical design stopped down to a working aperture that favors clarity, balance, and control. In this article I explain what that setup really gives you, which filters are worth adding, and where image quality usually gets lost.
Key things to know before you build a Sonnar setup
- A Sonnar lens stopped down to f/8 usually becomes more consistent in contrast, edge quality, and focus tolerance.
- f/8 is a working aperture, not a magic number: it trades some background blur and speed for more usable depth of field.
- The best filters for this setup are usually a good polarizer, a clean protective filter, or a neutral-density filter when exposure control matters.
- Cheap glass, stacked filters, and unnecessary variable NDs are the fastest ways to weaken the lens’s rendering.
- For stills and video alike, I treat the lens, filter, and aperture as one system, not three separate decisions.
What a Sonnar lens gives you at f/8
ZEISS notes that the Sonnar family was developed in 1930 for longer focal lengths and fast apertures, which is why the design has always been associated with efficient light transmission and a compact optical path. Once I stop a Sonnar down to f/8, I usually get the version of the lens that feels most controlled: stronger contrast, cleaner transitions, and fewer of the wide-open quirks that can make classic glass look romantic but less predictable.That shift matters because the lens stops behaving like a specialty piece and starts behaving like a dependable production tool. At f/8, I can frame a subject with a little more context, keep more of the scene acceptably sharp, and still preserve enough of the Sonnar character to avoid a sterile result. It is not the setting for maximum subject separation, but it is often the setting that makes the file easiest to work with later.
In other words, the aperture does not erase the lens’s personality. It simply moves that personality toward the practical end of the spectrum, which is exactly where many editorial, commercial, and location shoots live.
Why f/8 is often the working aperture I reach for
Canon’s aperture guidance places f/8 in the range that remains useful for many portrait and general-purpose situations, and that matches how I treat it in the field. f/8 is deep enough to give you margin for slight focus error, but not so small that diffraction starts to take the wheel on every sensor. That balance is the reason so many photographers fall back on it when the shot has to be safe rather than experimental.
| What f/8 changes | Why it helps | Where it can fall short |
|---|---|---|
| More depth of field | It keeps more of the subject plane usable and gives you room when the camera or subject moves a little. | It will not give you strong background separation if that is the creative goal. |
| Cleaner optical performance | Stopping down usually reduces visible aberrations and makes the lens easier to trust across the frame. | It does not fix a bad copy, decentering, or sloppy focus technique. |
| Better exposure flexibility | You can still work with reasonable shutter speeds without being forced into extreme ISO values. | In bright daylight, you may still need an ND filter if you want a specific shutter or motion look. |
| Manageable diffraction | It usually stays inside a practical sweet spot for modern cameras, especially when the rest of the setup is clean. | On high-resolution sensors, marginal focus or poor filter quality becomes easier to notice. |
That is why I think of f/8 less as a technical compromise and more as a production baseline. It gives me enough room to work without forcing the image into a clinical look, and that is a useful place to be when I want the lens to behave consistently across different scenes.
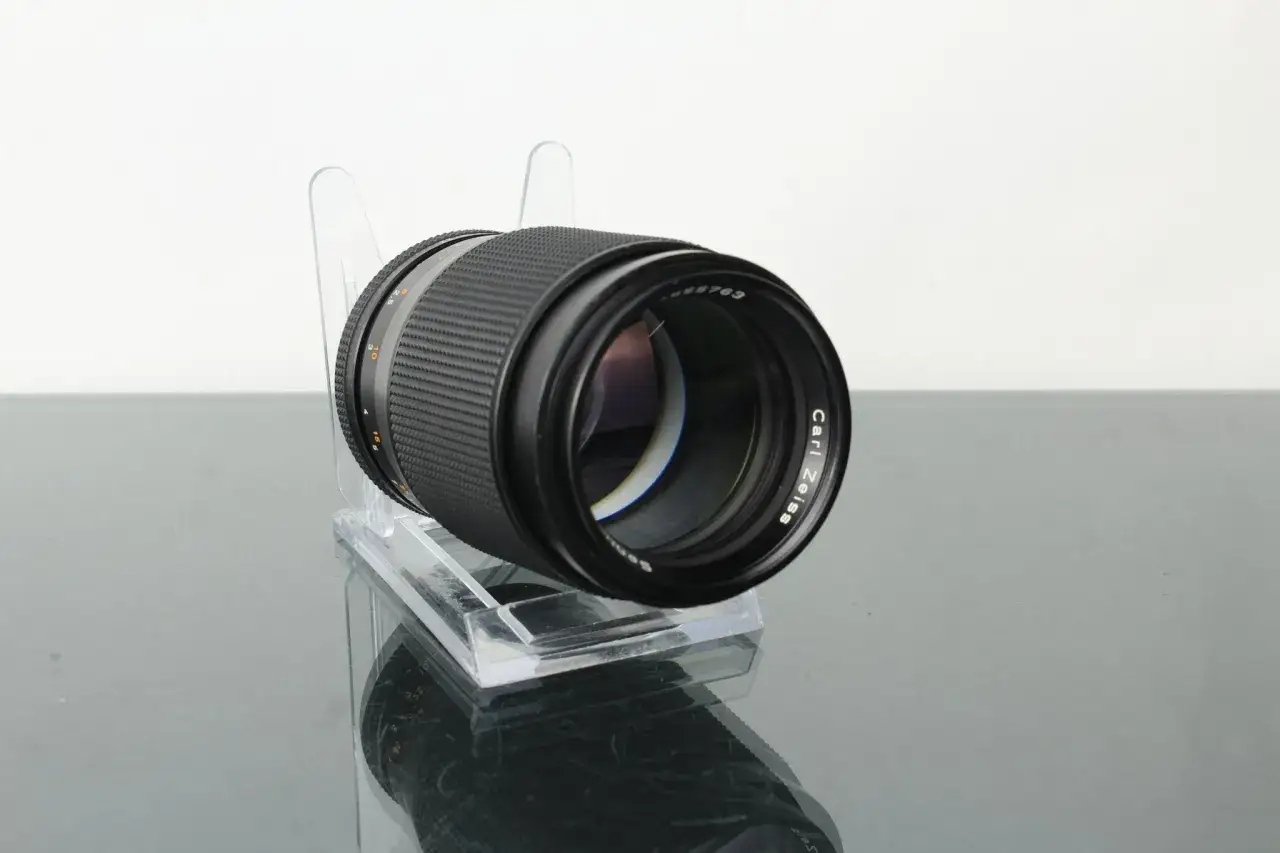
Which filters actually help on a Sonnar at f/8
The filters I keep on a lens are the ones that solve a visible problem. Anything else is just adding another piece of glass for the sake of it. On a Sonnar at f/8, the difference between a useful filter and a weak one is not subtle: the right filter preserves contrast and gives me control, while the wrong one steals the very clarity I stopped down for.
| Filter type | Best use | Main tradeoff | My take |
|---|---|---|---|
| Protective clear or UV filter | Dust, spray, travel, and any situation where the front element is exposed to handling | Cheap glass can add flare, lower contrast, or soften the frame | Worth it only if the filter is slim and optically clean |
| Circular polarizer | Glare on water, glass, paint, foliage, or any reflective surface | Usually costs about 1.5 to 2 stops of light | One of the most useful filters for controlled outdoor work |
| Solid ND filter | Bright daylight, long exposures, or video when you need to hold a chosen shutter speed | Can introduce color shifts if the glass is poor | Essential when exposure control matters more than convenience |
| Variable ND filter | Run-and-gun video or fast location changes | Can create color casts or cross-pattern artifacts at stronger settings | Useful, but I trust it only when the optical quality is proven |
| Graduated ND filter | Landscape work with a bright sky and darker foreground | Less helpful when the scene is not horizontally balanced | Selective, but still valuable in the right landscape workflow |
If I had to simplify the choice, I would say this: use a polarizer when reflections are the problem, use ND when light is the problem, and use a protective filter only when the shooting environment justifies it. A good filter should make the lens easier to use, not harder to trust.
How I would shoot this setup in the field
My default approach is to decide first what the frame needs, then decide whether f/8 and a filter help me get there. That order keeps the lens from being overcomplicated. It also helps me avoid the common mistake of adding accessories before the exposure plan is clear.
For stills
- Start at f/8 and focus on the nearest critical detail in the subject.
- Choose shutter speed for the motion in the scene, not for the number on the lens barrel.
- Check the corners at 100 percent if the scene has straight lines or important edge detail.
- Test the frame once with the filter and once without it if contrast seems suspicious.
- Use a hood whenever possible, especially with older coatings or backlit subjects.
Read Also: Master Blurry Backgrounds - The Ultimate Guide
For video
I usually keep the shutter in the normal cinematic range and use ND to maintain that shutter instead of stopping down far past f/8. That gives me motion that looks intentional rather than accidental. If the lens is adapted, live view magnification and focus peaking are worth more than any premium filter because they protect the shot at the actual point of failure: focus.
For handheld location work, I also prefer slim mounts and fewer stacked accessories. The more glass you add, the more opportunities you create for reflections and mechanical vignetting. That matters more than people expect, especially on a lens that already has a distinctive optical signature.
The mistakes that show up fastest with old and new Sonnars
The problems I see most often are not dramatic. They are cumulative. One average filter, one unnecessary adapter ring, one slightly soft focus point, and one backlit frame are often enough to make a very good lens look merely okay.
- Using a cheap protective filter and then blaming the lens for weak contrast.
- Stacking filters when one filter would do the job more cleanly.
- Assuming f/8 can rescue bad focus or subject movement.
- Forgetting that dust, sensor smudges, and minor alignment issues become easier to see once you stop down.
- Overusing a polarizer on scenes where the reflection is not actually a problem.
- Ignoring flare control on older glass, where mixed light and backlight can flatten the image fast.
My rule is simple: if the file looks worse with the filter, the filter goes first, not the lens. That sounds obvious, but it is the fastest way I know to separate a real optical limitation from a fixable accessory problem.
The cleanest result comes from restraint, not accessories
For most photographers, the best Sonnar setup is the one that stays transparent in use: a clean lens, one genuinely useful filter, and an aperture that gives enough depth without forcing the image into diffraction-heavy territory. f/8 is strong because it is practical, not because it is dramatic. It gives me a stable working point for portraits, product frames, travel scenes, and controlled landscape work.
If I had to leave you with one decision rule, it would be this: start with the bare lens, add a filter only when it solves a real problem, and treat f/8 as the place where the lens becomes dependable rather than flashy. That is usually the point where the image quality, handling, and speed of work all line up.
