
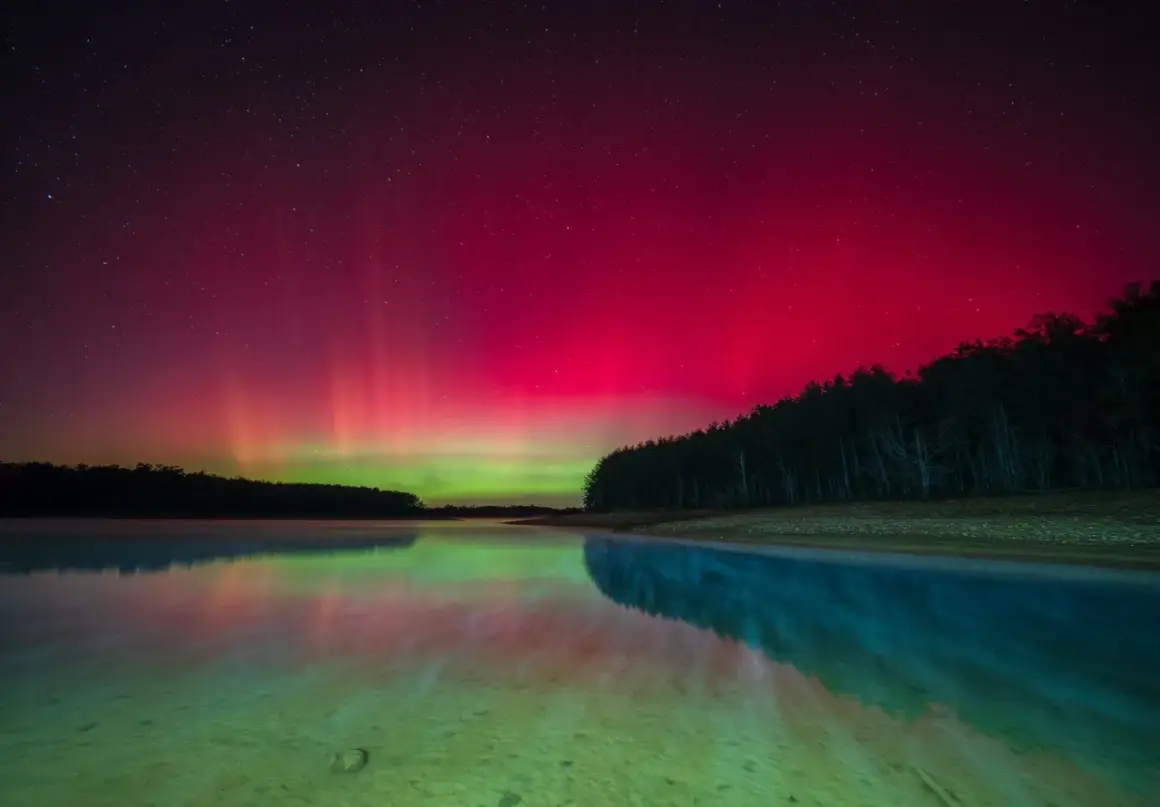
Photographing the aurora is part timing, part restraint: the sky changes quickly, and the camera settings that work at 10 p.m. can fail 20 minutes later. This guide explains how to take pictures of northern lights with a DSLR, mirrorless camera, or phone, including what to pack, how to read the sky, which settings to start with, and how to keep the final image sharp and believable. The goal is not a perfect recipe; it is a repeatable method that still works when the lights turn faint, bright, or fast.
The fastest way to get a sharp aurora photo
- Start in manual mode and stabilize the camera on a tripod.
- Use a wide aperture, then balance shutter speed and ISO based on how fast the aurora is moving.
- Focus manually on a bright star or distant light source before the show peaks.
- Include a foreground so the image has scale, depth, and a clear subject.
- On a phone, use night mode or a manual app, but keep the device completely still.
- Check clouds and darkness first; aurora strength means little if the sky is washed out or covered.
Plan the night around sky conditions, not just aurora strength
I always start with the sky, because the most beautiful aurora forecast is worthless under cloud cover. In the U.S., dark rural locations usually beat bright towns, but on a strong geomagnetic night even northern states can work if you have a clear view to the north and very little light pollution. Alaska gives you the most consistent odds, yet I would still choose a darker roadside pull-off over a famous overlook that is full of streetlights and car headlights.
When I plan a shoot, I check the weather first, then the aurora forecast. NOAA's Space Weather Prediction Center is useful for that second step, but I treat it as a probability tool rather than a promise. A forecast can tell you whether the lights are likely to appear, while the weather forecast tells you whether you will actually see them. If the moon is bright, that is not automatically a problem; it can help illuminate a foreground. For faint aurora, though, I prefer a darker sky because weak color disappears fast once the scene is overlit.
The practical question is simple: can you get to a place with darkness, open sky, and a safe parking spot before the display starts? If the answer is yes, the rest becomes technical. That is where the camera settings matter most.
Use settings that match the aurora’s speed
For a first pass, I would trust manual mode, a wide-open lens, and a conservative exposure. NASA's aurora guidance is close to what I use in the field: open the aperture, keep ISO moderate, and shorten the shutter when the lights move quickly. The biggest mistake beginners make is using one long exposure for every situation. A slow, faint glow and a bright, curling curtain need different treatment.
| Condition | Shutter | Aperture | ISO | Why I start there |
|---|---|---|---|---|
| Faint, slow aurora | 8-15 s | f/1.4-f/2.8 | 800-1600 | Long enough to gather light without smearing the structure. |
| Moderately active curtains | 4-8 s | f/1.4-f/2.8 | 1600-3200 | Keeps color and shape while the ribbons are still readable. |
| Fast, overhead movement | 1-4 s | f/1.4-f/2.8 | 3200-6400 | Short shutter preserves the edges of the rays and arcs. |
| Phone in night mode | 3-10 s or auto | As wide as available | Use the app’s control if available | Stability matters more than precision if you are shooting handheld only in an emergency. |
My default rule is simple: open the lens first, then shorten the shutter before pushing ISO too high. Once ISO gets aggressive, noise starts to eat the smooth gradients in the sky. Once the shutter gets too long, the aurora turns into a soft blur instead of a structured curtain. If you want a practical starting point, f/2.8, ISO 1600, and 5-10 seconds is a solid baseline for many conditions, then I adjust from there in small steps.
RAW is worth using if your camera supports it. It gives you more room to recover color and exposure later, especially when the aurora brightens unexpectedly. White balance is less critical than focus and exposure, but I often start around 3500K and refine it after the test shot. When the next section matters more than the last one, it is focus and composition.
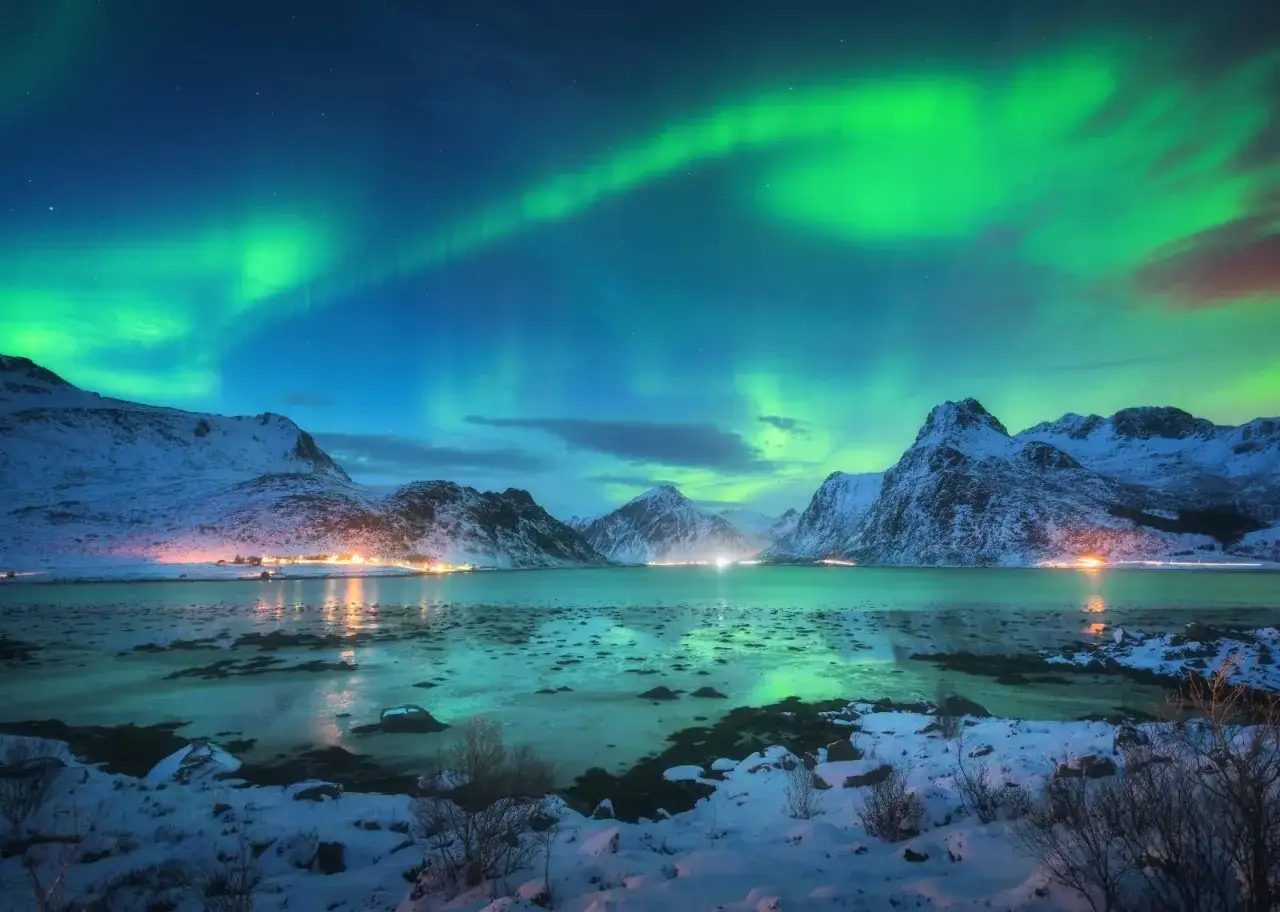
Focus on a foreground, then lock the stars into place
The aurora is the subject, but the best photos usually have a second subject. A frozen lake, a tree line, a cabin, a ridge of snow, or even a person in silhouette gives the image scale and makes it feel intentional. I like to think of the foreground as the anchor. Without it, the photo can look like a technical test. With it, the scene feels like a place.
Composition changes depending on the shape of the sky. If the aurora is stretched across the horizon, I usually stay horizontal and give the landscape room to breathe. If the display is overhead or wrapped into a tall curtain, vertical framing can work better because it emphasizes height and movement. Reflections on still water can be excellent, but only if the exposure is short enough to keep the aurora defined and the surface calm enough to mirror it.
Focus is where a lot of first attempts fail. Autofocus hunts in the dark, so I switch to manual focus and use a bright star, distant light, or the edge of a moonlit object to set it. Zoom in on live view, turn the focus ring until the star becomes the smallest point possible, and then leave it alone. If your lens has a hard infinity stop, do not assume it is perfect; test it. Temperature changes can also shift focus slightly, so I recheck after the lens has been outside for a while. Once the frame is sharp, a phone workflow becomes a useful backup rather than a compromise.
Use a phone when you need a lighter setup
A modern phone can produce a genuinely usable aurora photo, but only if you respect the limits. The main advantage is convenience; the main weakness is instability. Night mode, computational stacking, and manual controls have improved a lot, but no software can fully rescue a phone that moves during exposure. If the phone shifts while the shutter is open, the stars soften and the aurora smears.
If the camera app offers night mode, start there and keep the phone still on a tripod, a rail, or a stable rock. If you can use manual controls, I would begin around ISO 400-800 and 3-5 seconds, then adjust as needed. Avoid digital zoom, because it usually cuts detail without giving you a cleaner frame. Turn off flash, and if your phone supports RAW capture, use it. The extra flexibility helps when the sky is brighter than expected or when the color needs a gentle correction later.
Cold weather matters more on phones than most people expect. Batteries drain faster, touch screens get awkward, and autofocus can slow down. I keep a power bank in an inner pocket and take the phone out only when I am ready to shoot. The moment the battery gets weak, your long night can end early, and that is a fixable problem if you plan for it. Even when the gear works, a few small mistakes can still ruin the frame.
Avoid the mistakes that flatten the lights and the scene
The most common failure is using one exposure for everything. A slow curtain may look fine at 10 seconds, but a fast burst can lose all its shape at the same setting. I shorten the shutter first when the aurora starts moving faster. Raising ISO is the second move, not the first.
- Do not leave autofocus on after your focus test.
- Do not stand under a streetlight or shoot directly into bright town glow unless that light is part of the composition.
- Do not overexpose the sky just to make it look brighter on the rear screen.
- Do not ignore condensation on the lens after moving between warm and cold air.
- Do not forget that gloves, wind, and numb fingers make slow camera work much harder.
I also see people over-editing aurora photos until the colors look synthetic. The green can be vivid, but it should still feel like atmosphere, not neon paint. If the image needs heavy noise reduction, sharpness, or saturation to look acceptable, the original exposure probably missed the mark. A cleaner file always gives you more room in editing, which is why the next step should be refinement, not rescue.
Edit lightly so the photo still feels like the real sky
Good aurora editing is mostly subtraction. I start by correcting exposure, then I fine-tune white balance, then I pull down noise just enough to keep detail intact. A slight temperature adjustment can make the greens and purples look closer to what was actually in front of you, but I avoid pushing the colors until they become theatrical. If the scene had a moonlit foreground, I may brighten the land a little and protect the sky so it still reads as night.
Local contrast can help separate the arcs and layers in the aurora, especially if the image was shot with a slightly soft long exposure. A small amount of clarity or dehaze can work, but too much gives the sky an artificial texture. I prefer to crop only when the frame has a real problem, not because I want to rescue composition after the fact. When the original shot is strong, editing should feel invisible. When it is obvious, the image usually has been pushed too far.
If you are working with a batch of shots, compare them at the same size and choose the frame with the cleanest structure, not just the brightest color. The sharpest aurora photo is often the one with the shortest exposure that still held enough light. Once the edit is under control, the last improvement is usually not software at all. It is preparation.
The small things I pack for a better aurora night
- Tripod with a secure head and plate.
- Spare batteries kept warm in an inner pocket.
- Red headlamp or red light mode to protect night vision.
- Microfiber cloth for condensation and light frost.
- Warm gloves that still let me touch camera buttons.
- Thermos, snacks, and a seat or pad for long waits.
- Lens cloth and a small pouch for cards and filters.
If I had to reduce the kit to the essentials, I would keep the tripod, a backup battery, a red light, and a way to trigger the camera without touching it. The best aurora images usually come from a simple setup used with patience, not from carrying more gear than you can manage in the cold.
