
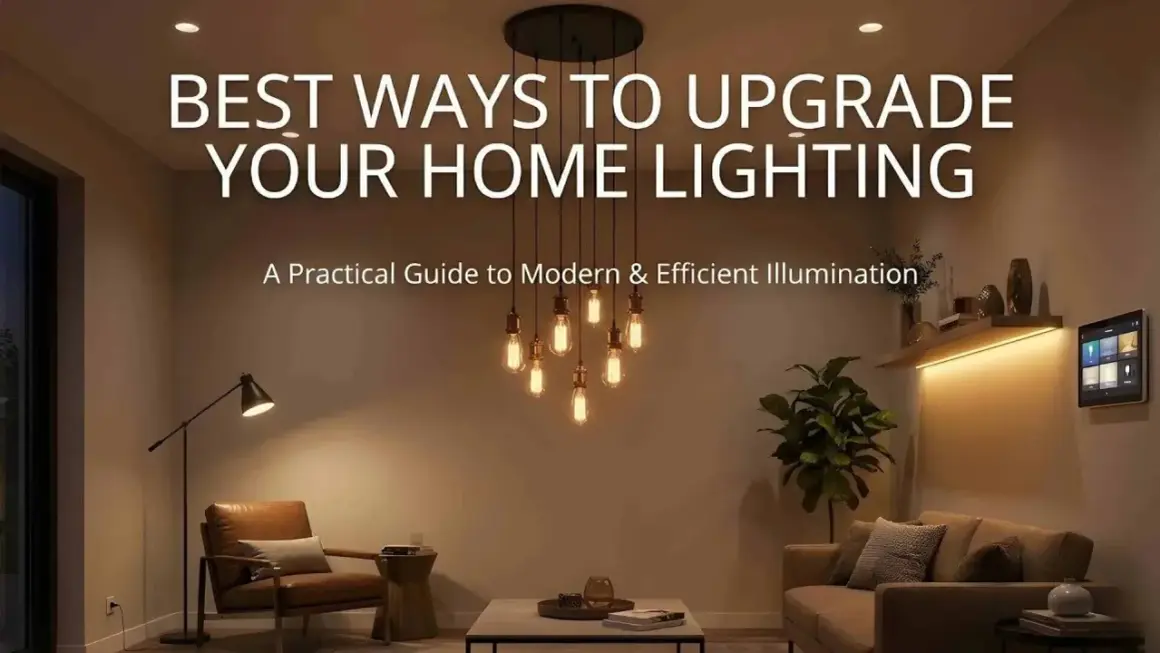
Custom lighting can change how a room feels faster than almost any other upgrade, but the best results come from choosing the right level of effort. This guide breaks down practical DIY lighting options, the tools and safety rules that matter, and the projects that actually improve a space instead of just adding more brightness. I’m focusing on what works in real U.S. homes: quick plug-in fixes, low-voltage outdoor runs, smarter lamp setups, and the points where it stops being a weekend job.
What matters most before you start
- Plug-in, bulb-level, and low-voltage projects are the safest entry points for most homes.
- Good lighting starts with function first: ambient, task, and accent light should each do a job.
- Smart bulbs and puck lights usually give the best value when the room already has a usable fixture.
- Outdoor runs, moisture-prone areas, and any hardwired change need more planning than most tutorials admit.
- A small, well-placed upgrade usually beats a bigger fixture that solves the wrong problem.
What counts as a good home lighting project
I like to split home lighting projects into four buckets: cosmetic upgrades, plug-in add-ons, low-voltage systems, and hardwired changes. That makes the decision easier, because each bucket has a different mix of cost, risk, and payoff. If a room only needs better mood control or better task light, I would not jump straight to rewiring a ceiling box.
| Project type | Typical budget | Skill level | Best use | Main tradeoff |
|---|---|---|---|---|
| Smart bulb swap | About $10 to $13 per bulb | Very easy | Rentals, dimming, color control | No new light source, only better control |
| Plug-in puck lights | About $23 typical, roughly $6 to $96 range | Easy | Kitchens, shelves, closets | Cords can be visible if you do not plan the run |
| Lampshade or lamp refresh | Usually about $15 to $60 in materials | Easy | Bedrooms, living rooms, reading nooks | Only helps if the base and bulb are already workable |
| Low-voltage path lighting | About $40 to $120 for small kits, more for full systems | Moderate | Walkways, garden edges, curb appeal | Layout and transformer sizing matter |
| Hardwired fixture swap | Fixture cost plus labor if needed | Moderate to advanced | Dining rooms, entries, ceiling updates | Breaker shutoff, box support, and code become real issues |
That table is the part I wish more people saw before buying fixtures. A room problem is often a placement problem, not a product problem. Once you understand that, the rest of the project gets much easier to judge.
The easiest projects to start with
When I want the biggest visual gain with the least risk, I start with the places where light needs to do one simple job. Under-cabinet areas, bedside lamps, shelves, and walkways are all strong candidates because the improvement is obvious and the installation is usually straightforward.
- Kitchen task light - Plug-in puck lights are one of the fastest fixes for dark counters. A typical set runs about $23, and current retail kits often sit around $50 to $100 when they include better controls or more pieces. That is cheap compared with rewiring a kitchen, and it immediately improves food prep and cleanup.
- Smart bulb upgrade - In 2026, smart bulbs still sit around the $10 to $13 range each. I use them when a lamp or ceiling fixture already exists but the room feels too harsh, too dim, or too static. The real win is dimming without touching the wiring.
- Lampshade refresh - This is the quietest upgrade on the list, but it can fix a lot of visual noise. A new shade, fabric wrap, paint treatment, or trim detail can soften glare and make a basic lamp feel intentional instead of random.
- Outdoor path lighting - Small low-voltage kits are still a strong DIY move when you want better visibility and curb appeal. A basic plug-in path-light kit can run around $120, while a fuller package with a transformer and wiring can reach the high $200s. That range is useful because it shows where the project starts to become a system instead of a single fixture.
If you are choosing between these, I would ask one question: do you need more light, or do you need better light placement? The answer usually points to the right project. From there, the next step is planning the room as a lighting system instead of a collection of objects.
Plan the room before you buy fixtures
I think the easiest mistake is shopping by style before solving function. Good lighting is usually built in layers. Ambient light fills the room, task light supports work, and accent light adds depth or draws attention to a feature. If one of those layers is missing, the room often feels either flat or irritatingly bright.
| Layer | What it does | Simple DIY fix | What it should feel like |
|---|---|---|---|
| Ambient | Overall room brightness | Dimmable bulb, flush mount, or pendant | Even, comfortable, not flat |
| Task | Focused light for work | Puck lights, desk lamp, under-cabinet strip | Bright exactly where your hands are |
| Accent | Depth and visual interest | Picture light, shelf light, small sconce | Subtle separation, not glare |
For most homes, I stay in the warm-to-neutral range for color temperature. Living rooms and bedrooms usually look better around 2700K to 3000K, while kitchens, work areas, and utility spaces often benefit from 3000K to 4000K. Color temperature is the light’s warmth or coolness measured in Kelvin, and it matters more than people expect because it changes how skin tones, wood finishes, and painted walls read. If you create content at home, high CRI light is also worth a look because CRI tells you how faithfully colors are rendered.
The practical move is simple: define the layer first, then pick the fixture. That approach makes the material list cleaner and keeps you from overbuying hardware you do not actually need.
The tools and materials that make the difference
Good lighting projects do not usually fail because the idea was bad. They fail because the wrong parts were used together. I look for a short list of components that solve the real problems: heat, voltage, control, and safe mounting.
- LED fixtures or bulbs - LEDs run cooler and use less power than older lamp types, which makes them the default choice for most modern projects.
- Dimmer or smart control - A dimmer changes the brightness range, while a smart bulb or smart switch adds app control, timers, and scene settings.
- UL-listed components - UL-listed means the part has been evaluated against safety standards, which matters when wiring, heat, or moisture are involved.
- Junction box - This is the enclosure that keeps wire connections contained instead of exposed.
- Transformer - A transformer steps household voltage down for low-voltage lighting systems. That is what makes outdoor path lighting and some cabinet systems practical.
- Wire gauge - Gauge is the thickness of the cable; smaller numbers mean thicker wire. For many outdoor runs, 16-gauge is used under 200 watts and 12-gauge is used above 200 watts.
- GFCI outlet - A ground-fault circuit interrupter cuts power when it detects leakage, which is especially important outdoors or near water.
I also pay attention to load. A low-voltage transformer is not just a box to hide; it has a wattage limit. Many residential units are rated around 100 to 300 watts, so a system that starts small can run out of capacity faster than the owner expects. If you know that before you build, you can size the layout correctly instead of upgrading twice.
Once the parts are chosen properly, the remaining issue is not style. It is safety. That is where I slow down and get strict.
Where the safety line is in a U.S. home
For plug-in or low-voltage work, the risk is manageable if you stay organized. For hardwired work, the tolerance for guessing drops fast. My rule is straightforward: if the project touches permanent wiring, the panel, or a fixture whose mounting and circuit requirements are unclear, I stop and verify before moving on.
- Turn off power at the breaker before touching any hardwired fixture.
- Confirm box support so the electrical box can actually hold the fixture’s weight.
- Use damp-rated or wet-rated fixtures in bathrooms, porches, and exterior locations where moisture is part of the environment.
- Keep flammables away from heat sources such as exposed lamps, old bulbs, or tight shade enclosures.
- Use outdoor-rated cord and hardware whenever the project lives outside.
- Call a licensed electrician for new circuits, panel changes, or anything that stops feeling like a clear DIY job.
I am careful about that last point because U.S. code and local permit rules can change the answer from one home to the next. A simple fixture swap is one thing; adding wiring where none existed is another. The difference is not academic. It affects whether the project is safe, insurable, and actually worth the time.
When those boundaries are respected, the next problem is aesthetic. A project can still be safe and technically correct while looking awkward, and that is what I address next.
The mistakes that make a homemade light feel cheap
Cheap-looking lighting rarely comes from a low budget alone. It usually comes from one of a few predictable errors. I see the same patterns over and over, and most of them are fixable before the first hole is drilled.
- Too much output in one spot - A bright ceiling bulb with no task or accent layer makes a room feel flat and harsh.
- Wrong color temperature - Very cool light in a bedroom or overly warm light in a work zone usually feels off, even if the fixture itself is expensive.
- Bad fixture proportion - A pendant that is too large, too small, too high, or too low breaks the room’s balance immediately.
- Visible cord paths - Plug-in projects look deliberate only when the cable route is planned, concealed, or visually aligned.
- Finish overload - Mixing brass, black, chrome, and wood without a reason can make a space feel accidental.
- Ignoring shadows - Countertops, mirrors, and reading corners often need light from a second angle, not just more brightness from overhead.
There is also a content-creator version of this mistake: placing lights for the room but forgetting the camera. If a space is used for filming, product photos, or live work, I care about shadow direction, reflected highlights, and color consistency more than decorative drama. That is where a simple lighting plan starts to feel professional.
The first build I would choose for a typical home
If I wanted the biggest payoff with the least risk, I would choose one room and one obvious problem. For renters, that usually means a smart bulb or a plug-in light under a cabinet or shelf. For homeowners, it might mean a low-voltage outdoor path run, a clean pendant replacement using an existing box, or a better lamp setup in a room that never quite felt finished. The best DIY lighting projects are the ones that solve a real job first and only then worry about style.
My practical rule is simple: start with the light layer that is missing, keep the budget aligned with the room’s importance, and do not cross into permanent electrical work unless you are comfortable with the code, the load, and the mounting details. If you keep that discipline, you can improve a space quickly without turning a modest project into a costly one.
