
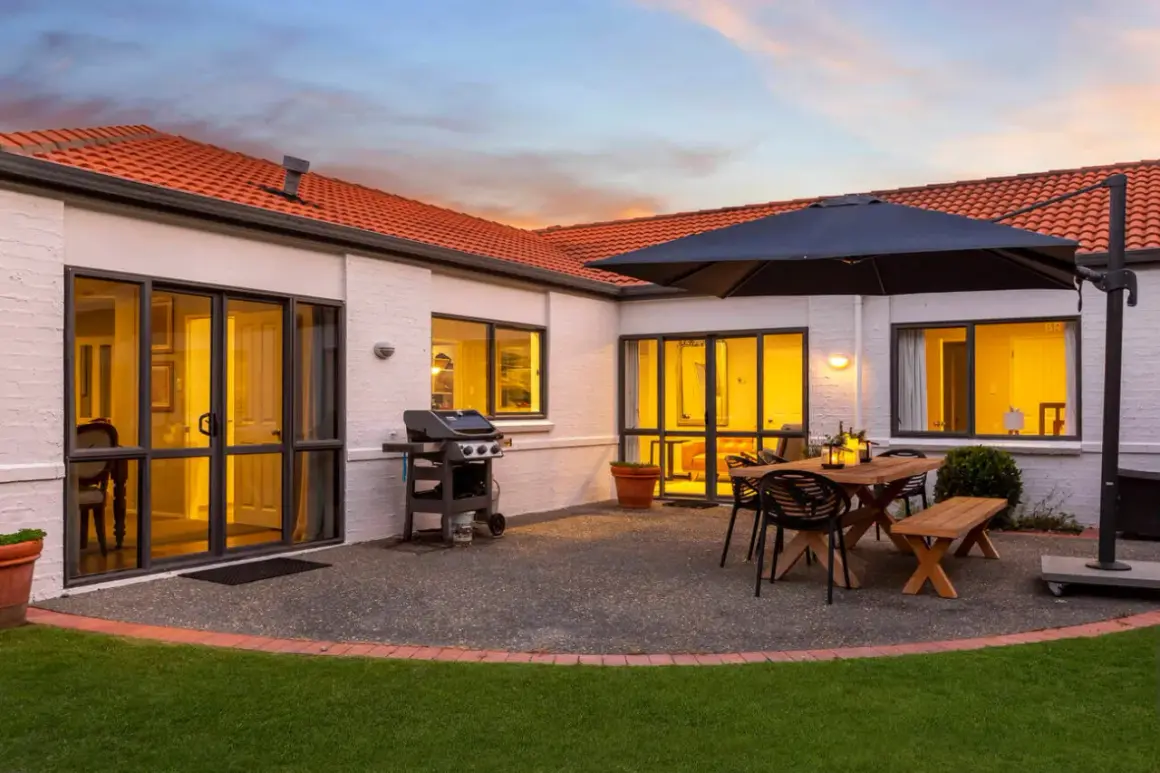
House photography is less about flattering one room and more about making a home easy to understand at a glance. The best images show layout, light, condition, and the features that matter most to a buyer, without making the property look like something it is not. In this article, I break down the subjects that belong in a strong listing gallery, the styles that fit different homes, the gear and settings that actually help, and the editing choices that keep the work honest.
The short version for busy listing teams
- Clarity wins. Buyers use listing photos to judge flow, space, and condition fast, so the images need to answer those questions quickly.
- The core set usually includes the front exterior, entry, main living area, kitchen, primary suite, bathrooms, and one or two outdoor spaces.
- Style should match the home. Bright and neutral works for most listings, while editorial or twilight approaches only make sense when the property supports them.
- A tripod, a wide-angle lens, and careful white balance do more for consistency than chasing expensive gear.
- Basic corrections are normal, but edits that change the property can create trust and legal problems, especially in California.
- In the U.S., standard listing shoots often land around $110-$300, with a national average near $230 for typical packages.
The rooms and angles that earn attention first
When I plan a shoot, I start with the frames that answer the buyer’s first questions: what does the home look like from the street, how does the main living space flow, and which features make it worth a closer look? That is the real job of listing imagery. It is not to create mystery; it is to remove it quickly.
| Subject | Why it matters | Common mistake |
|---|---|---|
| Front exterior | Sets the first impression and tells buyers what kind of property they are looking at. | Shooting too close, too low, or in harsh midday light. |
| Entry and foyer | Shows the transition from outside to inside and signals the home’s layout. | Skipping it or cropping away the path into the house. |
| Living room | Usually the main gathering space, so it needs to read as open and usable. | Pointing the camera at furniture instead of showing how the room connects. |
| Kitchen | Often the decision-maker room because buyers care about workflow, finishes, and storage. | Photographing only appliances and missing the full room relationship. |
| Primary suite and bath | Signals comfort, privacy, and overall finish level. | Ignoring scale, storage, or the best angle on the bathroom. |
| Outdoor space | Patios, decks, pools, and yards often justify the price or tip a buyer over the line. | Shooting clutter, flat light, or a composition that hides usable space. |
The point is not to photograph every square foot equally. It is to build a gallery that helps someone understand the home in the same order they would walk through it. Once those anchor images are in place, style becomes the next decision.
Choose a visual style that matches the property
There is no single look that works for every home, and I think that is where a lot of listings go wrong. The style should fit the architecture, price point, and target buyer, not the photographer’s favorite preset. A clean suburban resale and a glass-heavy modern build do not need the same visual treatment.
| Style | Best for | Watch out for |
|---|---|---|
| Bright and neutral | Most family homes, starter listings, and broad-market properties. | Overexposure, blown highlights, and a flat look that removes warmth. |
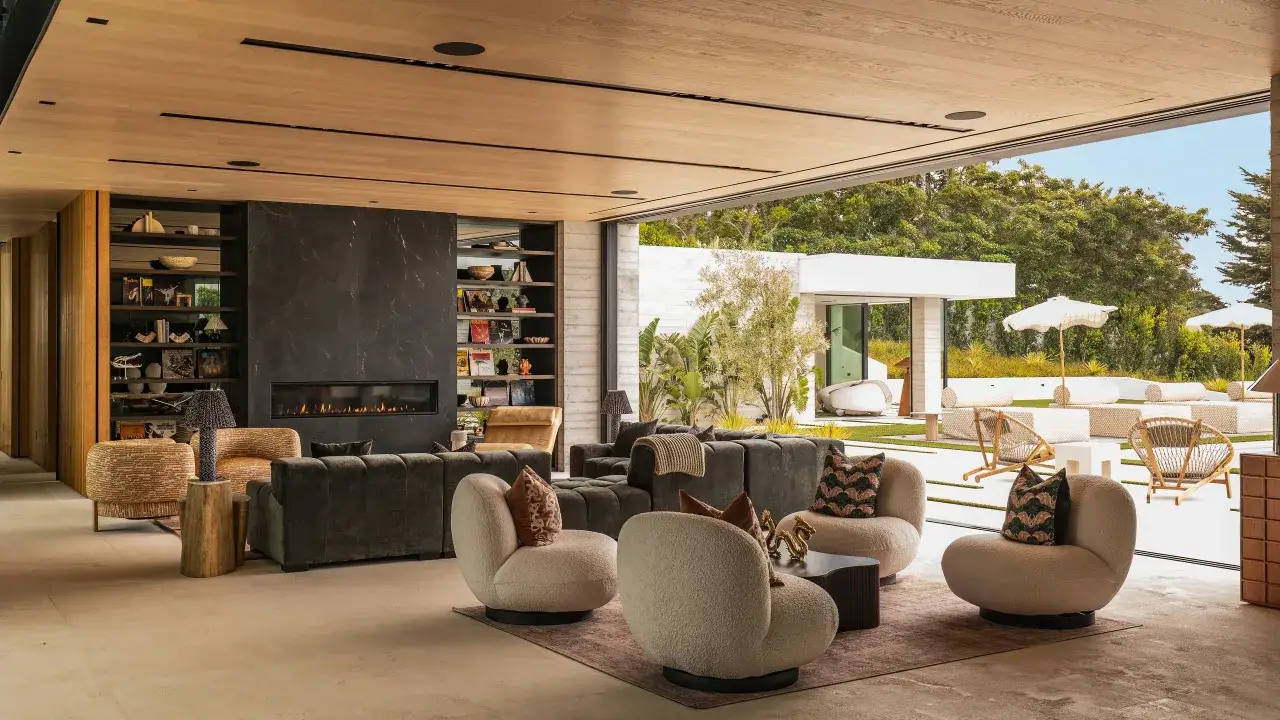
| Editorial and design-led | Architecturally interesting homes and branded marketing pieces. | Making the space feel more like a magazine spread than a real home. |
| Twilight exterior | Luxury facades, strong landscape lighting, and homes that benefit from drama. | Using it on every property, which can feel theatrical or misleading. |
| Lifestyle and detail-led | Renovated kitchens, custom finishes, and high-end seller branding. | Losing the bigger spatial story if the gallery becomes too detail heavy. |
| Documentary-realistic | Older homes, investor listings, and situations where honesty matters more than polish. | Looking unfinished if the lighting and composition are not controlled. |
I prefer a restrained look for most U.S. listings: clean whites, accurate color, straight lines, and enough contrast to make the space feel real. The more expensive or design-driven the home, the more room there is for mood, but even then I would rather be accurate than cinematic.
Once the style is chosen, the next question is how to capture it consistently in the real world, with real light and imperfect rooms.
Light, composition, and camera choices that matter most
Adobe’s beginner guidance still gets the basics right: use a tripod, carry extra batteries, and reach for a wide-angle lens. For interiors, I usually think in the 14mm to 16mm equivalent range; that is wide enough to show a room without turning the edges into a fisheye joke. For many exteriors and detail shots, a 24-70mm zoom is plenty.
- Keep the camera height consistent from room to room so the gallery feels coherent.
- Level the camera and protect your vertical lines; leaning walls read as careless immediately.
- Use soft natural light whenever possible, then add controlled artificial light only where it improves clarity.
- For exteriors, shoot early in the morning or late afternoon when sunlight is softer and shadows are less severe.
- Use a 4:3 framing approach if the platform crops heavily, because it usually gives you more usable image area.
- Check mirrors, glass, and shiny appliances for reflections before you leave a room.
If one exposure cannot hold the room and the window view at the same time, I bracket exposures, meaning I shoot several frames at different brightness levels and blend them later or choose the cleanest file. The goal is not to make the room unrealistically bright; it is to keep the scene readable.
That technical control matters because even a beautiful home can look awkward if the geometry, color, or timing is off.
Edit with restraint and keep the image truthful
Editing should finish the job, not rewrite it. I correct exposure, straighten verticals, balance white tones, remove sensor dust, and tame small color problems. I do not add features that were not there, erase permanent defects, or swap a cloudy view for a better one unless the deliverable is clearly labeled as a conceptual visualization.
That line matters more in 2026 than it used to. In California, AB 723 now requires disclosure when listing photos are digitally altered in a way that changes the property’s appearance, which is a useful reminder for the rest of the U.S. too: basic corrections are normal, but representation changes are another category entirely.
If you are using virtual staging, I would treat it as a separate asset, not a hidden edit. Buyers understand tasteful staging; they react badly to surprises. The safest rule is simple: if an edit changes what a buyer would think they are getting, it should be disclosed or avoided.
Once the editing rules are clear, the last practical question is whether the project should be handled in-house or by a specialist.
What it costs and when DIY stops making sense
For standard listing work in the U.S., RubyHome’s 2026 pricing breakdown puts many professional projects in the roughly $110-$300 range, with a national average around $230 for a typical shoot. Their data also points to standard packages of about 10-25 MLS-ready photos for a 1,500-3,000 square foot home. That is a useful benchmark because it keeps the conversation grounded in actual deliverables, not vague quality claims.
| Option | Typical U.S. cost | Best for | Trade-off |
|---|---|---|---|
| DIY with owned gear | Low cash cost if you already own a camera, tripod, and editing software; time is the real expense. | Small rentals, occasional listings, or teams just starting out. | Results can be inconsistent, and the learning curve is real. |
| Independent professional | Usually $110-$300 per project, with many standard shoots around the middle of that range. | Most resale homes and agents who want reliable quality fast. | You pay for convenience, consistency, and turnaround. |
| Premium package with add-ons | Varies widely depending on drone, video, floor plans, or virtual tours. | Luxury properties, larger homes, and marketing that needs more than stills. | Easy to overbuy features that do not improve the listing. |
DIY can work for a simple rental, a starter listing, or a small team that already has good gear and the time to learn. It stops making sense when speed, consistency, and polished presentation matter more than saving a few hundred dollars. The hidden cost is usually your time, especially once you start correcting perspective, color, and clutter frame by frame.
Whether you shoot yourself or hire out, a simple workflow keeps the result from feeling improvised.
A workflow I would use on the next listing
- Walk the property first and decide the shot list around buyer questions, not room count.
- Open blinds, remove clutter, align lamps, and make the home look calm before the camera comes out.
- Start with the front exterior while the light is soft, then move inside before the day changes too much.
- Photograph the largest and most important spaces first, then work through secondary rooms and detail shots.
- Review each room on site for verticals, reflections, mixed lighting, and missed angles.
- Back up files immediately, edit only what needs correction, and deliver the gallery in a consistent order.
If I had only one rule for residential images, it would be this: make the home easier to understand than it was before you arrived. The best galleries are not the flashiest ones; they are the ones that help a buyer decide quickly, honestly, and with fewer surprises once they walk through the door.
