
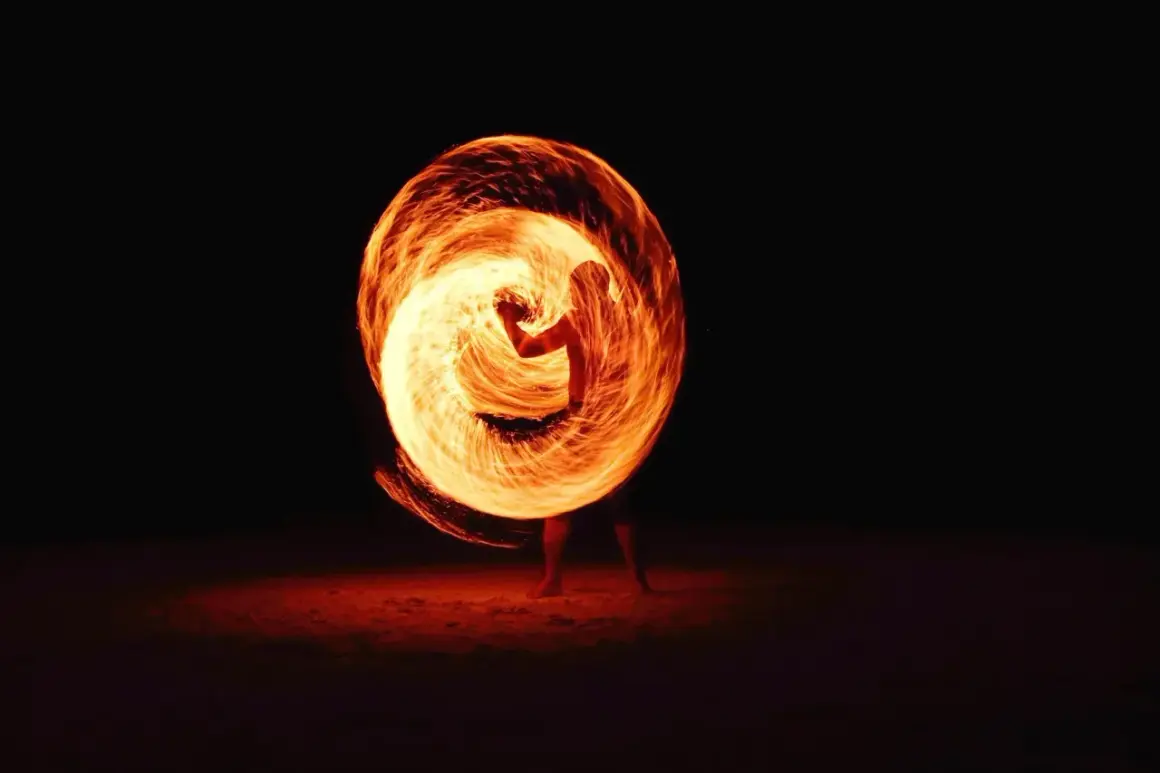
Fire photography sits at the edge of portrait, action, and low-light work. The frame can change in a fraction of a second, the highlights clip fast, and the safest setup is often not the closest one. In this article, I’m focusing on the practical side: how to choose the right subject treatment, set exposure, work safely, compose for glow and motion, and edit the result without making it look artificial.
The essentials to get right first
- Decide whether you want a frozen flame, a moving trail, or a wider scene before touching camera settings.
- Protect highlights first; flame detail disappears faster than shadow detail.
- Manual focus or single-point autofocus usually works better than full auto when smoke and heat are in the frame.
- Tripods, remote releases, and a slightly longer lens make the shoot safer and cleaner.
- Subtle editing usually beats heavy saturation or contrast tricks.
Choose the right approach for the kind of flame you are shooting
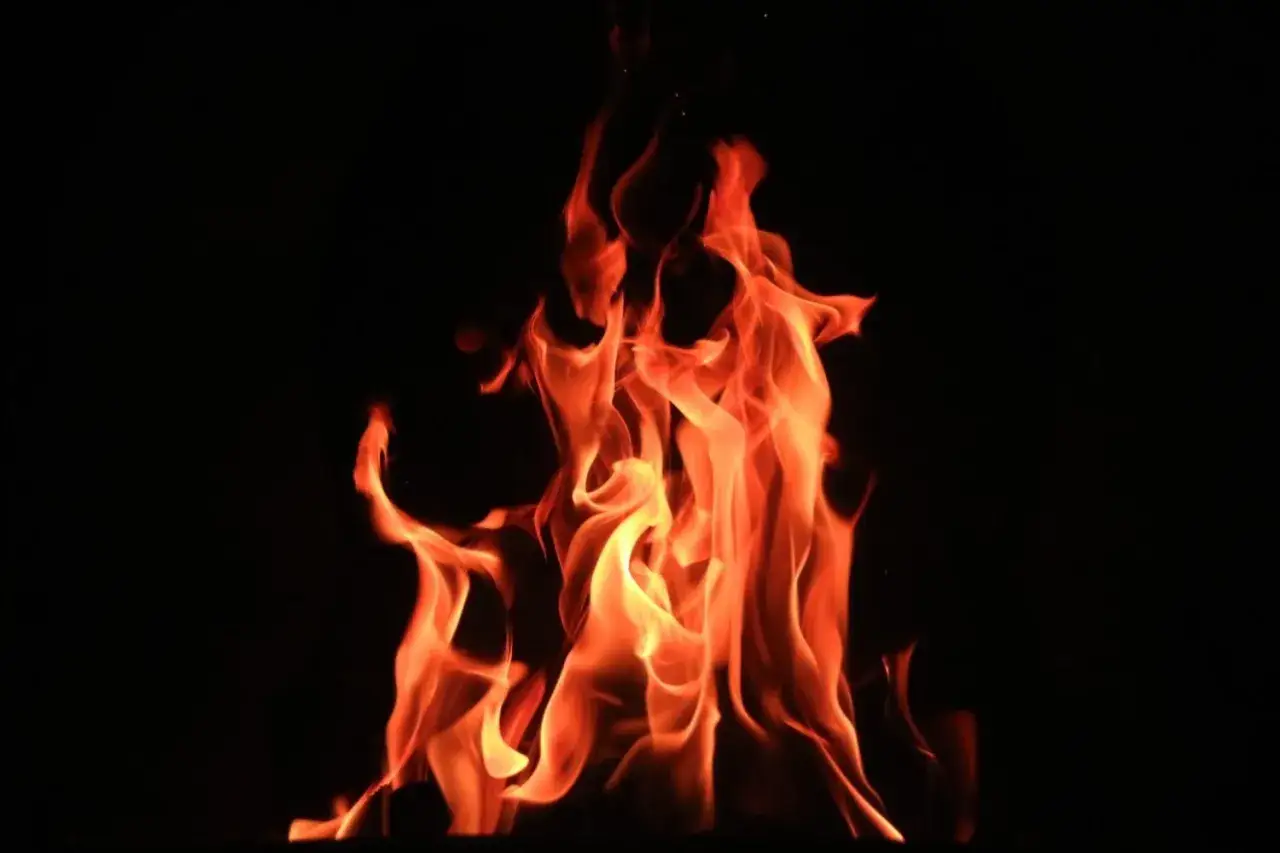
The subject determines the method. A campfire portrait, a fire breather, a fireplace interior, and a distant documentary scene all need different shutter speeds, distances, and lenses. I start by deciding what the frame should communicate: warmth, motion, danger, ritual, or simple visual texture.
| Subject type | What I’m trying to show | Good starting point |
|---|---|---|
| Campfire or fireplace | Warmth, texture, and mood | 1/60-1/250 sec, f/2.8-f/5.6, ISO 400-1600 |
| Fire performer or fire breather | Face, motion, and flame shape | 1/250-1/1000 sec, f/2.8-f/4, ISO 800-3200 |
| Sparks, embers, or long exposure trails | Light streaks and motion | 0.5-2 sec on a tripod, f/8-f/11, ISO 100-400 |
| Documentary fire scene from a distance | Scale, context, and environment | 1/125-1/500 sec, f/4-f/8, ISO 400-3200 |
I do not start by asking, “How do I photograph fire?” I start by asking what kind of fire story the frame should tell. A bonfire portrait wants a different lens, distance, and shutter speed than a spark trail or a wide environmental shot, and that decision filters almost everything else. Once that is clear, exposure becomes a lot less guessy.
Dial in exposure before the flame gets away from you
Flames overexpose easily, which means the usual beginner instinct is backwards: you usually need to hold back the exposure a little instead of pushing it brighter. I like to work in manual mode because the fire itself changes too quickly for the camera to guess well, but aperture priority can still work if you watch compensation closely.
- Shutter speed around 1/250 sec is a useful starting point when you want to freeze the flame’s shape. Move faster, toward 1/500 sec or 1/1000 sec, if the fire is whipping around or if a performer is moving quickly.
- Shutter speed around 1/2 to 2 seconds works better when you want trails, embers, or spark arcs. That almost always means a tripod.
- Aperture around f/2.8-f/4 helps if you want a single person isolated against the glow. f/5.6-f/8 gives more depth if you need the scene and the flame to stay readable together.
- ISO is usually best kept as low as the scene allows. I start around ISO 400-1600 for handheld night work and drop to ISO 100-400 when the camera is locked down.
- White balance near 2800K-4000K gives you control over how warm the flame looks. Auto white balance often cools the scene more than I want.
- Metering should protect the brightest part of the flame. A slight underexposure, often around -0.3 to -1 EV, is safer than clipping the fire and trying to rescue it later.
One small habit makes a big difference: I check the histogram, not just the LCD preview. The screen can make a flame look richer than it really is, while the histogram will tell you if the highlights are smashed. I would rather lift shadows later than lose the edge detail forever. With exposure under control, the next issue is whether the scene is actually safe enough to shoot well.
Build a safe setup that does not fight the fire
Safety is not optional when the subject can spread heat, ash, or sparks. In the United States, local burn bans, venue rules, and fire codes vary by state and county, so I check the rules before I set up anything controlled. If the shoot is part of a live event, I also make sure I understand who is responsible for the flame, who is controlling the space, and where I am allowed to stand.
- Watch the wind before you commit to a position. If smoke is blowing across faces, lenses, or exits, I move or wait.
- Use a longer lens when it lets you step back. A telephoto or normal zoom often gives you a safer angle without sacrificing the shot.
- Bring a water source or extinguisher for any controlled flame setup, even if the fire looks small.
- Keep fabric, straps, and loose gear away from the heat source. A small ember on the wrong material can ruin the shot and the day.
- Never block performers, crew, or firefighters. If the scene is an actual emergency, I stay out of restricted zones and follow the incident command structure.
I also protect the gear itself. Ash and soot are not dramatic in a good way when they end up inside a lens mount or on a sensor cover. A hood, microfiber cloth, and a little extra distance go a long way. Once the setup is safe, I can think about making the frame feel intentional instead of merely documented.
Compose for glow, smoke, and movement
Fire gives you a bright subject inside a dark scene, which is useful but also unforgiving. The easiest way to make the image look amateur is to put the flame dead center against a messy background and call it done. I get better results when I treat the fire as one part of a larger composition, not the only thing that matters.
- Use a dark, simple background whenever possible so the flame reads clearly.
- Place the fire off-center and leave negative space where the light can breathe.
- Include a person, a fireplace mantel, a campsite, or architecture if you need scale and context.
- Shoot from a lower angle when you want the flame to feel larger and more dramatic.
- Use smoke on purpose when it creates shape or atmosphere, but avoid it when it blocks detail.
- Look for reflections in water, glass, polished floors, or metal if you want a more layered image.
Lens choice changes the mood too. A 35mm or 50mm lens is useful when I want context around the fire. An 85mm or longer lens compresses the scene and makes the flame feel more isolated. Neither is inherently better; the right choice depends on whether I want intimacy or distance. Once the frame is built cleanly, editing becomes about restraint rather than rescue.
Edit for warmth, not orange soup
I prefer RAW files for flame scenes because the highlight data matters more than in most ordinary night shots. Fire can look rich and detailed in camera, then turn flat or oversaturated very quickly if the edit is pushed too far. My first pass is always technical: protect the highlights, clean the black point, and make sure the flame still looks like light, not a neon sticker.
- Recover highlights first, then warm the midtones if the image still feels too cool.
- Use local masks on the flame instead of blasting the whole frame with saturation.
- Pull back orange and yellow if the fire starts looking synthetic.
- Apply dehaze or clarity lightly when smoke needs structure, but stop before the image looks crunchy.
- Use noise reduction carefully so sparks and flame edges stay sharp.
- Crop away clutter that competes with the light source.
The goal is not to make the fire bigger in post. It is to preserve the feeling you saw on location. If the scene was moody, let it stay moody; if it was sharp and intense, keep that edge without over-processing it. The final step is avoiding the mistakes that quietly ruin otherwise good frames.
The mistakes that ruin most flame shots
Most weak flame images fail for a few predictable reasons. The good news is that once you know them, they are easy to spot before you press the shutter. I think of these as the traps that turn a promising frame into a flat or unsafe one.
| Common mistake | Why it hurts | Better move |
|---|---|---|
| Overexposing the flame | The hottest part becomes a white blob with no texture | Underexpose slightly and check the histogram |
| Using the wrong shutter speed | The fire looks either frozen in a dead way or blurred beyond recognition | Choose fast shutter speeds for shape, slow ones for trails |
| Letting autofocus hunt through smoke | The camera locks onto the wrong edge or never settles | Use manual focus or a single focus point on a stable area |
| Ignoring the background | Distracting clutter weakens the frame and the fire loses impact | Simplify the scene or change position |
| Over-editing the color | The image stops feeling like real flame and starts looking digital | Keep the warmth believable and adjust locally |
The pattern is simple: either the image gets too close to the flame or too far from the truth. The better shot usually sits between those extremes. By the time I reach that balance, I know the frame is doing real work instead of just showing light. That is what makes the subject hold up on a blog, in a portfolio, or in a client deck.
What the strongest flame images usually share
The strongest flame images rarely come from luck. They come from a controlled setup, a deliberate choice between freezing and blur, and an edit that respects the brightness of the fire. When I am on a real shoot, I take a test frame, check the histogram, and then change only one variable at a time: shutter, aperture, or ISO.
If you are working with a controlled set piece or a simple bonfire, that disciplined approach gets you farther than a bag full of presets. The best images feel intentional because every bright edge, shadow, and background choice was made on purpose, and that is what separates a useful fire image from a forgettable one.
