
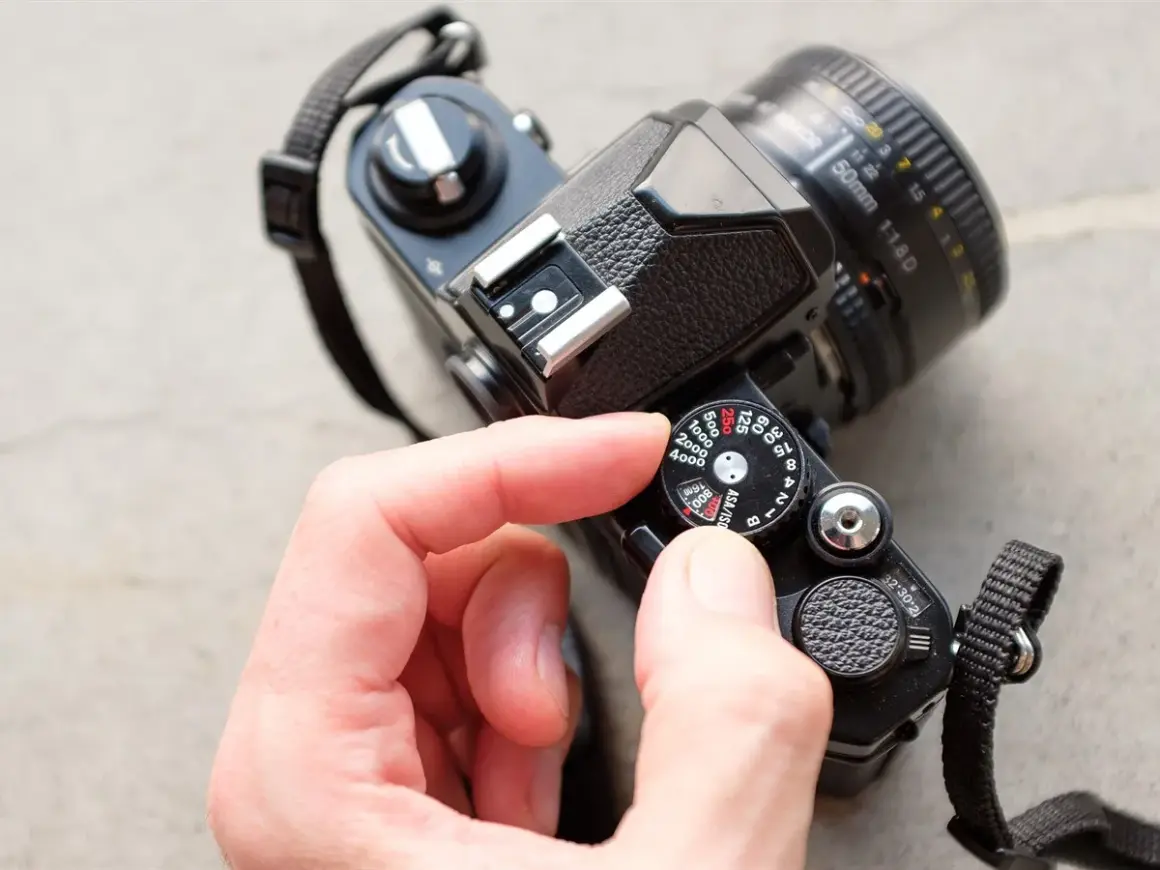
A film camera turns light into a physical negative or positive on photographic film, which is why the process feels slower, more deliberate, and often more rewarding than digital capture. In this article, I explain how the camera works, which formats matter, how film differs from digital, and what you actually need before shooting your first roll.
The essentials at a glance
- A film camera records light on photographic film instead of on a digital sensor.
- The lens, shutter, aperture, and film stock all shape the final image, not just the camera body.
- 35mm is the easiest format to learn, while medium and large format trade speed for detail and control.
- Film adds cost per shot because every roll must be developed and usually scanned.
- The medium is still relevant because it changes the pace, look, and discipline of shooting.
What is a film camera in practical terms
A film camera is a camera that exposes a strip of light-sensitive film instead of writing image data to a sensor. The film records the scene as a latent image, which means the picture is there in a chemical sense before it becomes visible in the lab. That is why film photography feels physical in a way digital capture does not: you are not creating a file, you are creating a negative or positive that has to be processed later.
Most people think of the body as the whole system, but the camera is really a set of controls around a very simple job. The lens shapes the scene, the shutter decides how long light hits the film, the aperture decides how much light gets through, and the film stock decides how the image responds to contrast, grain, and color. Once that idea is clear, the rest of the workflow becomes much easier to follow.
The same basic principle also extends to motion-picture cameras, which expose frame after frame on moving film. Still cameras simply do it one frame at a time, and that difference matters later when we talk about formats and workflow.
How the exposure process works
Exposure is the part beginners overcomplicate. In practice, I treat it as a balance between shutter speed, aperture, and film speed: shutter speed freezes or blurs motion, aperture changes brightness and depth of field, and ISO tells you how sensitive the film is to light.
- Shutter speed controls how long the film is exposed, so slower speeds can blur motion and faster speeds can freeze it.
- Aperture controls the size of the opening in the lens, which affects both brightness and depth of field.
- Film speed tells you how much light the stock needs. ISO 100 works well in bright light, ISO 400 covers most everyday situations, and ISO 800 or above helps when the light drops.
- Development turns the latent image into a visible negative or positive, which means the final result depends on both shooting and processing.
That last part matters more than many people expect. Color negative film is usually forgiving and easy to scan, black-and-white film is excellent for learning because it can be developed in many ways, and slide film rewards precision but gives you much less room to miss exposure. Once you see how those pieces interact, the choice of format starts to make more sense.
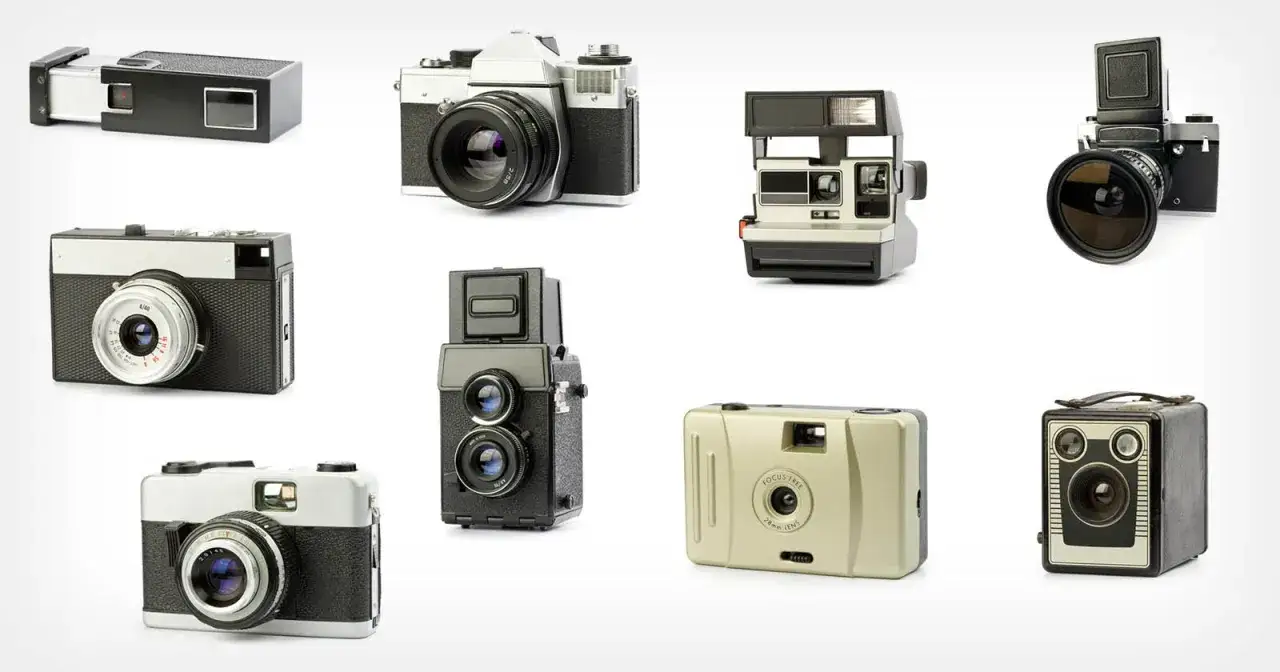
The main film camera formats and what each one is good for
| Format | Typical frame count | Best for | Main tradeoff |
|---|---|---|---|
| 35mm | 24 or 36 frames | Learning, travel, street, everyday shooting | Smaller negatives and less detail than larger formats |
| Half-frame | 48 or 72 images from one roll | Budget-friendly practice, travel, casual experimentation | Smaller image area, so grain and softness show more easily |
| Medium format | 8, 10, 12, or 16 frames depending on the camera | Portraits, fashion, landscapes, controlled work | Bigger gear, higher cost per shot, slower handling |
| Large format | 1 sheet per exposure | Product, architecture, fine art, maximum control | Tripod-first workflow and much more setup time |
If you hear the term SLR, it means single-lens reflex: you view the scene through the same lens that takes the picture, which makes framing and focusing straightforward. That is one reason I keep coming back to 35mm SLRs as the easiest learning platform. Half-frame cameras sit inside the 35mm world, so you still buy standard rolls, but each exposure covers half a frame.
I would not push a beginner straight into medium or large format unless they already know they want a slower, more methodical process. A solid 35mm body is usually the best teacher because it is forgiving enough to practice on without making every mistake expensive. The right format depends on how much speed, detail, and control you want, which is why the film-versus-digital comparison matters next.
Film versus digital is a workflow choice
| Factor | Film | Digital |
|---|---|---|
| Feedback | You see the result after development or scanning | You see it immediately |
| Cost per frame | Ongoing cost for film, processing, and scans | Near zero once you own the gear |
| Exposure tolerance | Negative stocks can be forgiving; slide film is not | RAW files give more post-shoot flexibility |
| Workflow | Slower, physical, and lab-dependent | Faster, file-based, and easier to iterate |
| Look | Grain, texture, and stock character are part of the result | Cleaner base image, often more neutral |
I do not think film is better than digital across the board. Film is better when the physical process is part of the creative result, when you want a distinct rendering, or when slower shooting improves your decisions. Digital is better when you need speed, volume, instant review, or client turnaround. For most modern production work, digital is the practical default; film is the intentional choice.
If film is the path you choose, the gear list is smaller than most people expect, but the details are what save you from a disappointing first roll.
What you need to shoot film without frustration
The starter kit is simpler than the mythology around film would suggest. I usually tell beginners to prioritize a working camera over a collectible one, because a beautiful body with a dead shutter teaches you nothing except disappointment.
- A reliable body with a working shutter, clean film advance, and intact light seals.
- A normal lens, usually a 50mm on 35mm, because it keeps perspective familiar while you learn composition.
- The right stock: ISO 100 for bright daylight, ISO 400 for general use, ISO 800 or above for low light or indoor scenes.
- Some way to meter, whether that is the camera’s meter, a handheld meter, or a phone app you trust.
- A development plan so you know in advance where the roll will be processed and scanned.
- Spare batteries if your camera needs them for metering or automation.
I would rather begin with a modest 35mm SLR than with a rare collectible, because the goal is to learn how light, shutter speed, and aperture behave together. If the first setup feels straightforward, the rest of the process stops feeling mysterious. Most first-roll disasters come from setup mistakes, and they are easier to avoid than they look.
Common mistakes beginners make
The mistakes I see most often are rarely artistic mistakes. They are usually simple mismatches between the camera, the film, and the user’s expectations.
- Buying for looks alone. Check the shutter, meter, advance lever, seals, and lens before you buy. Cosmetics do not matter if the camera cannot expose film correctly.
- Forgetting to match ISO. Set the meter to the film’s speed, not the speed you wish the film had. ISO 400 loaded but metered as ISO 100 will overexpose the roll.
- Ignoring processing costs. A roll is only the start; development and scans are part of the real budget, which is why film rewards planning more than impulse shooting.
- Shooting without notes. Record settings for a few frames. That habit is the fastest way to spot what worked when the scans come back.
- Expecting digital rescue. Film can be forgiving, but it does not offer the same instant feedback or post-shoot flexibility. Expose carefully and accept that some learning happens on the roll.
Once you stop making those mistakes, the appeal of film becomes clearer, because the constraints are part of what makes the medium satisfying.
Why film still matters for photographers and filmmakers
Film still matters because it changes the pace of the work. The slower workflow encourages more deliberate framing, and that deliberate pace often improves composition, subject choice, and light reading. It also gives many photographers a look that is hard to fake convincingly: grain with character, color response tied to the stock, and a physical negative that can be archived, rescanned, and revisited later.
That is why film continues to show up in portrait work, street photography, editorial projects, and even motion production. A stills photographer may use film for texture and discipline, while a filmmaker may reach for 16mm or 35mm when the image needs to feel tactile instead of clinical. In both cases, the medium is doing more than recording a scene; it is shaping how the scene feels.If you want the smoothest entry point, start with a setup that makes the learning curve gentle.
Start with one simple setup and let the first roll teach you
If I were starting from scratch today, I would choose a clean 35mm SLR or a simple compact camera, one standard lens, and a roll of ISO 400 color negative film. That combination is forgiving, common enough to support, and simple enough that you can focus on learning exposure instead of fighting the gear.
- Pick one film stock and shoot it for a few rolls before changing variables.
- Use the camera’s meter if it works; if not, use a handheld meter or a dependable phone app.
- Inspect the shutter, light seals, film advance, and viewfinder before the first roll.
- Keep a small notebook or notes app for frame number, aperture, shutter speed, and lighting.
- Judge the process over multiple rolls, not one bad development run.
The fastest way to enjoy film is to remove unnecessary decisions. Once the camera, film, and workflow are stable, the medium stops feeling fragile and starts feeling intentional, which is the real reason people keep coming back to it.
