
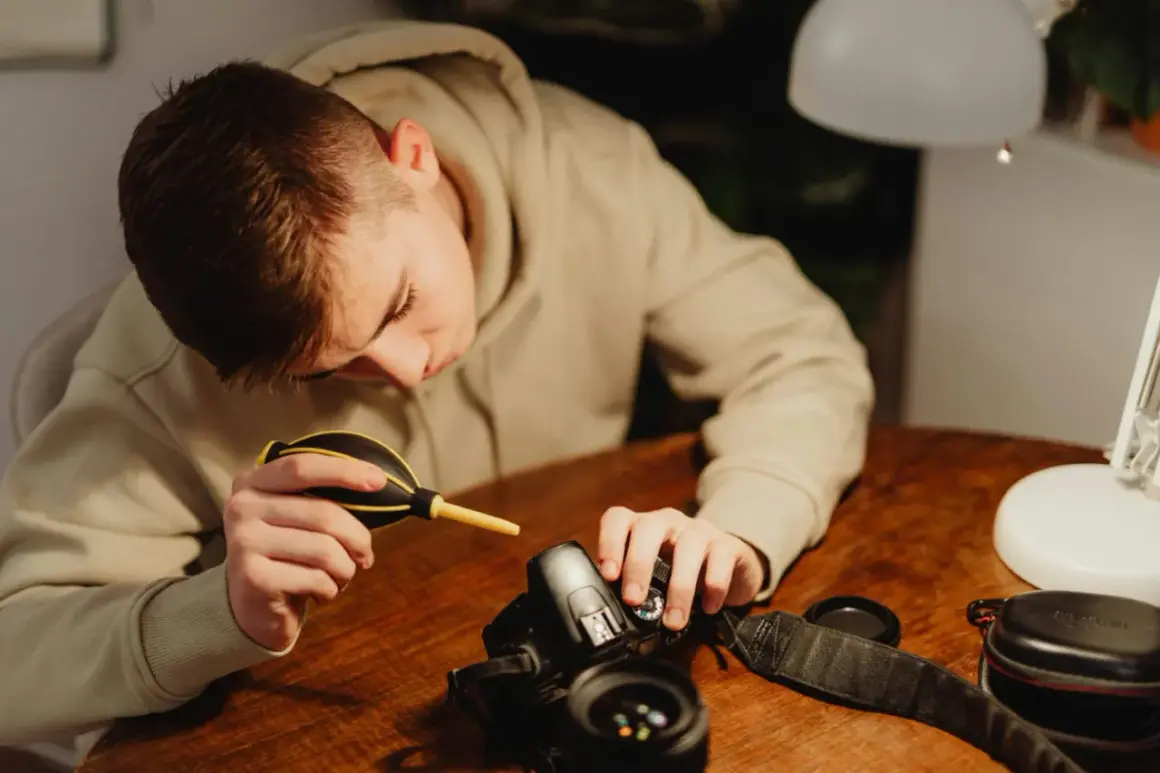
Camera cleaning is one of those maintenance tasks that pays for itself the first time dust, fingerprints, or a stubborn sensor spot threaten a shoot. In this guide, I walk through what actually needs attention on a camera, which products are worth buying, how I clean gear without risking damage, and when I stop and hand the job to a technician.
Keep the least invasive tool in your hand for as long as possible
- Start with a blower for loose dust; it solves more problems than most people expect.
- Use microfiber cloths and lens solution only for smudges, not for grit.
- Sensor dust is different from body dust and should be handled much more carefully.
- A useful starter kit in the U.S. usually lands around $20 to $40.
- Household glass cleaners, canned air, and hard rubbing are the fastest ways to damage coatings.
- If the camera still shows spots after a careful pass, professional service is usually cheaper than a mistake.
What actually needs cleaning on a camera
I separate camera maintenance into three jobs: removing loose dust, removing smudges, and dealing with the sensor. Those are not the same thing, and mixing them up is where people usually create damage instead of fixing it. A dusty body is mostly a cosmetic and handling problem; a dirty front element can reduce contrast; a dirty sensor can put visible spots into every file until it is addressed.
For most cameras and lenses, the usual trouble spots are the front and rear glass elements, the LCD, the grip, the buttons, the lens mount, the battery contacts, and the viewfinder area. On interchangeable-lens bodies, I also pay attention to the sensor chamber any time a lens comes off. If spots appear in the photo itself, the lens or sensor is the real suspect. If dust is only visible in the viewfinder on a DSLR, that may be a separate issue and not a file-quality problem.
That distinction matters because the right cleaning method depends on the part. I can wipe a body shell more freely than I can touch a sensor chamber, and I can clean a lens surface more confidently than a delicate internal component. Once that is clear, the tool choice becomes much easier.
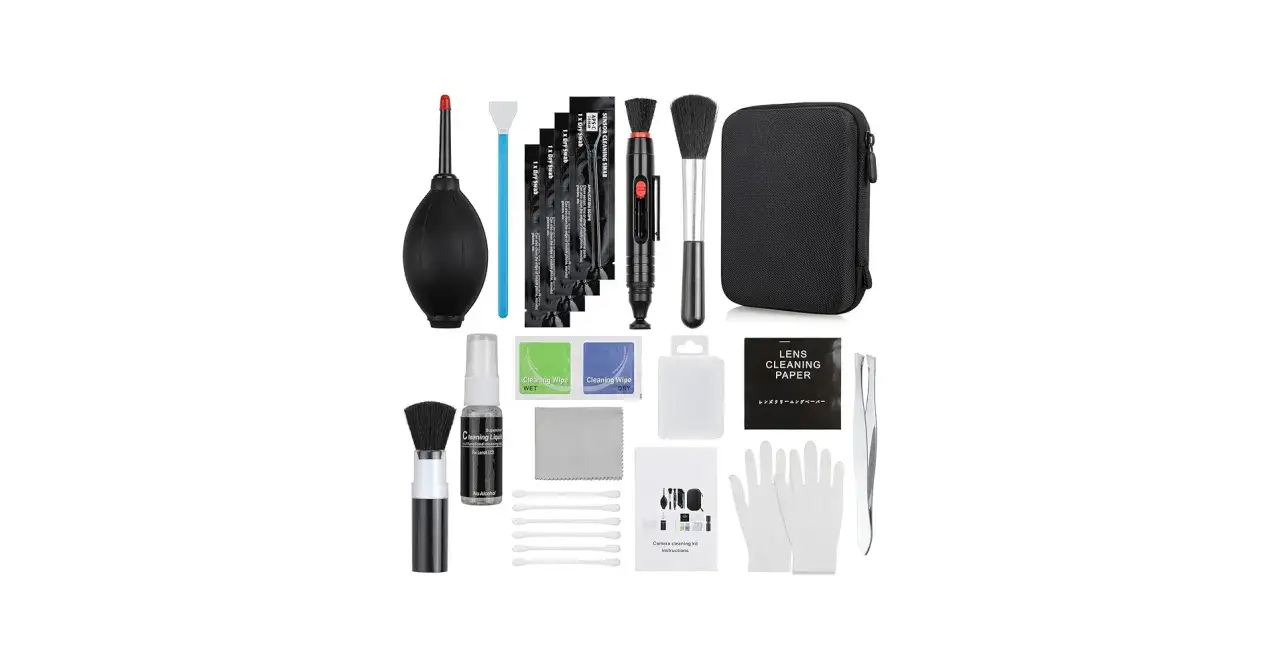
The kit I trust for routine maintenance
| Tool | Best use | What I avoid doing with it | Typical U.S. price |
|---|---|---|---|
| Rocket blower | Loose dust on lenses, mounts, body seams, and sensor chambers | Using it on sand, grit, or anything already stuck tight | $8 to $20 |
| Microfiber cloth | Body shells, LCDs, lens barrels, filters, and eyepieces | Rubbing abrasive dust into glass | $8 to $18 for a pack |
| Lens cleaning solution | Grease, fingerprints, and stubborn smears on optical glass | Spraying directly onto the lens | $6 to $15 |
| Lens pen or soft brush | Light touch-ups after dust has already been removed | Using it on visible grit or heavy residue | $8 to $20 |
| Sensor swabs | Stubborn sensor dust or smears when dry cleaning is not enough | Reusing a swab or using the wrong size | $10 to $35 |
| Sensor brush | Dry dust removal from the sensor when handled correctly | Dragging a dirty brush across the sensor area | $15 to $30 |
For a sensible starter setup, I usually budget $20 to $40. If you want enough supplies for sensor work as well, $30 to $60 is a more realistic number. That is still far cheaper than replacing a scratched lens coating or paying for an avoidable repair. The pattern I keep seeing in manufacturer guidance is simple: blower first, cloth second, liquid only when the surface truly needs it.
My safe cleaning sequence for bodies, lenses, and screens
I work from the outside in and from the least risky method to the most targeted one. That keeps me from smearing grit across coated glass or pushing dust deeper into seams.
- Move to a clean indoor space with the camera powered off and the lens cap on if possible.
- Use the blower first to remove loose dust from the body, buttons, mount area, and lens surface.
- Wipe the body shell, grip, and LCD with a dry microfiber cloth before touching any optics.
- For fingerprints or oily marks on glass, put a small amount of lens solution on the cloth, not on the glass itself.
- Wipe the lens in gentle passes, usually from the center outward, and switch to a clean section of cloth as soon as the cloth picks up grime.
- Clean battery contacts and port covers only with a dry cloth or a very light touch from a blower.
- Finish by capping the lens and body so new dust does not undo the work.
I am careful with pressure here. If I have to press hard, I usually stop and ask whether I am dealing with dust or a stubborn residue that needs a different approach. Sony and Canon both lean toward that same practical mindset in their maintenance guidance: work gently, keep liquids controlled, and do not spray cleaners straight onto sensitive surfaces. That approach is boring, but it protects coatings and saves money.
Why sensor dust is different and how I handle it
The sensor is where caution matters most. Loose dust on a front element is annoying; dust on the sensor can show up as dark spots in finished images, especially at smaller apertures like f/11 to f/16. I check for it by shooting a plain bright surface, such as a blank wall or sky, with the lens stopped down and the focus out of the way. That makes dust easier to see than by staring into the camera body.
Before I touch anything, I use the camera’s built-in cleaning function if it has one. Some cameras are designed to shake loose dust that settles near the sensor, and it is worth using that feature before any manual cleaning. When I do clean manually, I face the body slightly downward, use a blower gently, and avoid letting the nozzle touch the chamber. I do not use a spray can, and I do not blast hard enough to stir up more debris than I remove.
If dust remains after a careful dry pass, I move to the right size sensor swab and a proper cleaning fluid made for sensors. That is a one-job tool, not something I keep rubbing back and forth until it looks perfect. If I cannot get a clean result quickly, I stop. Canon’s service options make the point plainly: internal cleaning is a legitimate maintenance task, but it is also the place where professional help earns its fee.
Mistakes that cause scratches, haze, or smear problems
- Using canned air or a spray blower on the sensor chamber, which can force propellant or debris into the body.
- Wiping a dusty lens before blowing off the grit first, which can drag particles across the coating.
- Using household glass cleaner, ammonia cleaners, or random solvents on coated optics.
- Spraying liquid directly onto the lens or LCD instead of onto the cloth.
- Using paper towels, T-shirts, napkins, or rough fabric that can leave fibers or micro-scratches.
- Scrubbing the sensor area when the real problem is a stubborn particle that needs a different method.
- Cleaning in wind, on the beach, or in a dusty garage, where you are basically feeding the problem more debris.
One mistake I see a lot is impatience. People go straight to a cloth because they want the glass to look clean immediately, but that is how grit becomes a scratch. Another is overconfidence with liquid. A tiny amount is enough for smudges; more than that just creates streaks and increases the chance of seepage into places that should stay dry.
When I stop and hand the camera to a technician
I stop doing it myself when the problem is inside the lens, when the sensor keeps showing spots after a careful dry clean, when there is visible fungus or haze, or when the camera has been exposed to saltwater, heavy rain, or sticky residue that should not be guessed at. I also stop if I am tired or rushed. That sounds obvious, but rushed cleaning causes a lot of expensive regret.
In the U.S., a professional sensor cleaning often falls in the roughly $50 to $100 range, depending on the shop, turnaround, and whether the body is full-frame or smaller. That is a reasonable bill when compared with the cost of a damaged sensor or a scratched lens element. If the camera is a daily work tool, I think of that fee as maintenance, not an indulgence.
My rule is simple: keep a blower, two microfiber cloths, and the right liquid in the bag, do the easy work often, and leave the risky internal jobs to someone who does them all day. That is the cleanest way to protect the gear and the files it produces.
