
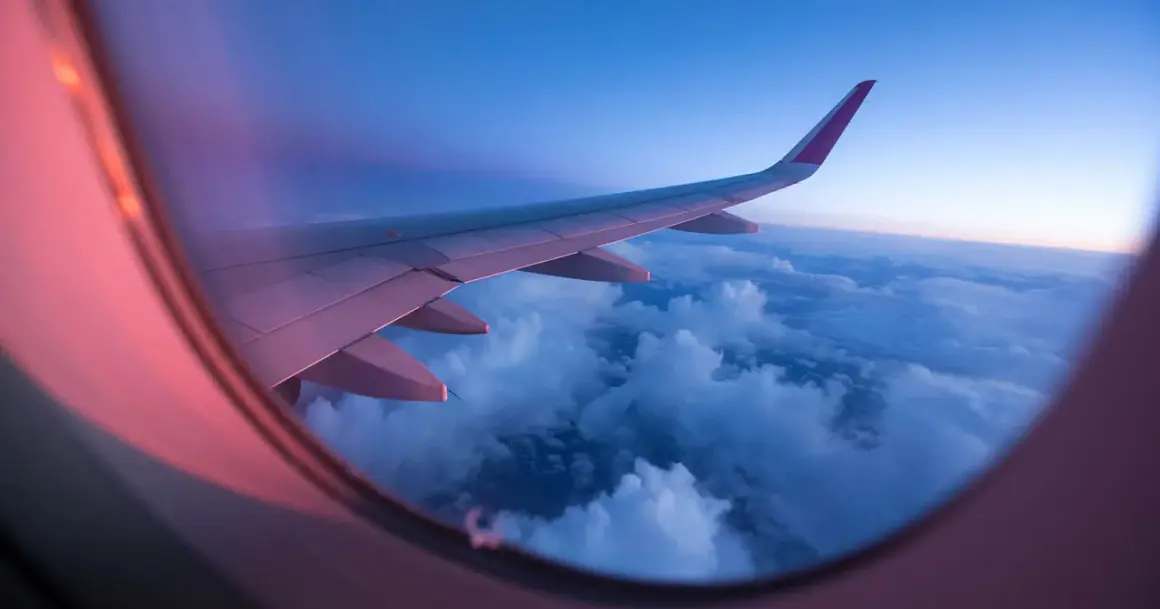
An airplane window can work like a frame, a filter, and a liability all at once. The strongest in-flight photos usually come from a simple set of choices: pick the right seat, control reflections, and match the subject to the light instead of forcing every scene into the same treatment. This article breaks down what to shoot, how to keep the frame sharp, and how to edit the result without flattening the atmosphere.
What matters most before you press the shutter
- Seat choice matters. The best frame depends on whether you want a clean horizon, the wing, or a more graphic composition.
- Reflections are the main problem. Getting the lens close to the glass and blocking cabin light usually helps more than post-processing.
- Some subjects work better than others. Clouds, coastlines, city grids, storms, and wing details usually hold up better than small distant objects.
- Fast, simple settings win. Start with a fast shutter, a low ISO, and focus near infinity or on the distant scene.
- Edit gently. Crop, correct color, and reduce glare, but stop before the image starts looking synthetic.
Why the seat and side of the aircraft matter
I look at seat choice first because it decides more than most people expect. Forward of the wing usually gives a cleaner horizon and less structural clutter, while a seat above the wing is better when the wing itself is the story. If I know I want coastline geometry, city lights, or a clean cloud deck, I choose the side that gives the subject daylight rather than shadow.
| Seat position | What it gives you | Best use | Main trade-off |
|---|---|---|---|
| Forward of the wing | Cleaner view, less obstruction | Landscapes, coastlines, cities, cloud layers | Less aircraft context |
| Over the wing | A built-in foreground element | Graphic travel frames, takeoff, descent, sunlit wing shots | More structure in the frame |
| Aft of the wing | Different engine and flap geometry | Abstract motion, contrails, layered weather | More heat shimmer and visual clutter |
At sunrise and sunset, side choice matters even more. If the sun lands behind the glass, reflections rise fast; if it lands behind the subject, color separation improves and the scene feels deeper. Once the seat is doing part of the work, the next obstacle is the glass itself.
How to beat reflections without fighting the cabin
Most weak cabin shots fail for the same reason: the photographer leaves too much space between the lens and the window. Nikon's aviation guidance matches the same rule: keep the lens as close to the glass as you can without forcing the camera to wobble. I press the lens or phone close, then remove every bright source behind me that I can control. That usually means dimming screens, avoiding light-colored sleeves in the frame, and using my body as a simple shadow shield.
| Problem | What usually causes it | Best fix |
|---|---|---|
| Ghost reflections | Reading lights, phones, and seatback screens behind you | Block stray light and keep the lens flush to the glass |
| Washed-out contrast | A gap between the camera and the window | Close the gap completely and avoid shooting from an angle unless you have to |
| Soft haze | Scratches, grime, and cabin glow | Reposition slightly, use the cleanest patch of glass, and shoot RAW |
| Visible interior shape | Bright clothing or a glowing screen | Use a dark layer, towel, or hand to block the reflection path |
When a frame is still compromised, I treat post-processing as rescue, not as a substitute for discipline. Adobe has added AI-assisted reflection removal in current Lightroom and Camera Raw workflows, and that can save a few images, but it works best when the original shot is already clean enough to support it. That leads naturally to the most important creative decision: what kind of subject actually belongs in the frame.
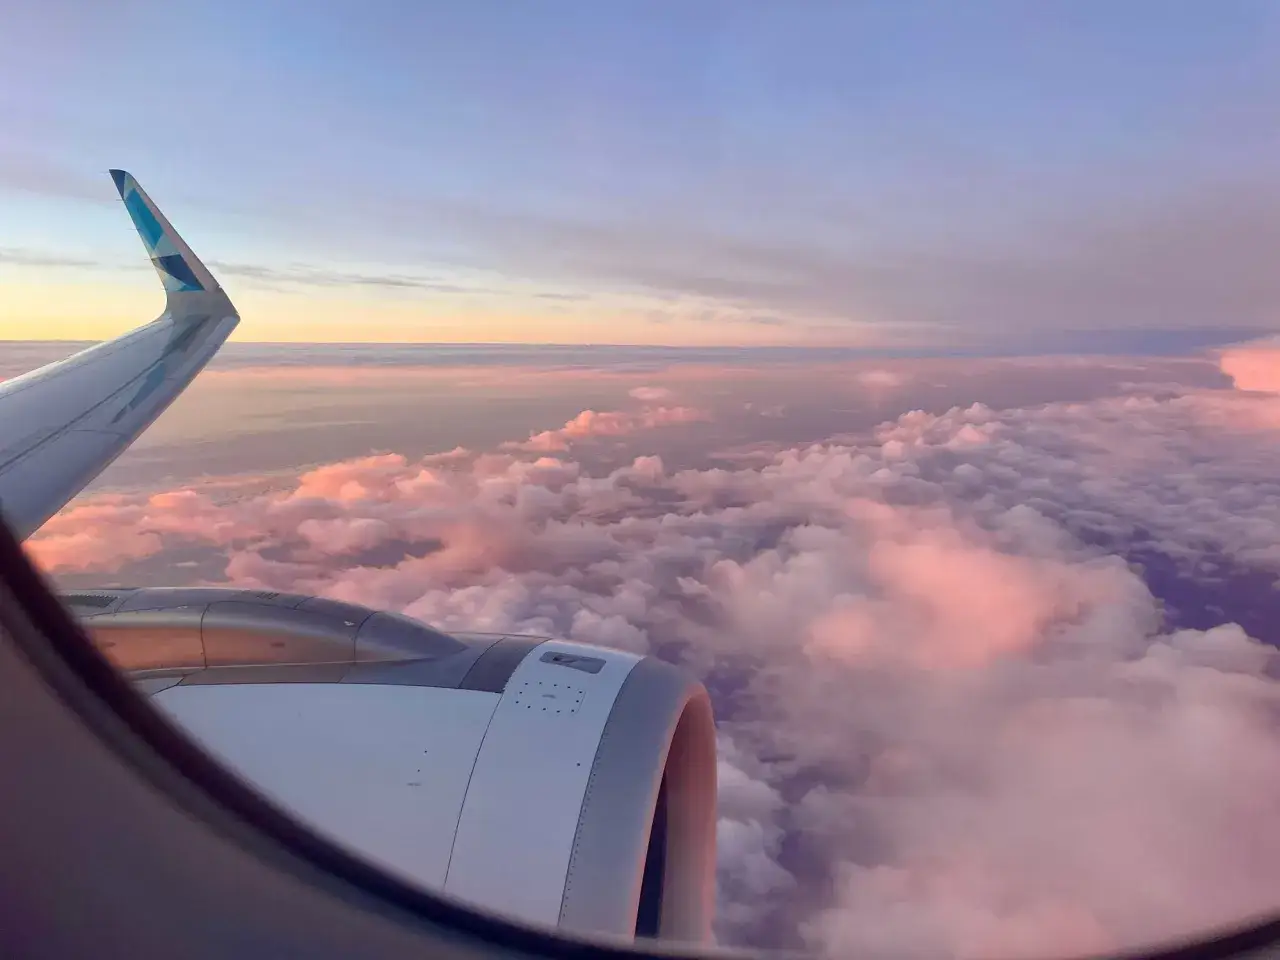
What subjects are worth shooting from altitude
The best in-flight images usually fall into a few visual families, and each one asks for a different way of seeing. I think about them less as travel snapshots and more as styles: minimalism, documentary travel, weather photography, night geometry, and abstract color.
| Subject | Best conditions | Why it works |
|---|---|---|
| Wing and engine geometry | Departure, descent, low sun | Gives the frame scale and a strong graphic anchor |
| Cloud decks and layers | Clear top-of-cloud light or after a storm | Creates texture without needing a busy foreground |
| Coastlines and river systems | Bright daylight with visible land detail | Offers natural leading lines and easy visual structure |
| City grids and runway lights | Dusk and final approach | Patterns become readable and the contrast gets stronger |
| Storm edges and weather fronts | When weather is active but safely distant | Brings drama, scale, and a sense of motion |
For a cleaner, more editorial look, I like simple compositions with a single subject and lots of negative space. For a more cinematic result, I look for edges: wing against cloud, land against water, bright city against deep blue dusk. The subject you choose determines the style, so the next question is how to keep that subject sharp enough to matter.
Settings that keep the frame sharp in real cabin light
In-flight photography rewards simple, dependable settings more than clever ones. On a camera, I usually start with a shutter speed between 1/250s and 1/1000s, depending on how bright the scene is and how much vibration I feel. For most daylight scenes, ISO 100 to 800 is a practical range, and I keep the aperture fairly open unless I need more depth or a very specific look.
| Setting | Good starting point | Why it helps |
|---|---|---|
| Shutter speed | 1/500s for handheld daylight; faster if turbulence picks up | Freezes cabin vibration and reduces motion blur |
| Aperture | f/2.8 to f/5.6 | Keeps the exposure flexible and helps distant details stand out |
| ISO | 100 to 800 in daylight | Protects color and detail before noise becomes obvious |
| Focus | Near infinity or the far subject | Prevents the camera from locking onto the glass |
| File type | RAW whenever possible | Gives more room for highlight recovery and color correction |
On a phone, I avoid digital zoom and use the main camera whenever I can. Tap to lock focus on the far scene, lower exposure a touch if the sky is bright, and shoot bursts when the aircraft shakes more than expected. If your device has stabilization, leave it on, but do not confuse stabilization with a cure for bad composition. It helps the file; it does not decide the shot.
How to edit the file so it still feels like a photograph
The best edits are usually quieter than people expect. I crop first, then correct white balance, then pull back highlights before touching contrast or clarity. If the file needs help, I use a light dehaze pass and a small amount of shadow recovery, but I stop before the sky starts looking crunchy or the terrain turns plastic.
- Crop for intent. Remove scratched edges, armrests, or half-visible cabin clutter if they do not add meaning.
- Keep color believable. A slight cool cast is normal at altitude; do not force the image into unnatural warmth.
- Treat dehaze carefully. A little restores structure, too much creates hard halos around clouds and wings.
- Rescue only the frames worth saving. If the reflection dominates the image, a stronger fix often makes the result look artificial.
I find that a restrained edit preserves the feeling of height better than an aggressive one. Once the file is clean and believable, the last improvement is timing, because the strongest frames often appear late in the flight rather than at the start.
The last 20 minutes before landing are often the best frames
Descent changes the scene fast: ground detail sharpens, city grids light up, and the angle of the sun shifts just enough to give surfaces shape. This is when I pay attention to transitions rather than landmarks alone. A coastline meeting a harbor, a river splitting farmland, or runway lights cutting through dusk usually says more than a straight-down snapshot ever will.
- Keep shooting through transitions. The view can change from abstract cloud cover to a readable landscape in a minute or two.
- Watch for repeating patterns. Fields, roads, storm lines, and light grids give the frame rhythm.
- Make a sequence, not a single frame. One wide context shot, one wing-inclusive frame, and one detail shot usually cover the story better than one random click.
When I approach it this way, the window stops being a technical annoyance and starts acting like a deliberate visual tool. The result is usually stronger, because the image feels chosen instead of merely captured.
