
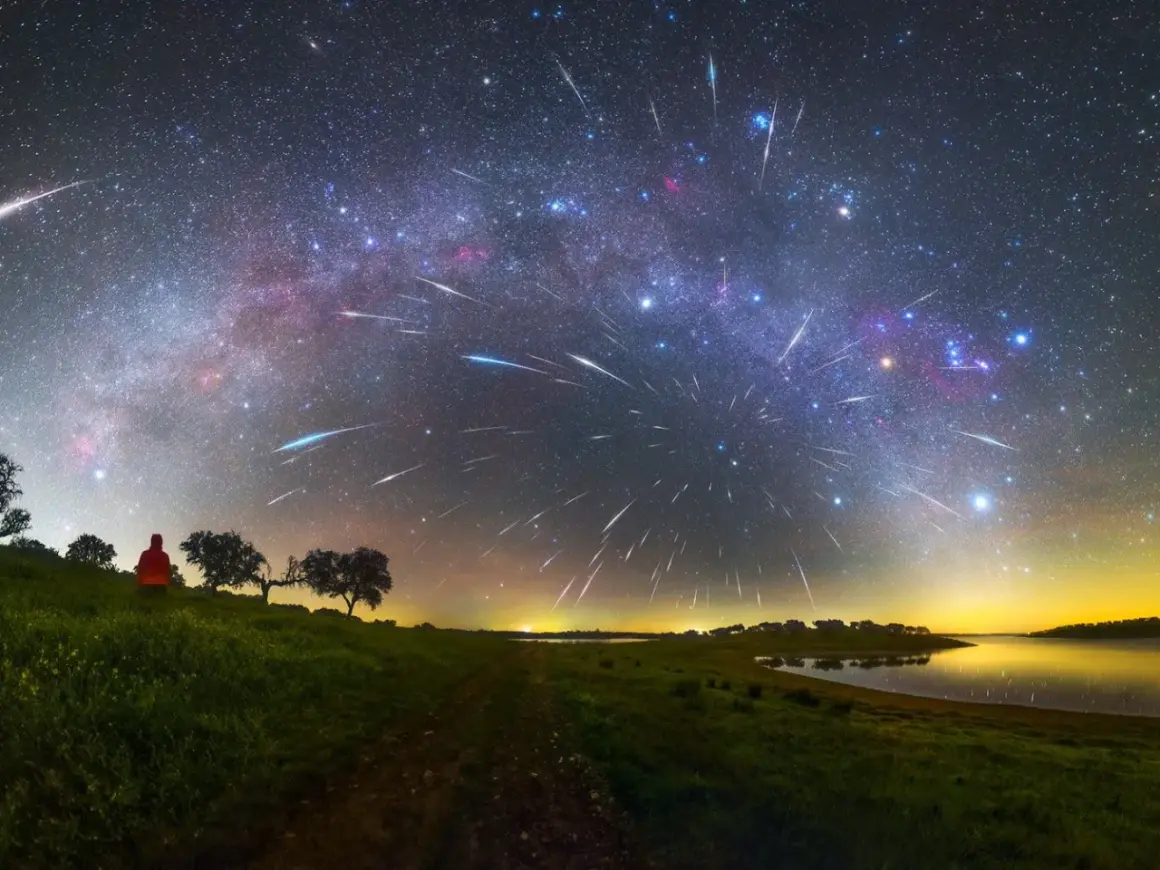
Photographing meteors is less about luck than most people think. The best results come from a dark sky, a wide field of view, steady support, and camera settings that keep you shooting long enough to catch the streak when it appears. In this guide I focus on the practical choices that matter before, during, and after a meteor shower, so you can turn a fleeting bright line into a frame that actually feels worth keeping.
Key takeaways for better meteor shots
- Use a wide-angle lens, a tripod, and manual focus before you worry about expensive gear.
- Start with a wide aperture, ISO 1600-3200, and 10-20 second exposures, then adjust from there.
- Dark skies and low moonlight matter as much as camera settings.
- A meteor shower is often best captured as a series of frames or a composite, not one heroic exposure.
- The strongest activity usually comes after midnight and before dawn.
Choose the style of meteor photo before you pack the bag
I do not start by asking what camera to use. I start by deciding what kind of image I want. Meteor work can be a clean nightscape with a landscape silhouette, a sky-dominant frame that maximizes the chance of catching a streak, a composite built from many exposures, or a time-lapse that shows the shower building over the night.
That choice matters because each style changes how you frame, how long you shoot, and how much post-processing you will need later. A single dramatic frame is not always the best answer. Sometimes the stronger result is a sequence of images that tells the story of the shower instead of pretending one exposure can do everything.
| Style | Best for | How I shoot it | Main trade-off |
|---|---|---|---|
| Nightscape | Landscape context and a sense of place | Wide lens, low horizon, visible foreground | Fewer meteors fill the frame |
| Sky-dominant frame | Maximizing meteor capture | Point at the darkest part of the sky with the widest lens you have | Less location detail |
| Composite | Busy showers and editorial-style storytelling | Many short exposures combined later | More editing time |
| Time-lapse | Showing motion and activity over time | Consistent exposures with an intervalometer | Heavy battery and storage use |
If I have one camera and one clear night, I usually lean toward a nightscape or sky-dominant frame. Once the style is clear, the next question is whether my kit can support it without fighting me.
Gear that helps more than a bigger camera body
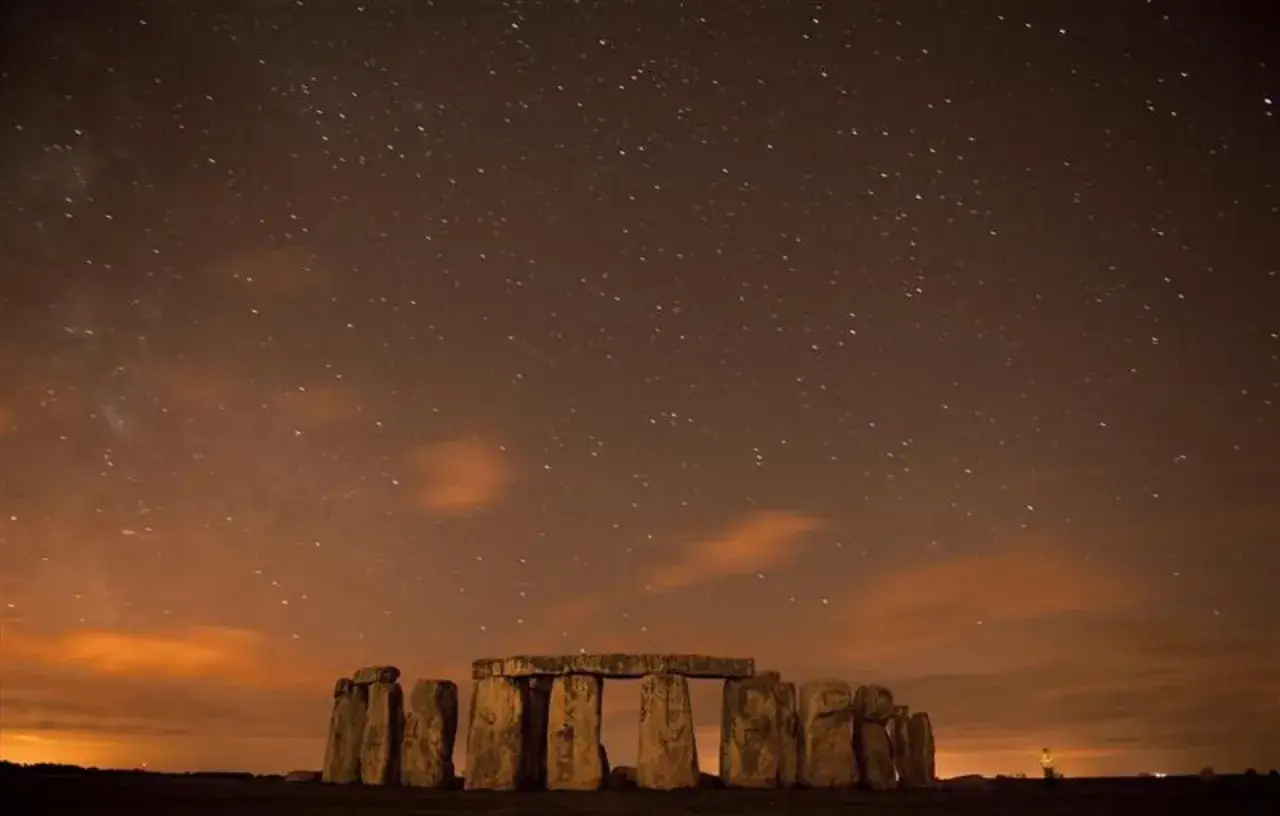
You do not need the newest body to photograph meteors, but you do need equipment that keeps the camera steady and lets you shoot for hours. A wide-angle lens, a solid tripod, and a way to trigger the shutter without touching the camera make the biggest difference. In humid U.S. conditions, a dew heater or even a simple hand warmer can save a session that would otherwise end with a fogged lens.
| Item | Why it matters | My practical pick |
|---|---|---|
| Wide-angle lens | Captures more sky, which increases the odds of catching a meteor | About 14-24mm on full frame, or the widest equivalent you own |
| Tripod | Keeps stars sharp during long exposures | Sturdy over lightweight if you expect wind or uneven ground |
| Remote release or intervalometer | Reduces shake and automates repeated shots | Use a remote for single frames, intervalometer for long bursts |
| Extra battery and memory card | Meteor sessions burn through power and storage fast | Bring more than you think you need |
| Dew protection | Prevents moisture from softening or ruining the lens | Dew heater, hand warmer, or other moisture-control setup |
| Warm layers | Comfort keeps you patient when the best streak appears late | Gloves you can still operate the camera with |
If I were choosing only one upgrade beyond the lens, it would be the remote release or intervalometer. The ability to fire repeated exposures without touching the body is what keeps the setup clean. With the kit sorted, exposure becomes the real limiter.
Start with settings that favor light without turning stars into smears
My baseline is simple: manual mode, the widest aperture available, and a shutter speed that gathers enough light while still protecting the stars from turning into trails. NASA’s guidance lines up with what works in the field, but I still treat it as a starting point rather than a fixed formula, because lens speed, sensor size, moonlight, and sky glow all change the result.
| Setting | Starting point | Why it works |
|---|---|---|
| Mode | Manual | Keeps the camera from changing exposure mid-session |
| Aperture | Wide open, ideally f/2.8 or faster | Lets in as much light as possible |
| Shutter speed | 10-20 seconds, or shorter if stars start to smear | Long enough to record a meteor, short enough to limit trails |
| ISO | 1600-3200 | Good starting range for many modern cameras at night |
| File format | RAW | Gives you more room for noise reduction and color correction later |
I also keep an eye on the histogram, which is the brightness chart on the camera. If the histogram is crushed too far left, the sky is too dark and the streak may disappear into noise. If it is pushed too far right, the frame is probably too bright from light pollution, moonlight, or an overcooked exposure. The real trick is to change one thing at a time, then check whether the next frame actually improved.
Once exposure is close, composition decides whether the image feels deliberate or accidental.
Point the camera where the shower gives you the best odds
Meteors can appear anywhere, but they seem to radiate from one area of the sky. I frame around that idea rather than blindly pointing at the brightest spot. The strongest image is often a little off-axis, with dark sky, a recognizable foreground, and enough empty space for the streak to surprise you.
In the United States, I usually look for state parks, desert pullouts, rural overlooks, or any legal spot with a clean horizon and very little ambient light. If I am on public land, I also check access rules and closing times before I leave, because a perfect sky is useless if I have to pack up early.
- Place the horizon low if the sky is the subject, higher if the landscape is part of the story.
- Keep bright town glow out of the frame unless you want it as a deliberate design element.
- If you are after longer-looking trails, aim some distance away from the radiant rather than directly at it.
- Use trees, ridgelines, buildings, or dunes only when they add scale or context.
- Leave enough empty sky that a meteor streak has room to matter visually.
I think of this as nightscape composition, not just astrophotography. The meteor is the event, but the foreground is what turns the image into a photograph instead of a record. After framing, the night becomes a repetition game.
Run the session like a long, repetitive checklist
The people who come home with the strongest meteor images usually shoot more frames, not smarter settings alone. I arrive before full darkness, focus on a bright star, lock the camera down, and then let the sequence run while I watch for dew, battery drain, and the part of the sky that looks darkest.
- Set up while there is still twilight so you are not fumbling in the dark.
- Focus manually on a bright star, then zoom in on the live view or playback to confirm sharpness.
- Take a few test frames and check both focus and exposure.
- Start a long burst or interval sequence instead of hand-triggering every frame.
- Review only enough to confirm that the setup still works, then get back to shooting.
- Recheck the lens for dew every so often, especially in humid weather or near water.
NASA’s advice that the best meteor activity often comes after midnight and before dawn still matches what I see in practice, so I plan for a long evening rather than a quick session. The early hours are mostly setup and patience, and the last stretch is where the payoff usually shows up.
That workflow is simple, but a few small errors can still waste the night.
Fix the problems that quietly ruin meteor photos
Most failed meteor shots are not bad luck. They are predictable mistakes that are easy to avoid once you have made them a few times. Autofocus hunting in the dark, too much shutter time, a lens pointed at the wrong patch of sky, or a bright LCD blasting your night vision are the usual culprits.
- Do not rely on autofocus after dark. Set focus on a star and lock it.
- Do not default to a telephoto lens unless you have a specific foreground reason. The field of view is too narrow for random meteors.
- Do not trust the rear screen alone. Use the histogram and a zoomed review.
- Do not ignore condensation. Dew can soften every frame before you notice it.
- Do not stretch the shutter so long that the stars turn into obvious trails unless that is your intended style.
- Do not expect one frame to solve the whole shower. Composite work is often the better answer when activity is frequent.
The biggest mindset shift is accepting that meteor photography is partly a capture problem and partly a selection problem. You will delete a lot of frames, and that is normal. What matters is whether your setup gives the meteor a fair chance to land in a frame that is already sharp, balanced, and ready for editing.
The simple plan I would use on the next clear shower night
If I were starting fresh, I would keep the goal narrow: one wide lens, one tripod, one manual exposure, and one region of sky that makes sense for the shower. I would not try to force a dramatic composition on the first frame. I would build a reliable setup, shoot continuously, and let the sky do the interesting part.
- Arrive early and set the frame before darkness.
- Focus on a bright star and verify it with a test exposure.
- Start at the widest aperture, ISO 1600-3200, and 10-20 seconds.
- Keep shooting in bursts for as long as the sky stays clear.
- Check only for focus, dew, and gross exposure errors.
If the first night is a miss, I change one variable and try again, because meteor photography rewards repetition more than improvisation. That is the part most people underestimate, and it is also the part that makes the final image feel earned.
